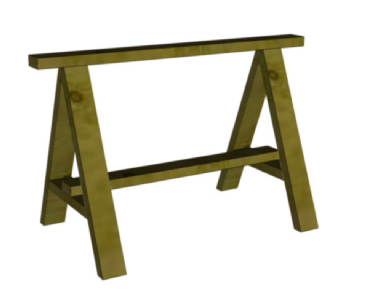
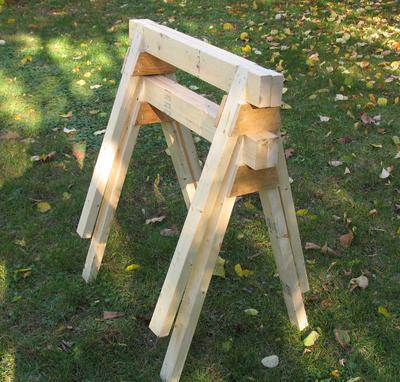
Want to thank Don for taking the time to draw up this SketchUp plan for the sawhorse I made last week.
*****
And while Im at it, a few people have asked for a stackable version. While there are plenty online, its definitely worth checking out Matthiass horses over at Woodgears.
And while Im at it, a few people have asked for a stackable version. While there are plenty online, its definitely worth checking out Matthiass horses over at Woodgears.
*****

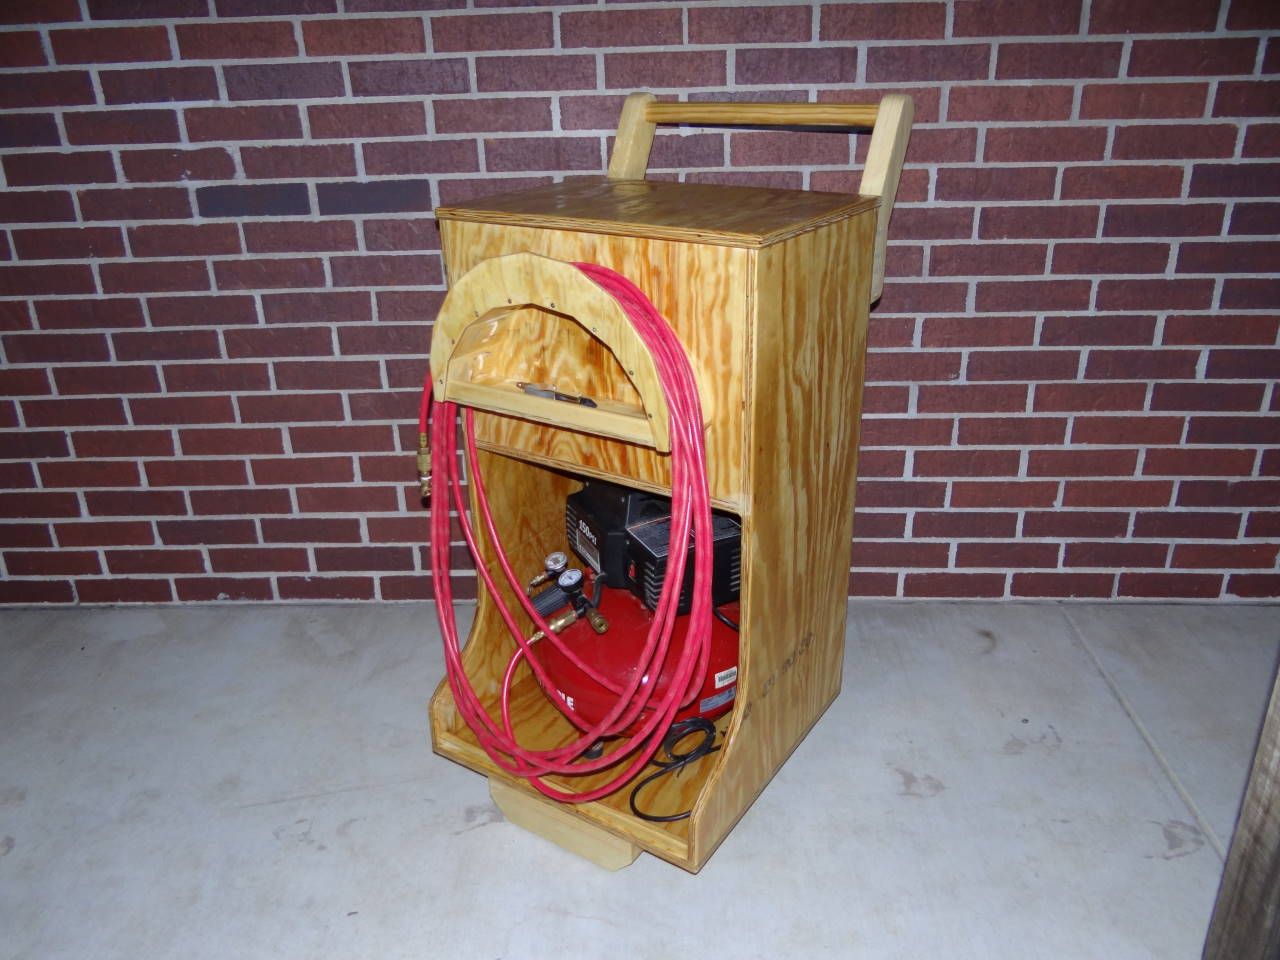
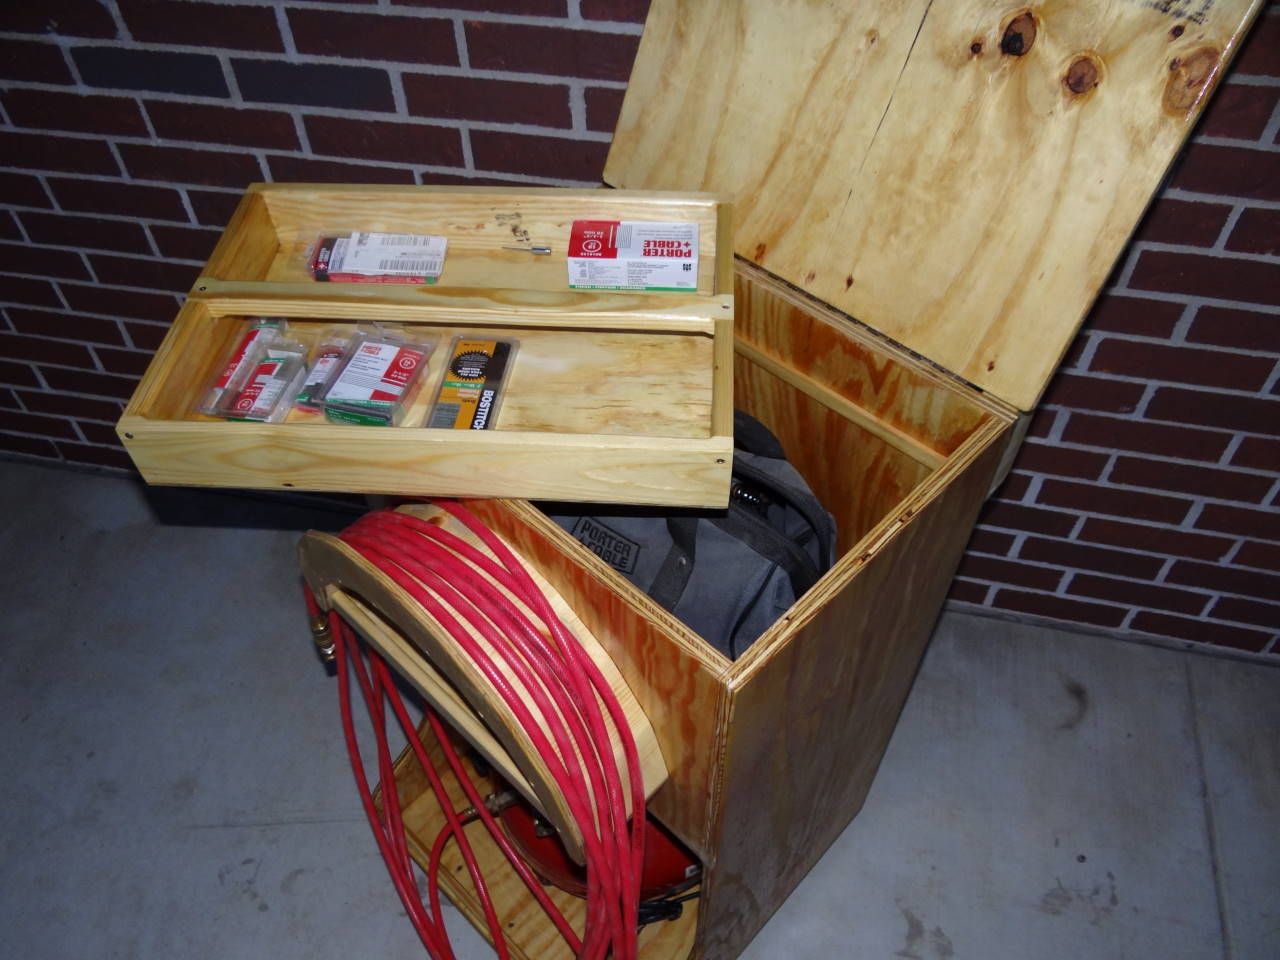
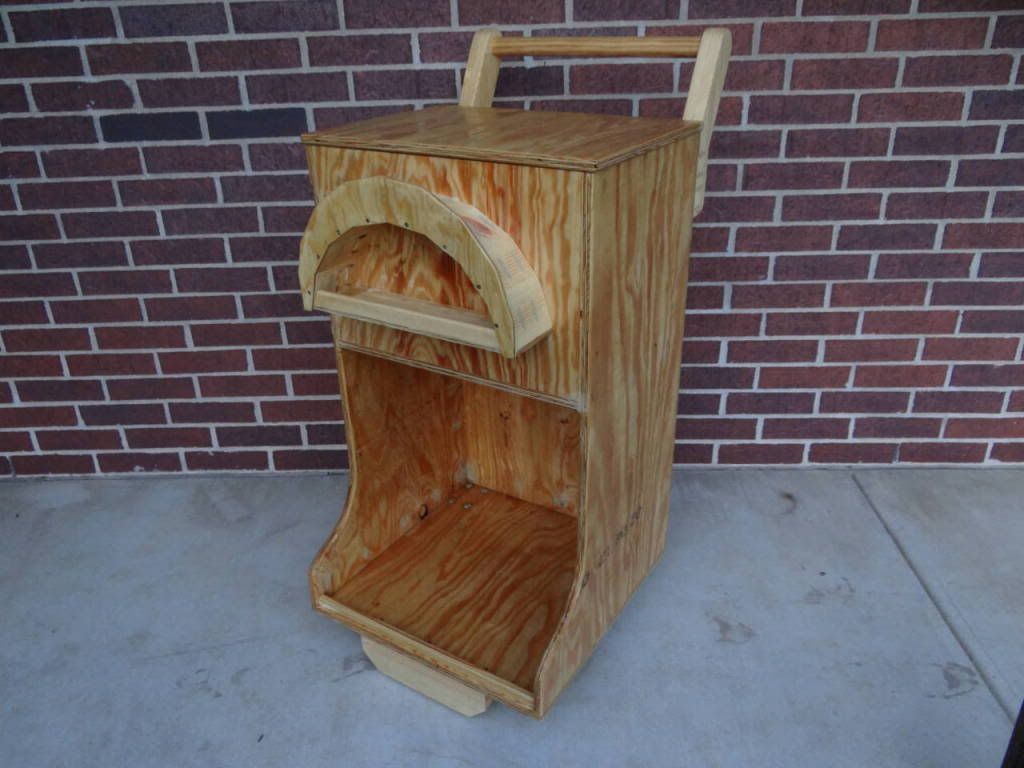

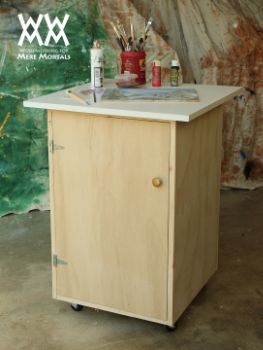 One thing Ive noticed about the workflow in my shop is that setting up for finishing or painting can mean a lot of walking back and forth. For a paint job, I will grab a few acrylics and take them to my workbench. Then I need to get brushes, rags, water, waxed paper for mixing colors. I thought it would be nice to have most of these supplies in one portable cart that I could wheel wherever needed.
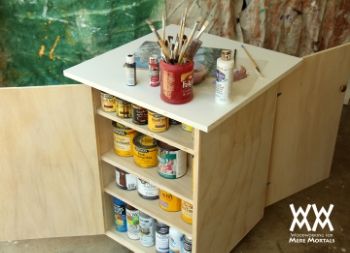 My cart will be stored next to a utility sink, so I used a piece of melamine for the top so I can easily wipe off liquids. In the plans, I included the top in the cut list as part of the 3/4" plywood needed for the project. If you wanted to save some money, I see no reason why you couldnt use 1/2" ply for the entire project. Its not meant to be carrying heavy loads.
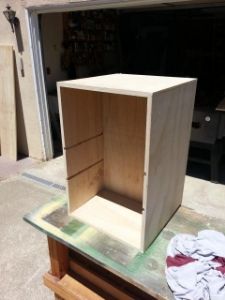
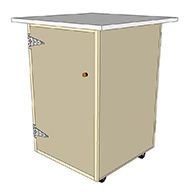 I am building a shop project for this weeks show. It a roll-around finishing cart with shelves on two sides. I have some leftover melamine from my router table that Ill use for the top.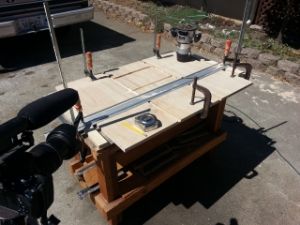
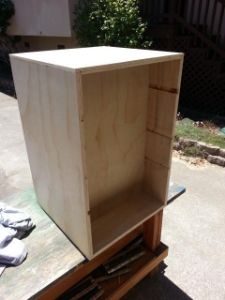
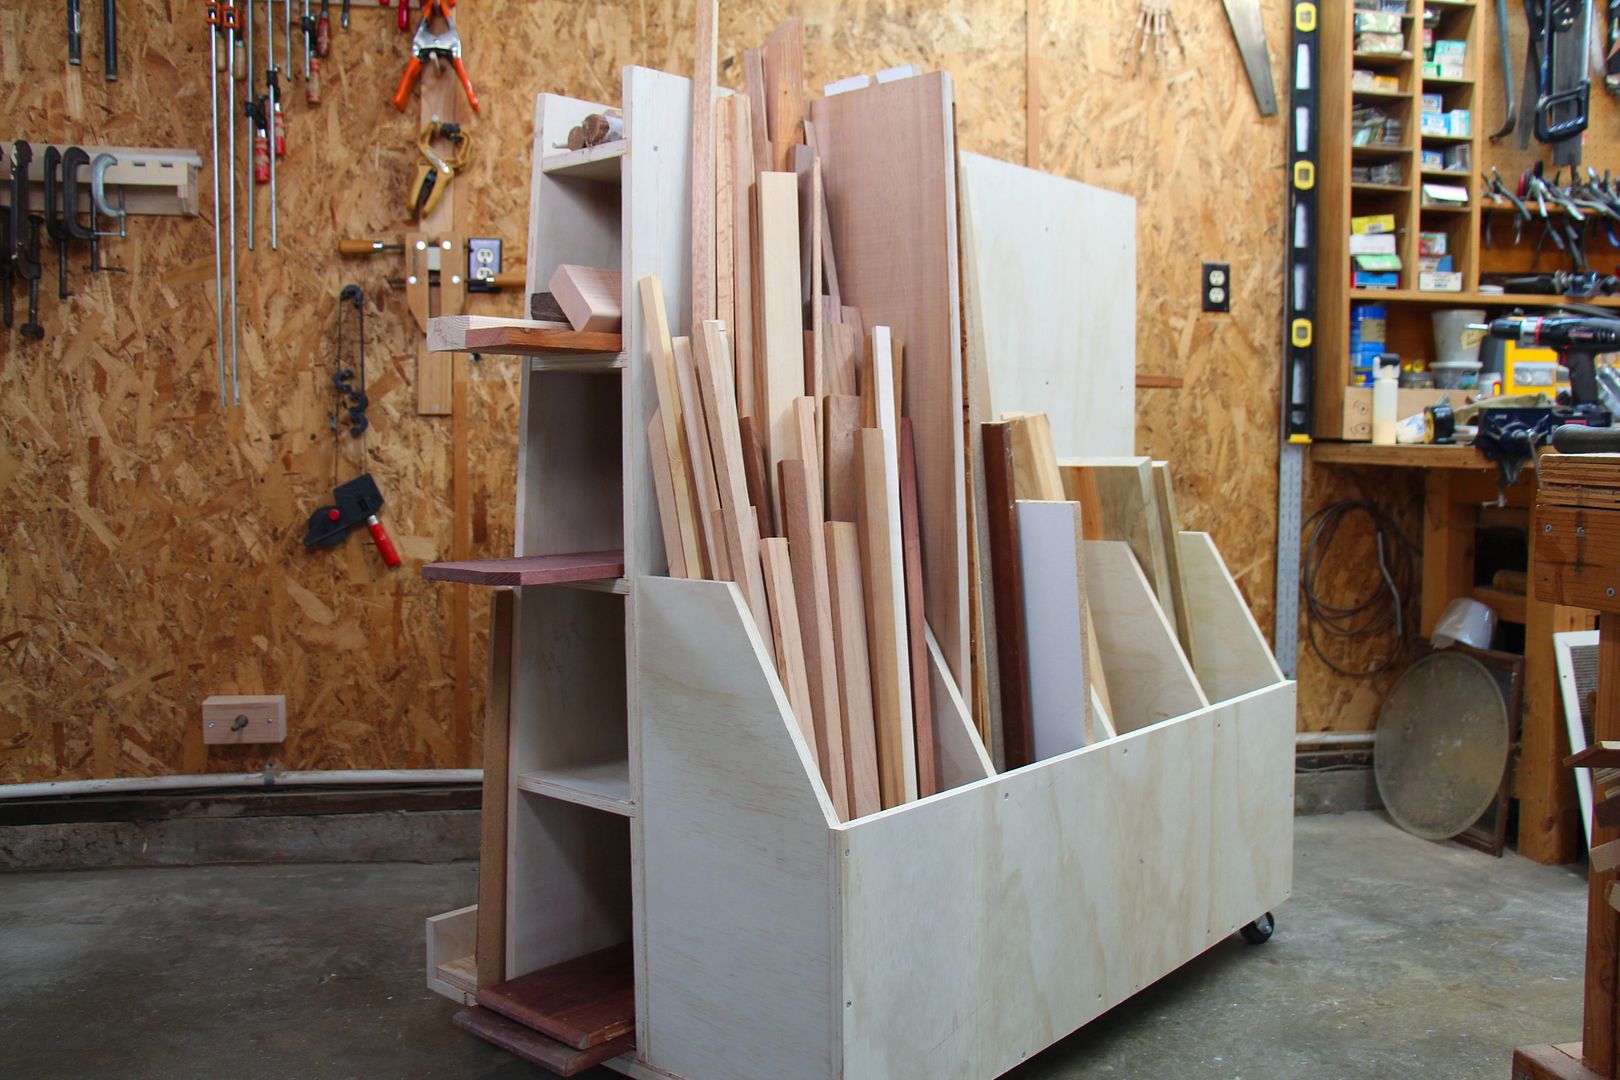
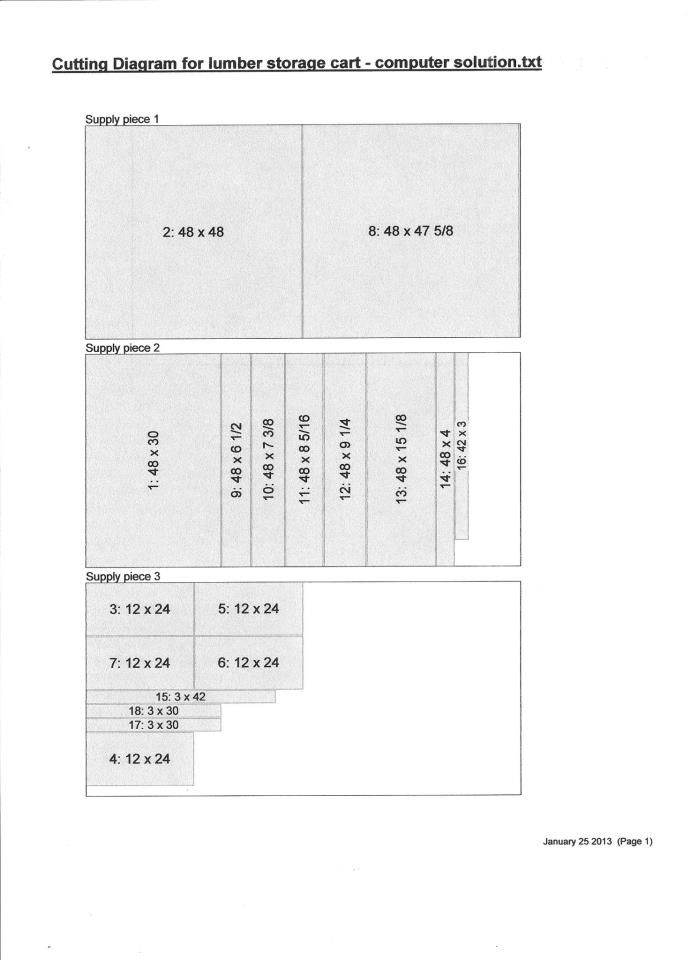
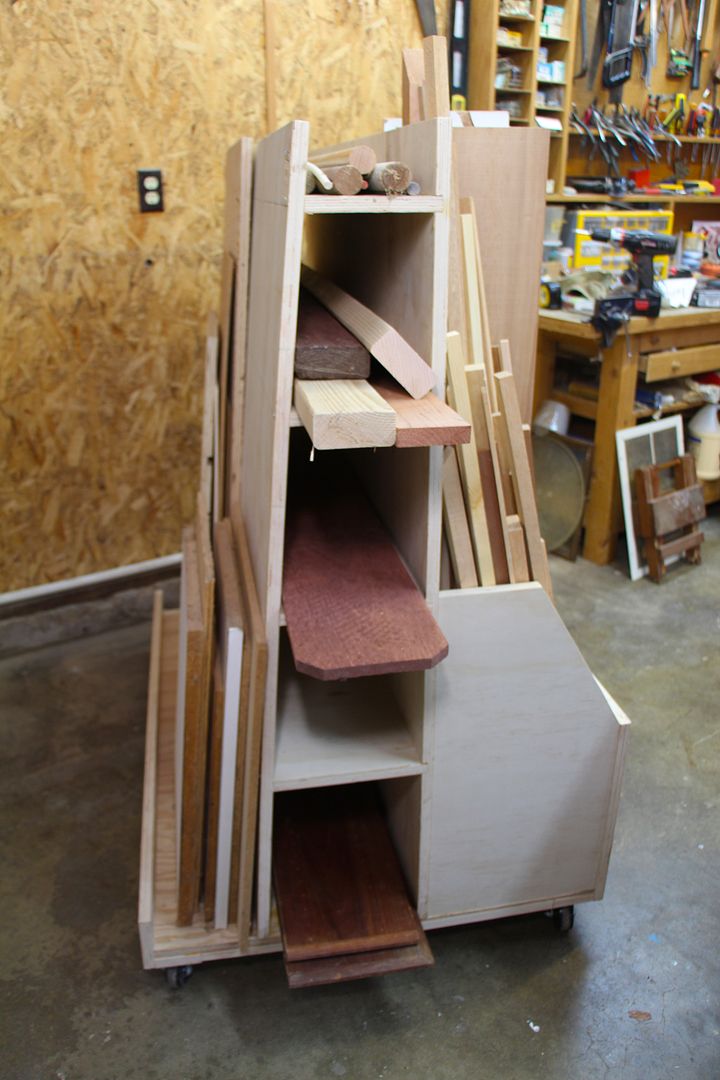 This week I finally decided to do something about the less-than-adequate storage system I have been using for my lumber. The biggest problem for me has been finding a good way to store plywood and other sheet goods.