12-piece puzzlesAfter watching my 3-piece wood puzzle, Pascal Vergneau in France, decided to take it further by making a 12-piece version! You just need to make 4 of each type of piece. Hes also drawn up a plan you can download and try out. (Click the third image to enlarge it.) It is in metric, but really its just the proportions that are important. Make the pieces based around the sizes of the hole pieces. Thanks Pascal!
*****
This also reminds me of Matthias Wandels 12 piece puzzle, which is made from 12 identical pieces. Heres his video solution. Even when I understand these puzzles, they make my head spin.
***** Teds stolen plans revealedFinally, I wanted to give you an update on Teds Woodworking. Jim Barry at Copyrighters Sharing Information has a complete list of all the plans Ted is selling and from where they are stolen. For what its worth, there arent 16,000 plans, as advertised. Only about 2,300. Cant believe Ted would lie to us. Anyway, definitely check out this PDF. It will give you a little bit of insight into the vast web of shenanigans known as "Ted".
Lots and lots of people have been busy making Valentine hearts! Here are some more that have been posted on my Facebook page this past week.Paul St George made this heart-shaped tea-light holder with a wood-burned rose for his wife. It kind of reminds me of my project this week!
Jason Weigles heart-in-a-heart display is made with white oak, African Mahogany, and walnut. He is going to finish it off with with a little plaque plate commemorating his wedding anniversary.
Sam Bittinger and his daughter worked together to make this tea-light holder.
I absolutely love Mitt Lilla Snickeris unique Yin and Yang heart. (There seems to be a tea-light theme running through this projects!)
And Im happy to show off Lance Briggs version of the heart-shaped bandwaw box I made last week.
Really cool scroll work on B?a?ej Wudniaks tea-light holder.
*****
Project preview
Yeah...Ive made a tea-light holder too! Well, two of them. Video and plans tomorrow.
Lots of us make cutting boards, but why not do something unique? Carl Letts sent me this photo of one he made. I first saw this optical illusion at the Exploratorium in San Francisco. The bathroom walls are tiled like this. Its the craziest thing: all the rows of squares are perfectly straight! Hold up a ruler if you want. Or, if you look at it from an edge, it all straightens out. I guess since they are offset a bit, our eyes go buggy and cant really make sense of it. Too cool. Thanks Carl!
I have been dutifully writing in the word "olio" in my crossword puzzles for years and decided to finally put it to real-world use. Still, I will forever confuse it with "oleo". ***** When I mentioned that I would be making a garden bench for tomorrows video, Jason Othoudt sent me over a picture of in indoor bench he built out of 2x4s, plywood, and box joints. Super cool design.
***** Lucas Marques sent over a picture of his version of the guitar pick box made with Purpleheart.
***** And heres one Dimitris Fragoulopoulos made for his brother.
*****
Ian Mills made some of my hair accessories. Cool!
*****
Finally, check out Seth Lavallees beautiful version of my Kindle case with spectacular inlay.
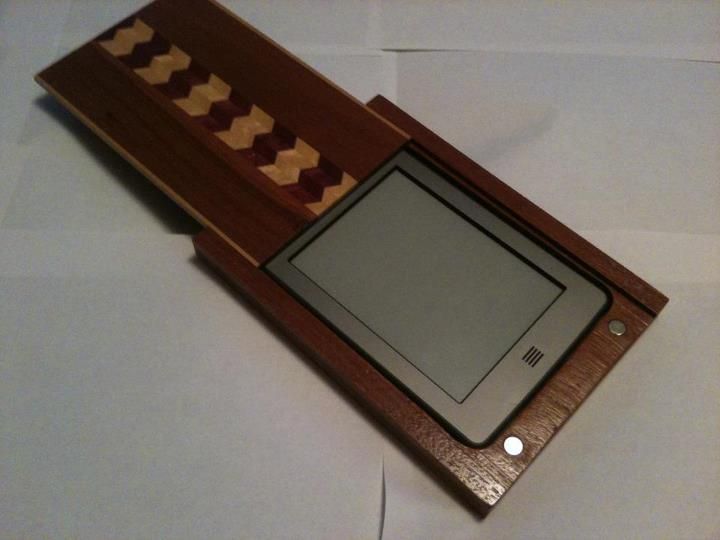
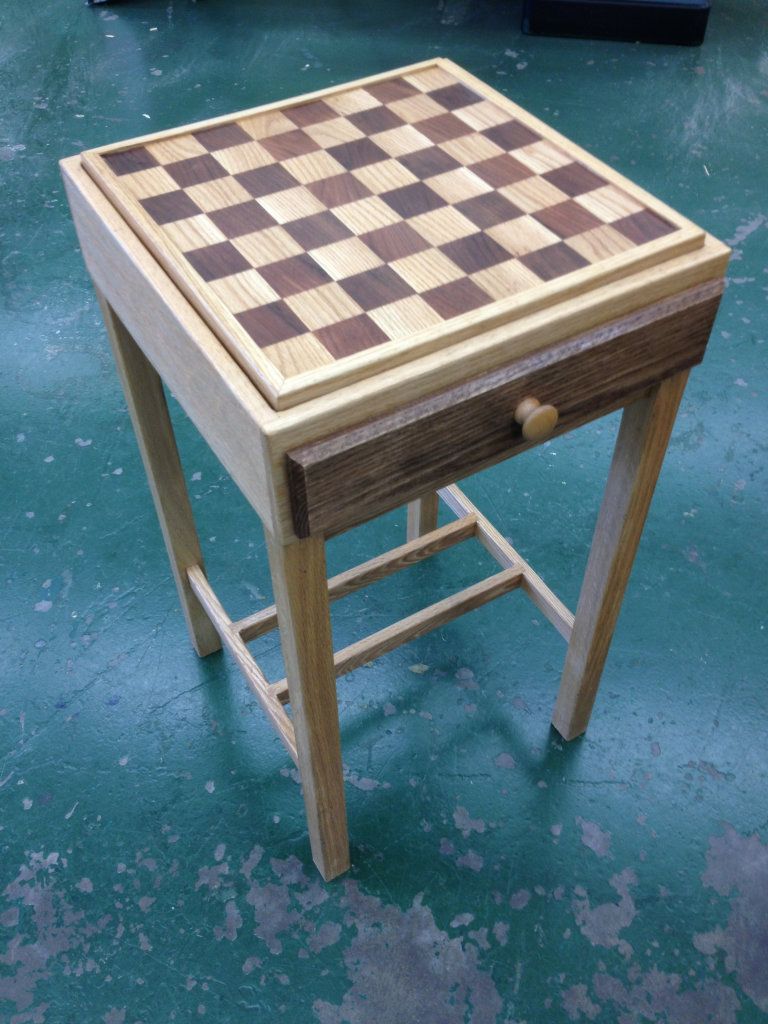
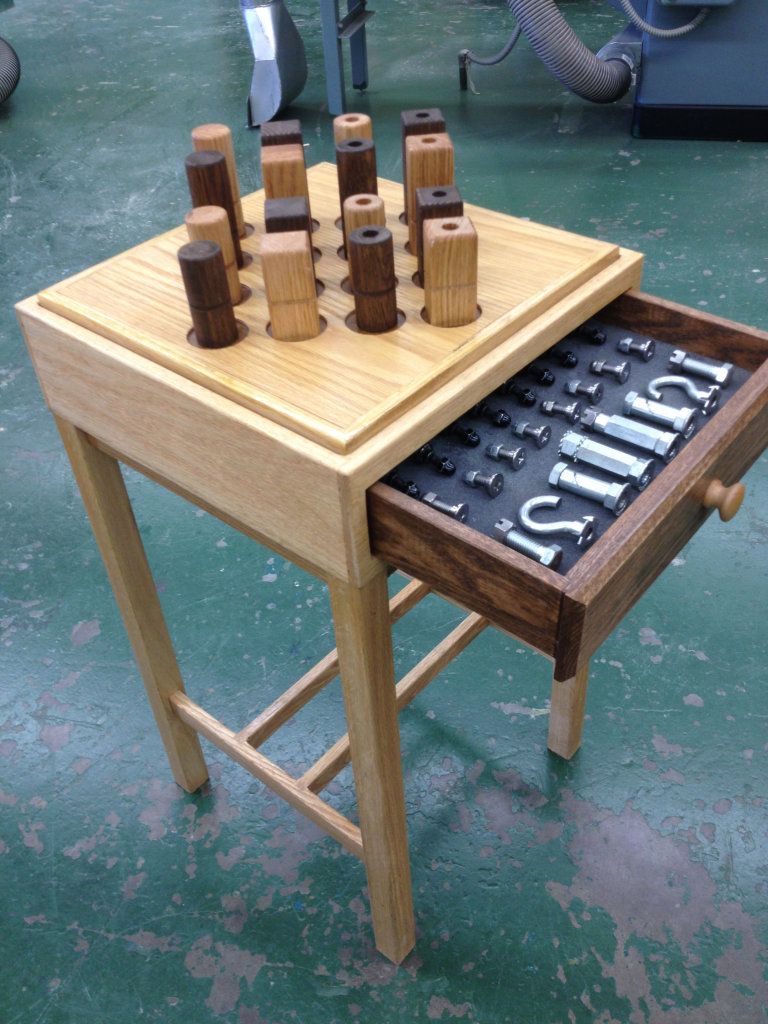
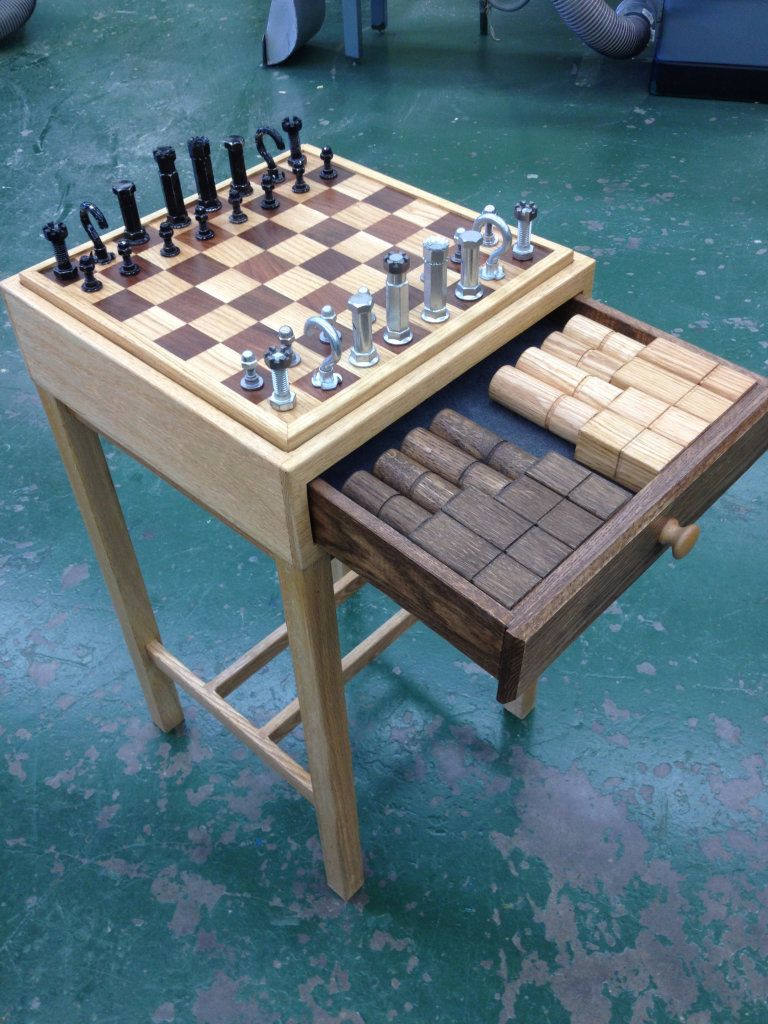
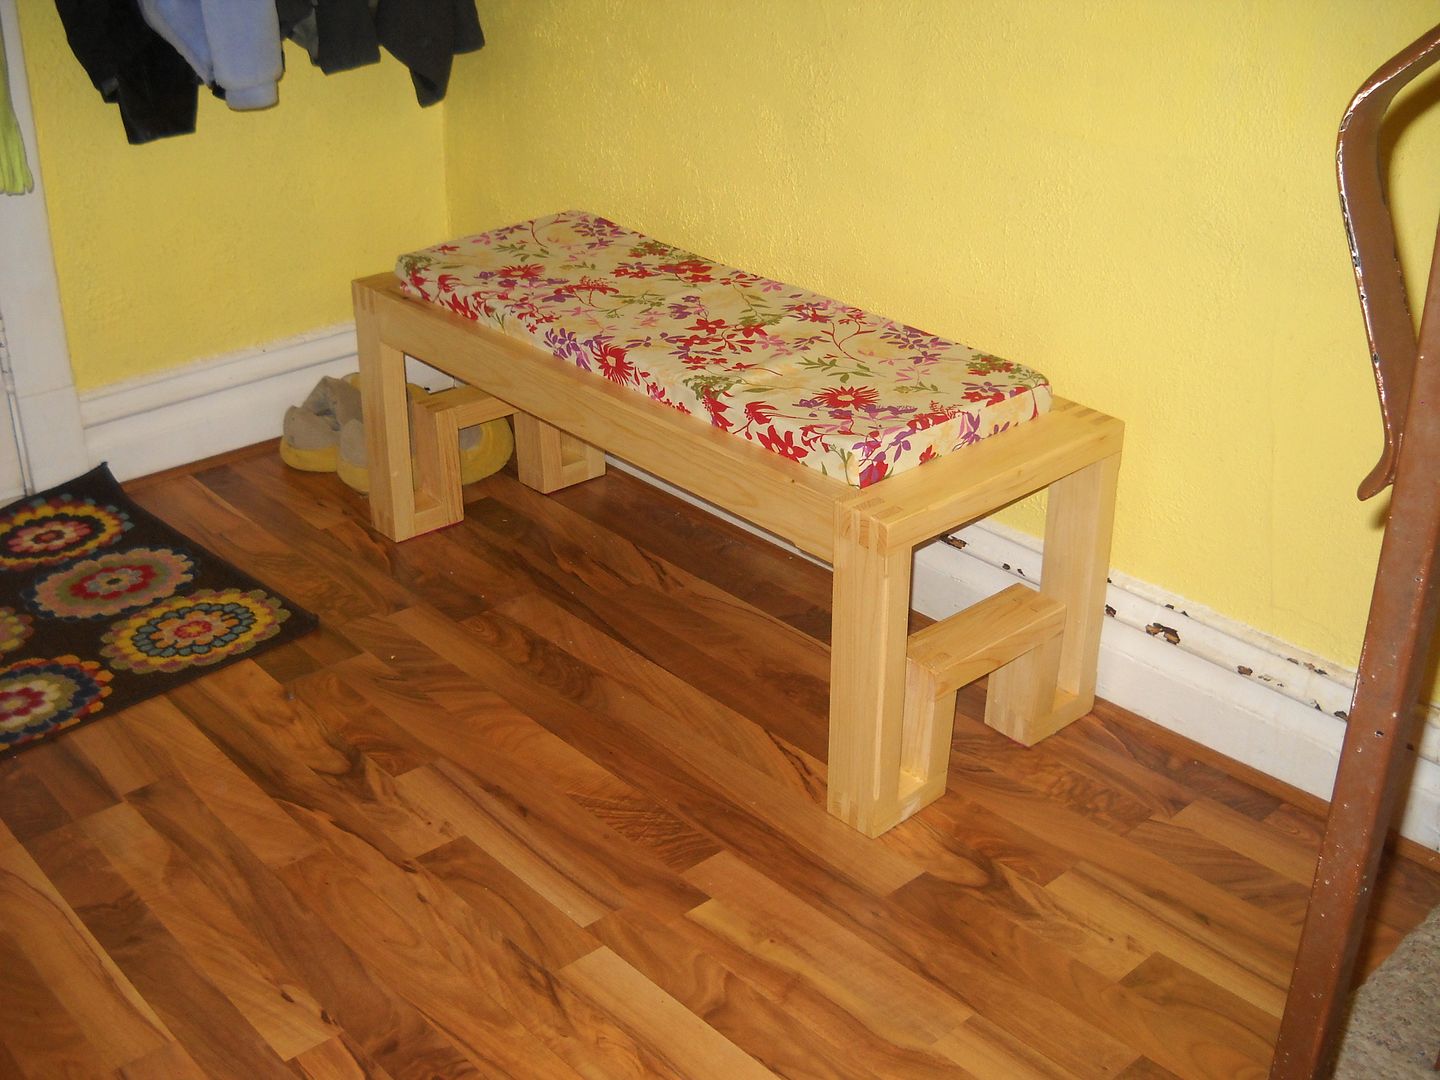
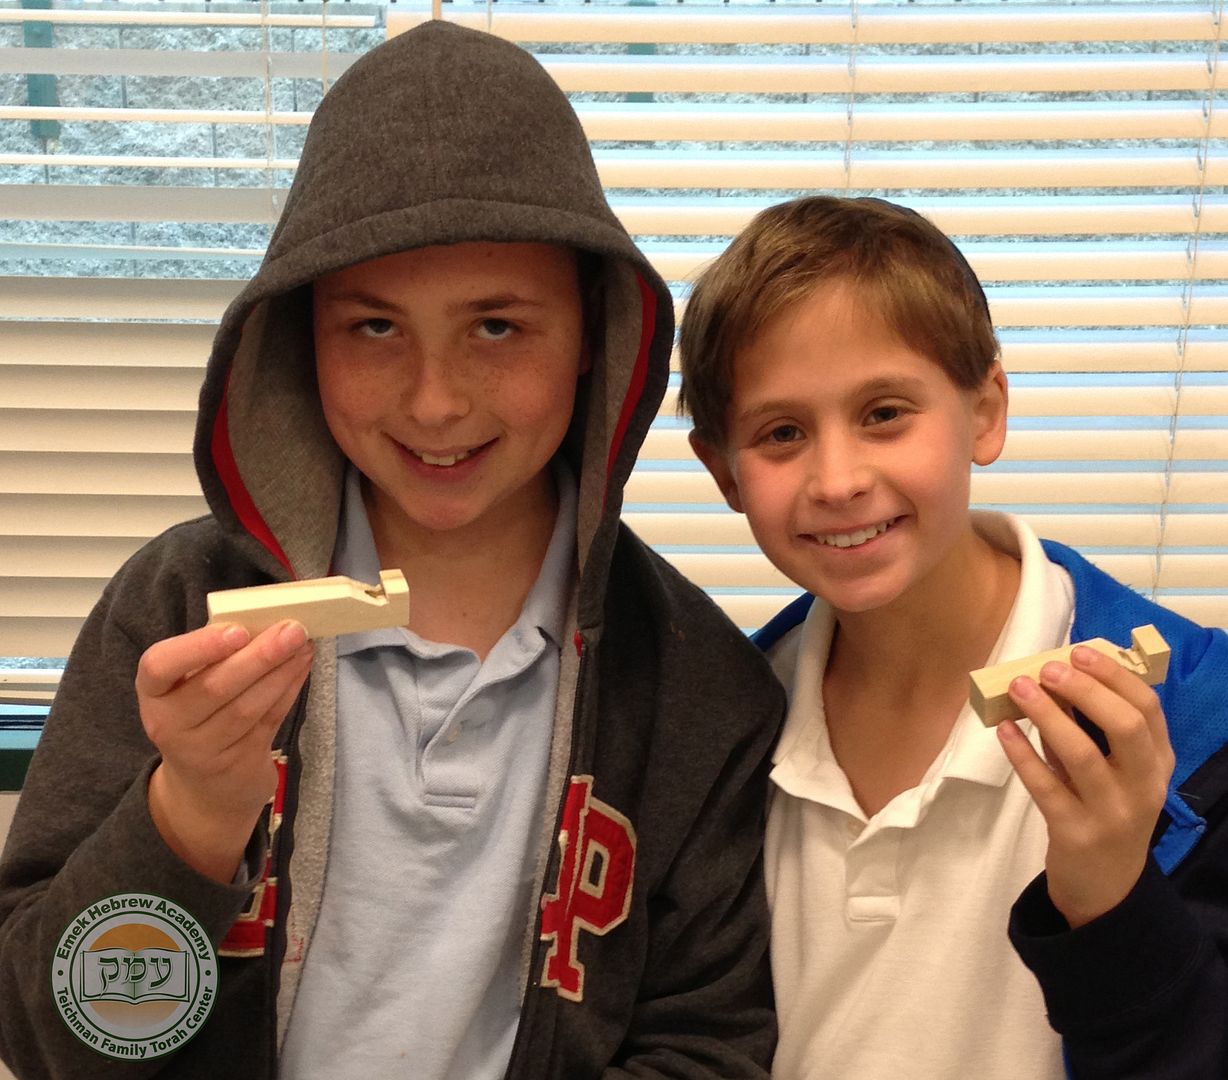
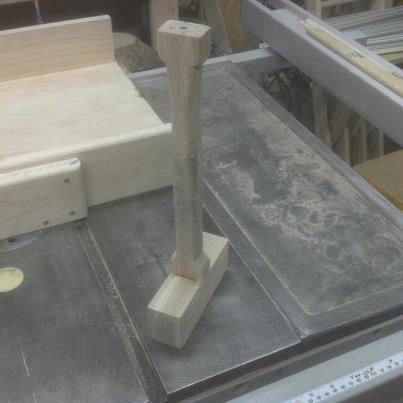
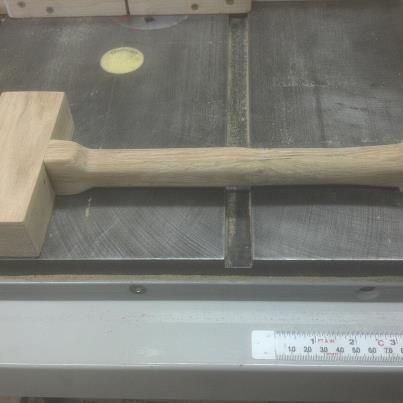
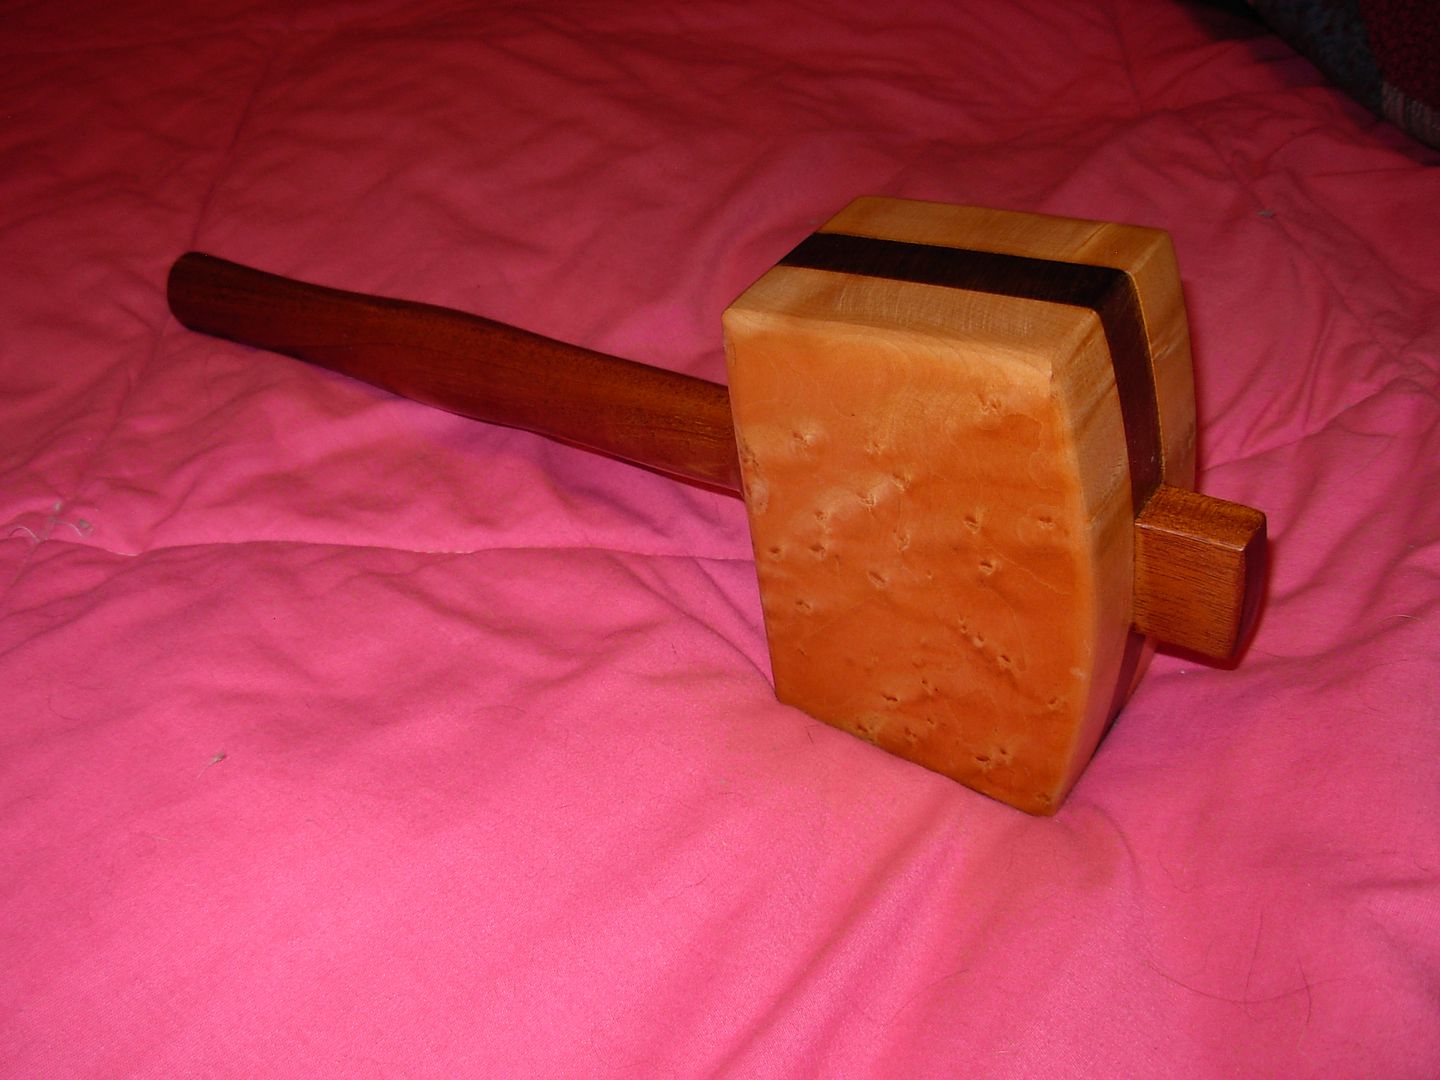
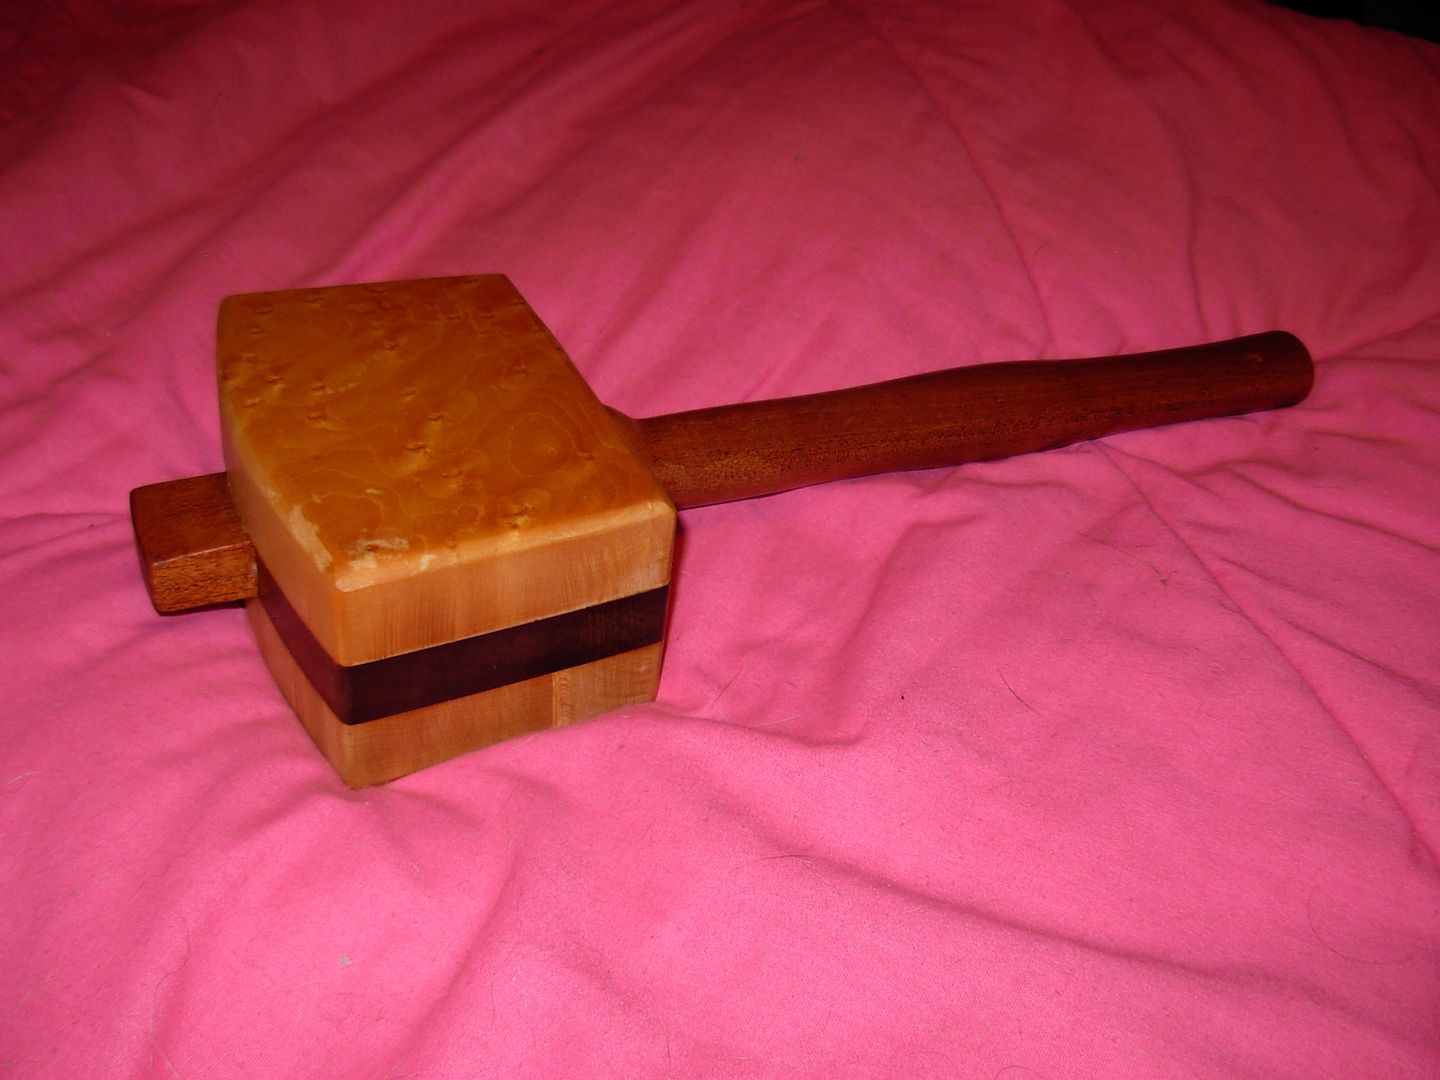
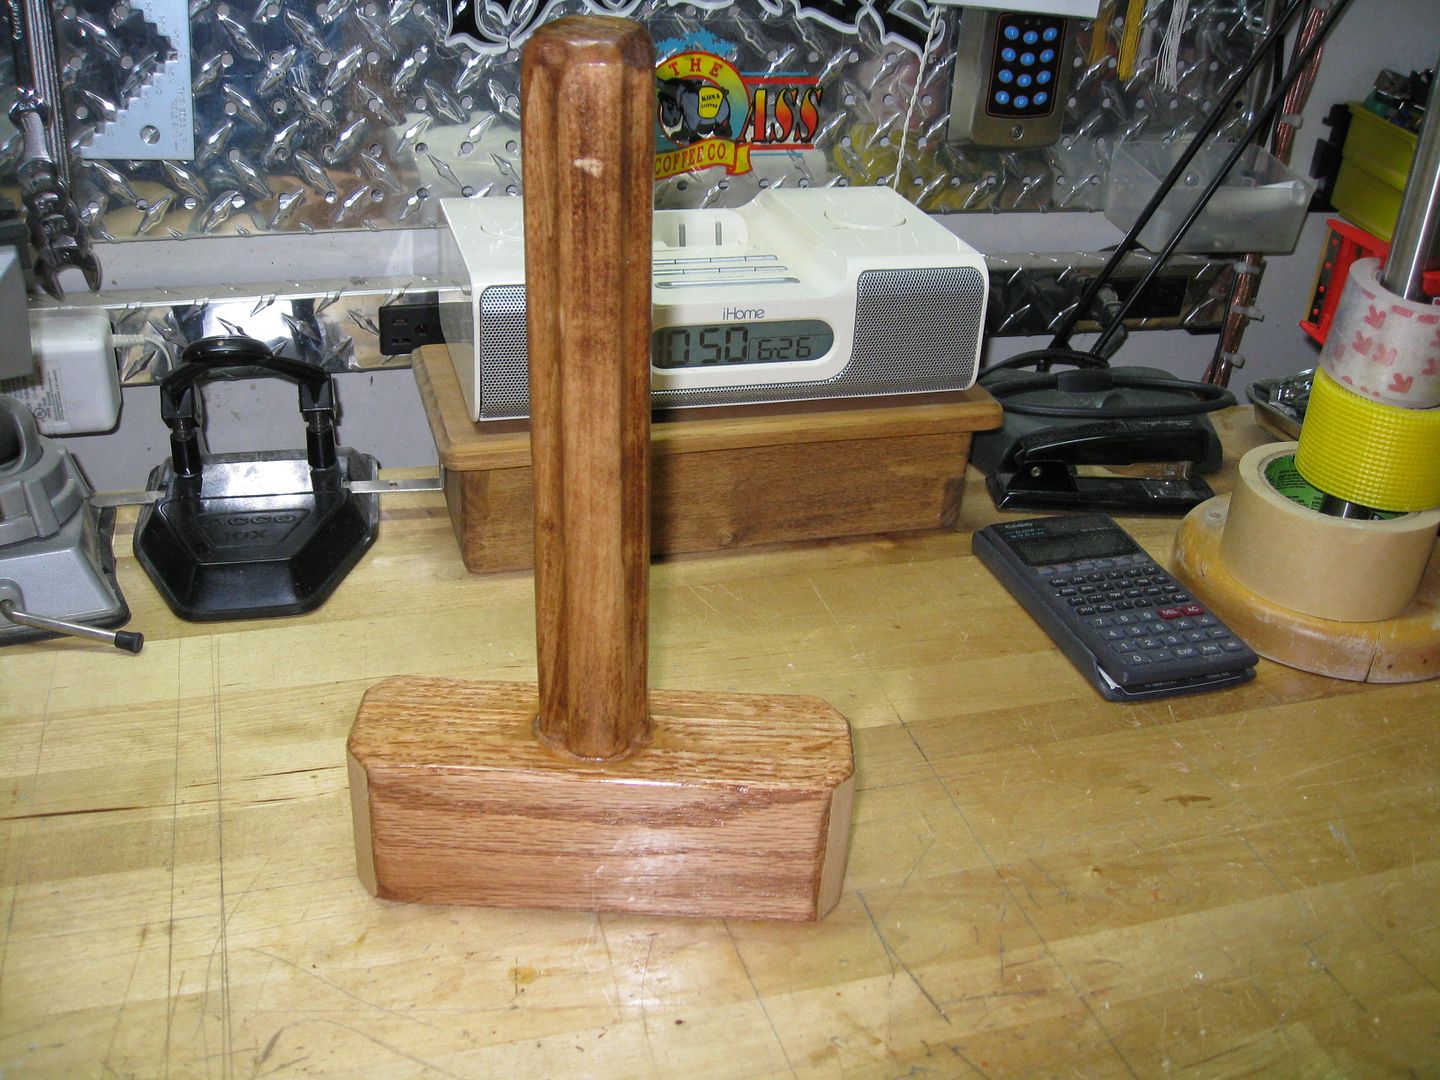
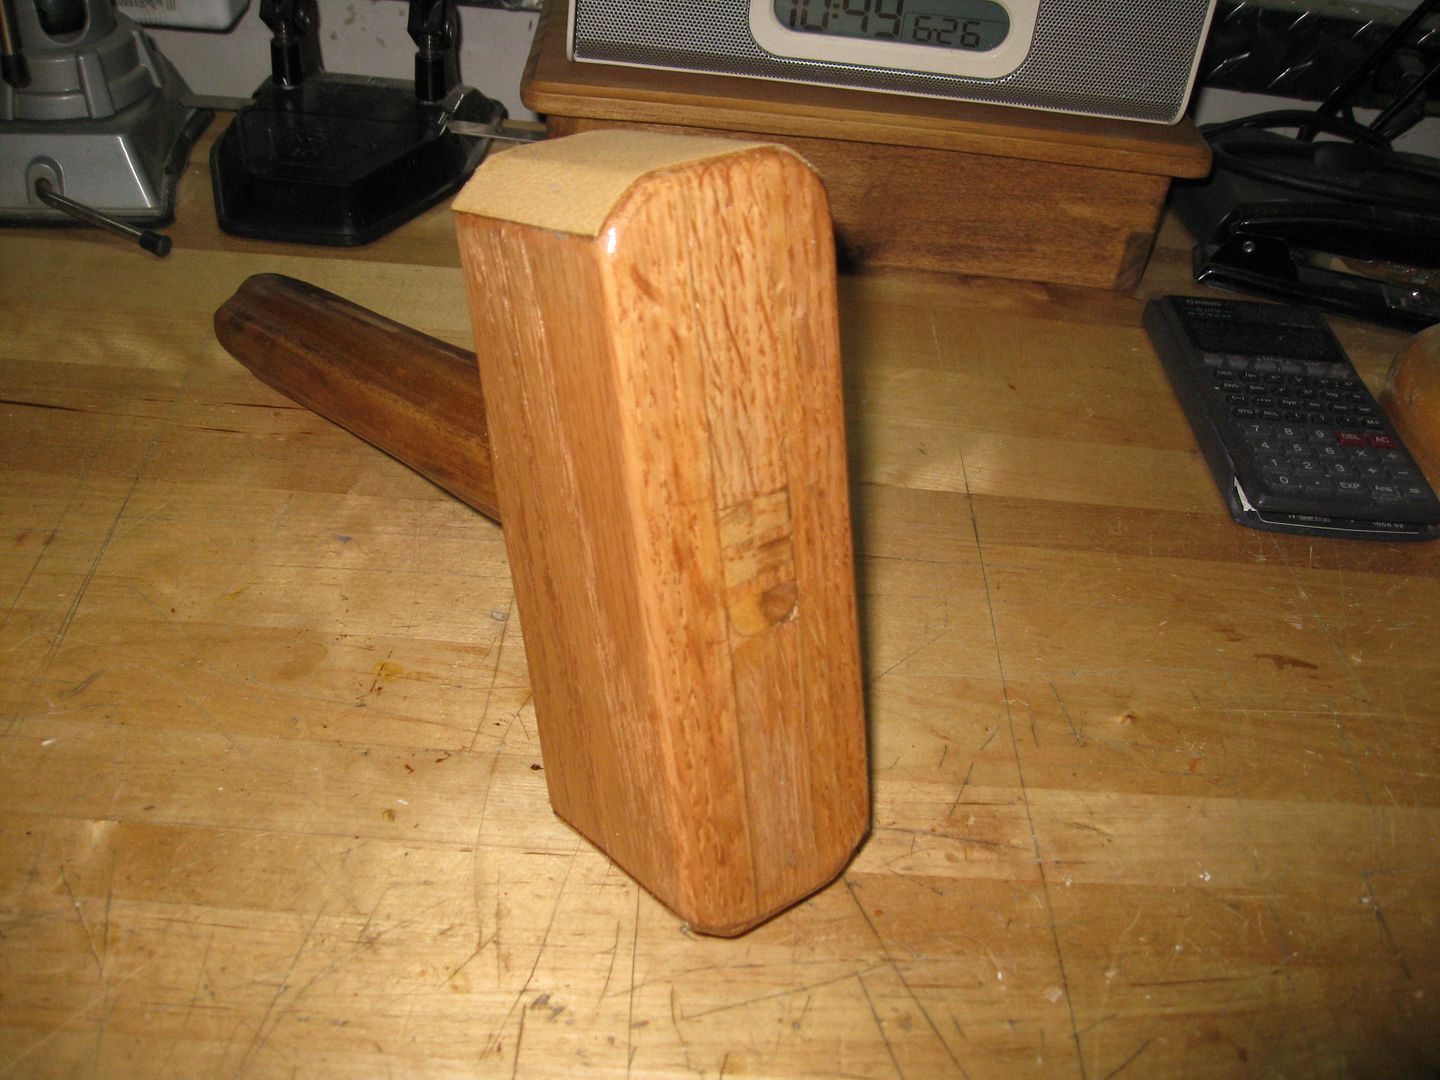
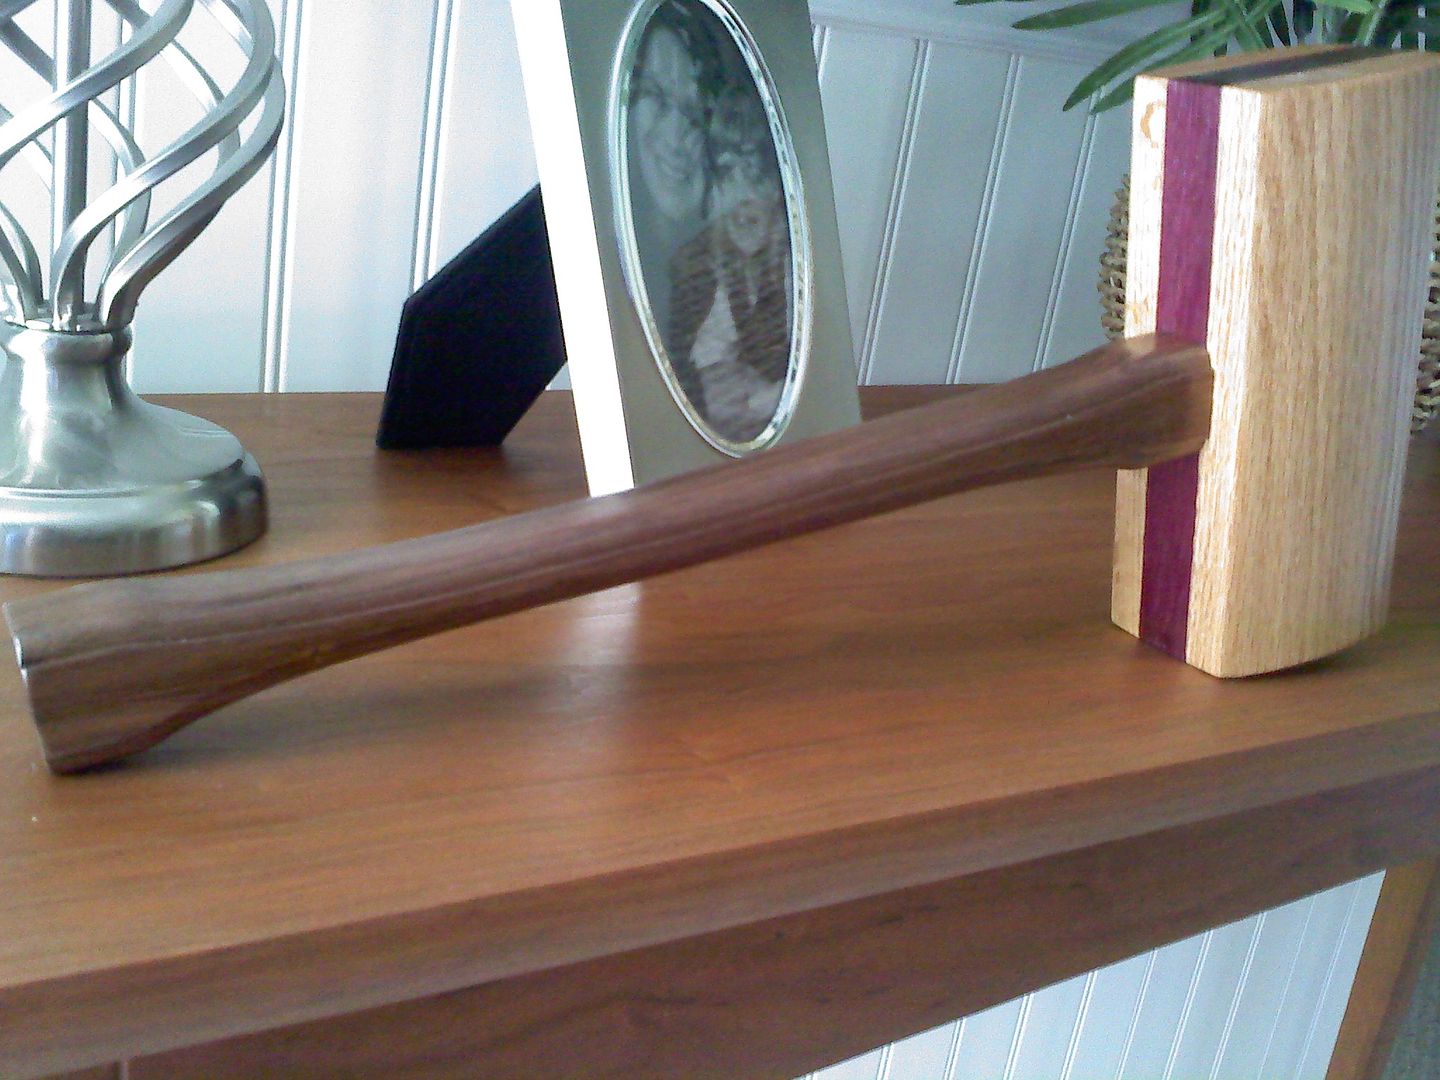
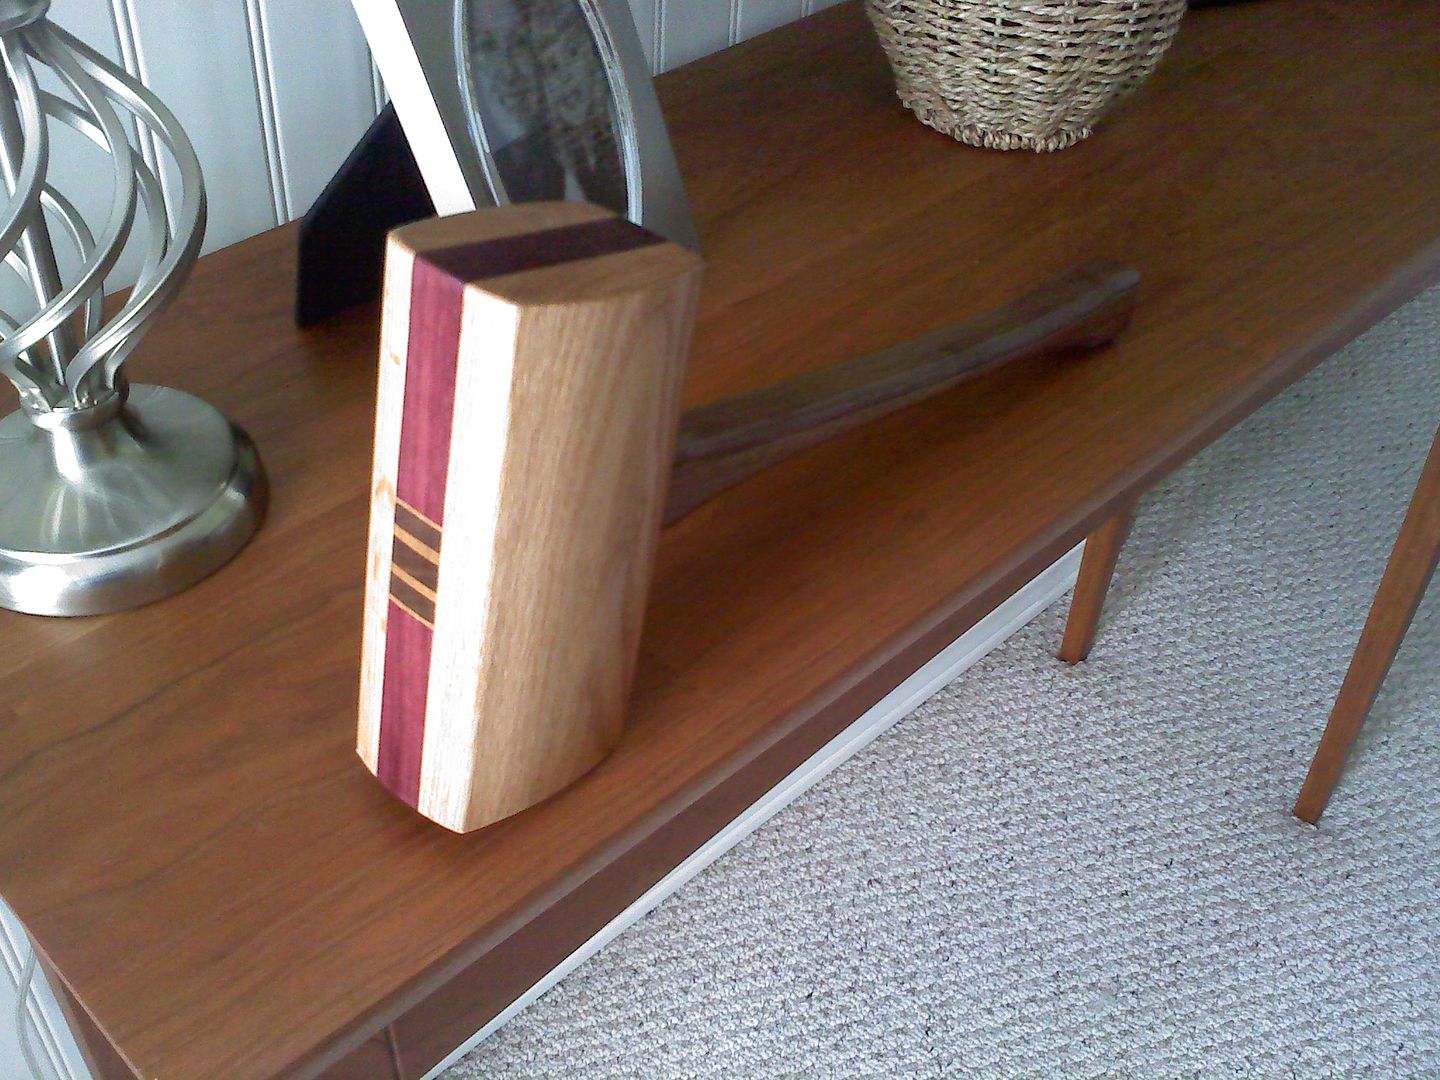
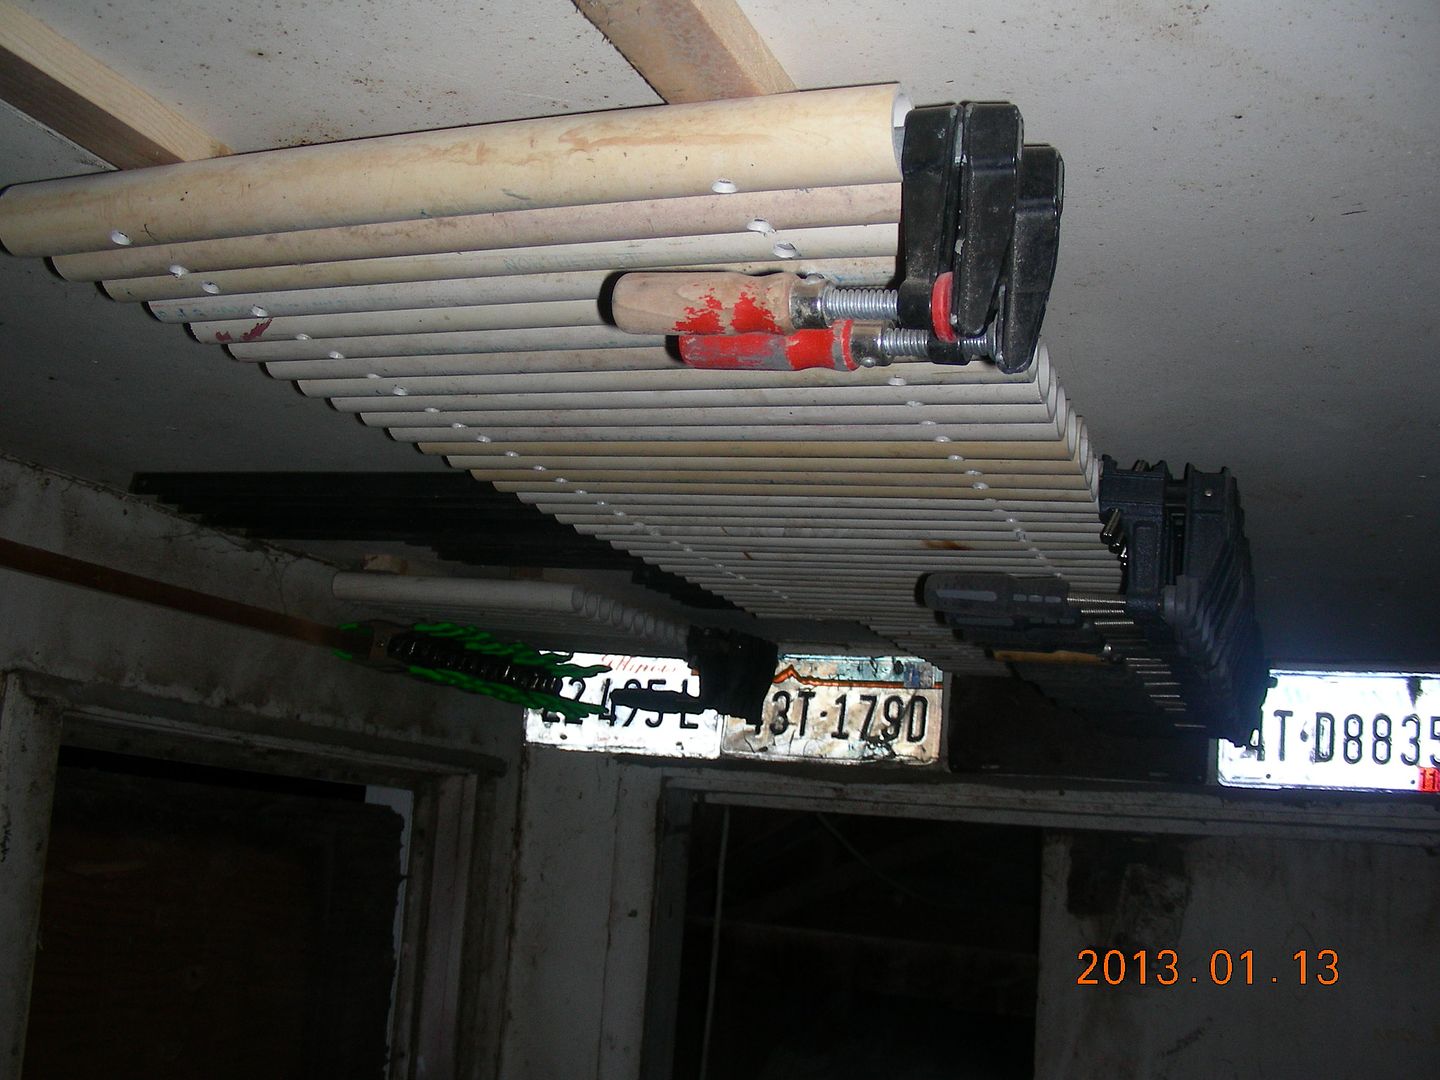
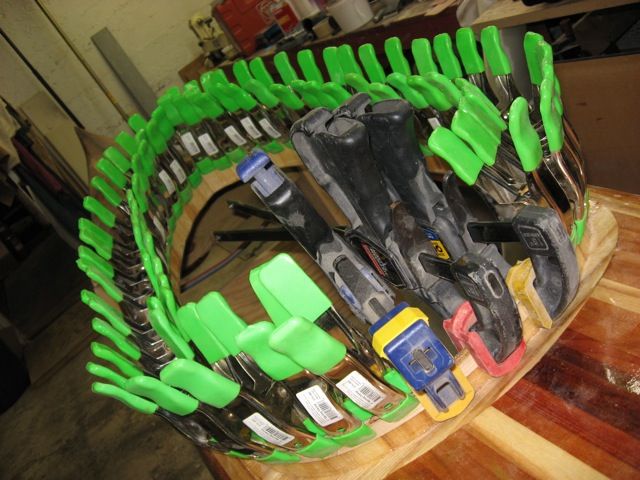
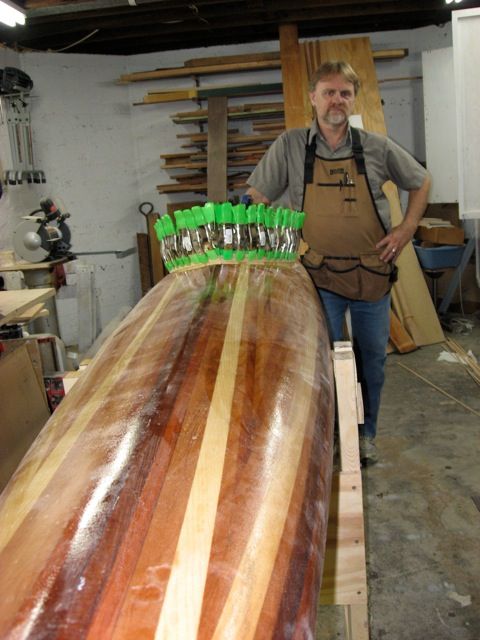
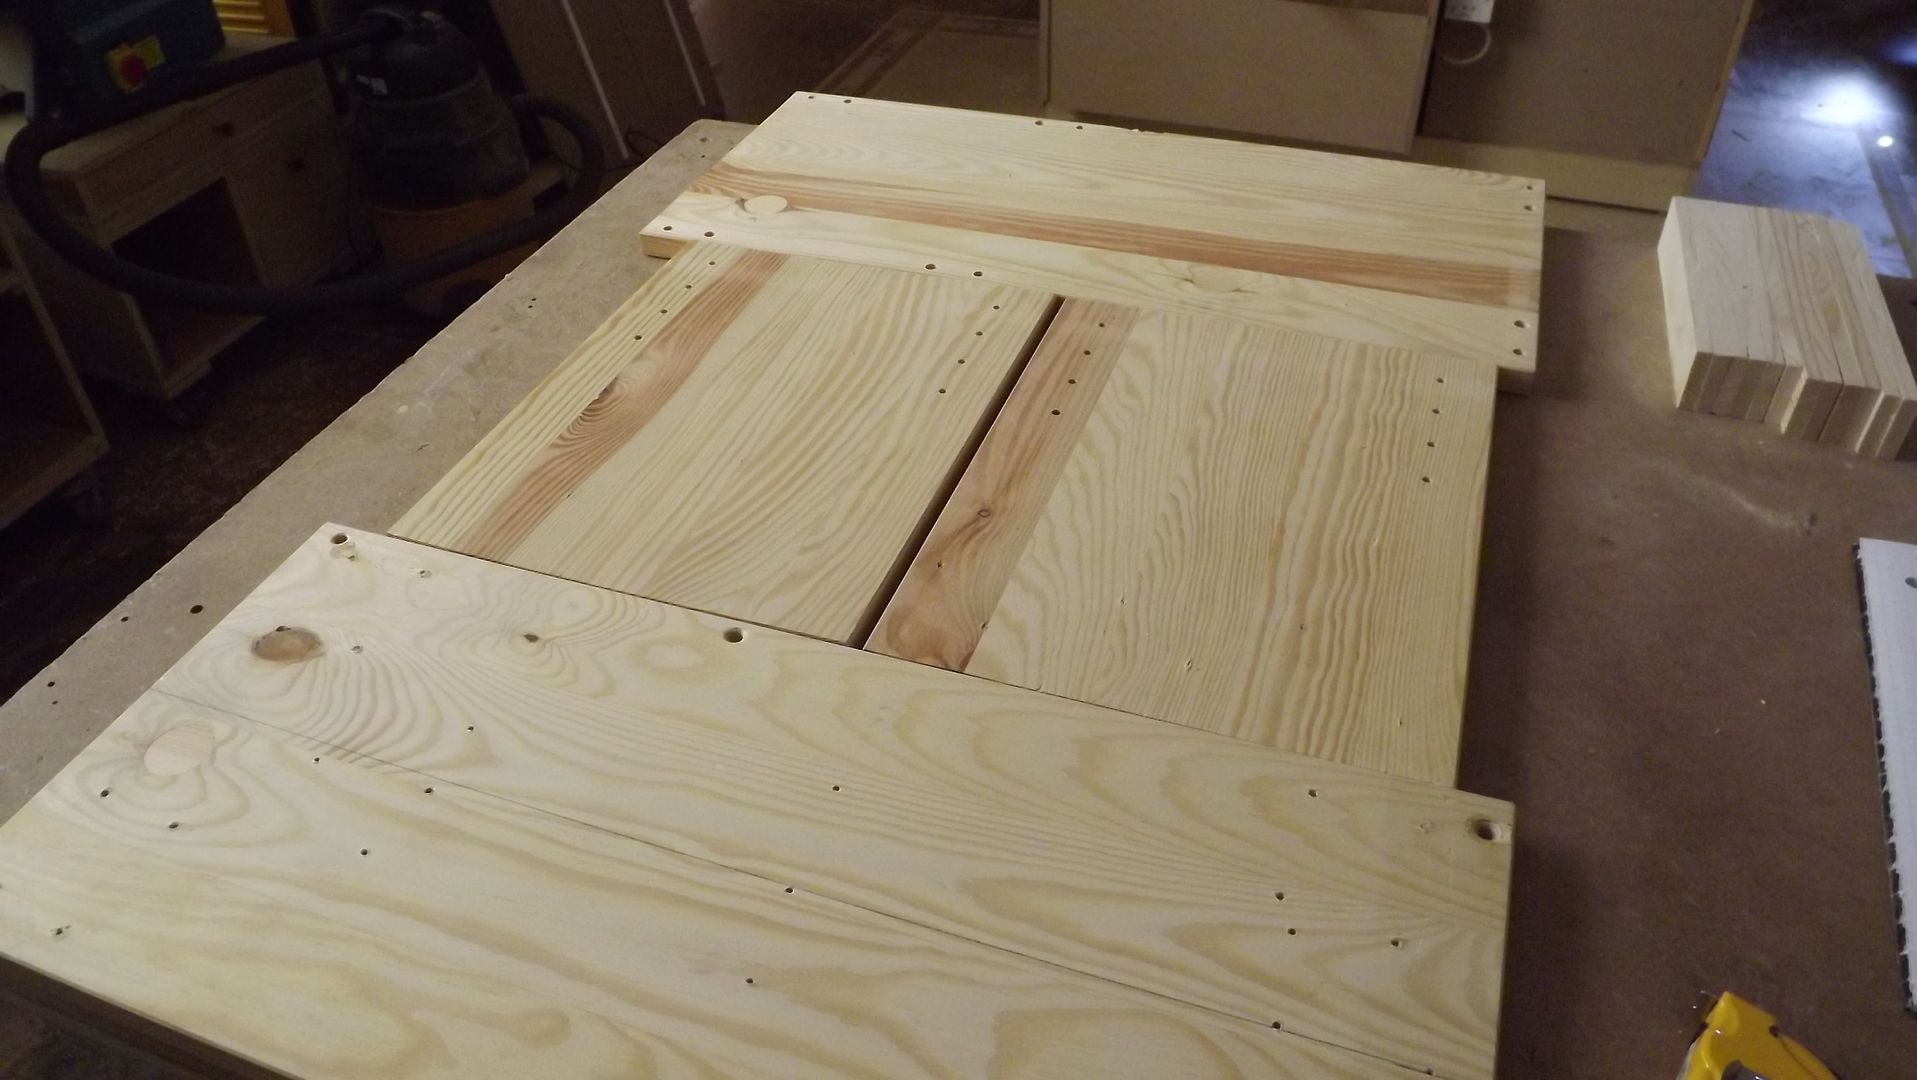
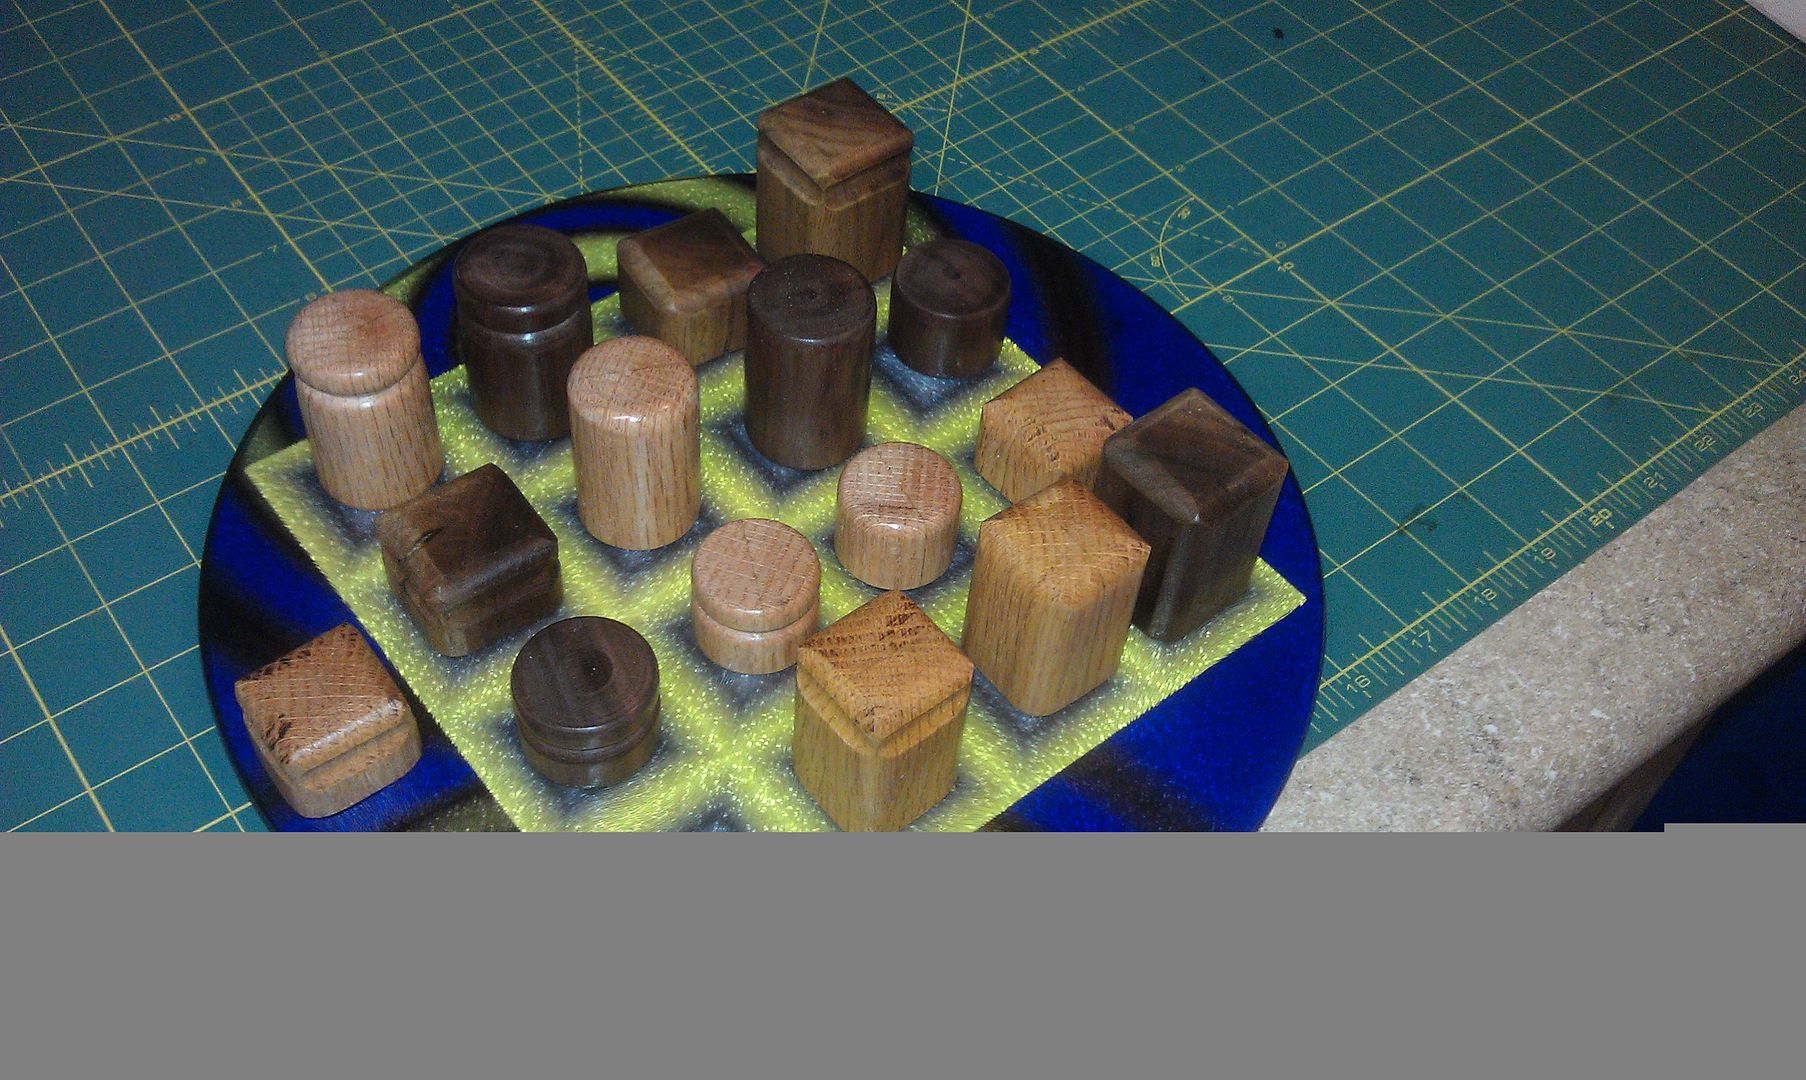
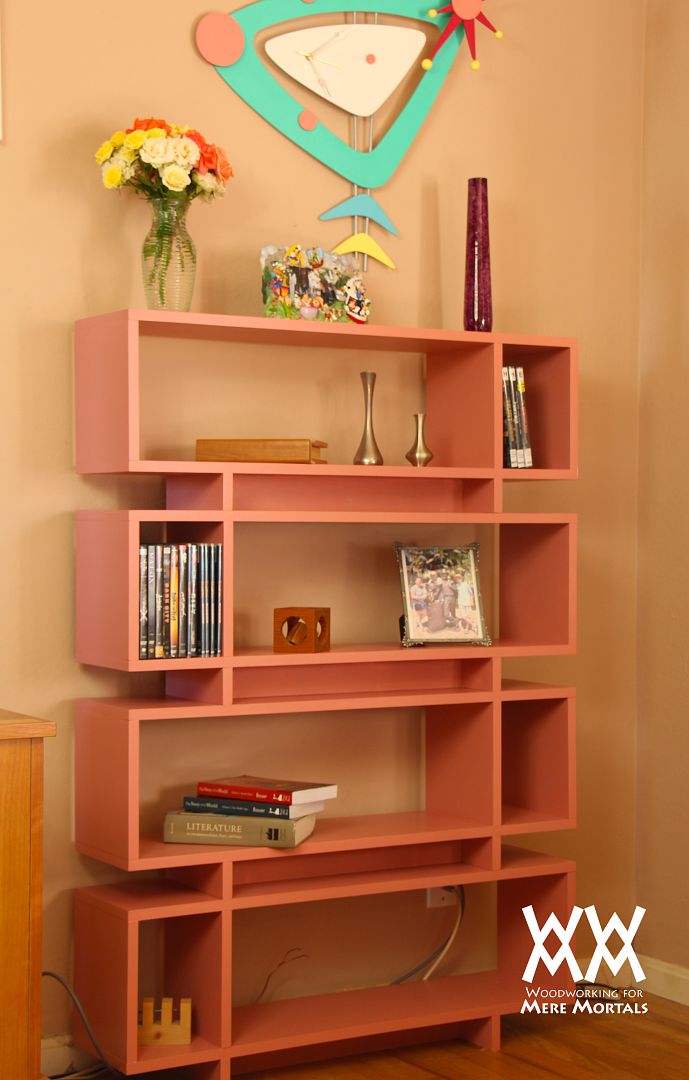
This is an easy project. At least it should be. I ran into a few complications. My goal with this bookcase was to maximize a full sheet of 3/4" plywood. The design I came up with does just that. There is very little scrap lumber left over. I also included room in that sheet for a simple dowel hole jig. Joining this all together with dowels creates a strong piece of furniture as well as eliminates the need for any fasteners. To make this bookcase, just download the plans and follow the cutlist. Keep all your grain running the right way and keep track of your pieces and you will have no trouble at all. It really is that simple. Stained?Since I was using pine plywood, I thought it might be nice if I stained this project: something I rarely do. Typically I just apply a clear finish and let the natural color of the wood shine through. Unfortunately, I decided to try a product I have never tested: a polyurethane/stain mixture in one can. The results were disastrous. Very difficult to apply, it left ugly streaks and pools of stain. It refused to stick to the birch edge banding. People use that stuff?Id like to think I have a fair amount of experience at staining and finishing wood. Ive tried just about every technique there is and I knew this would be similar to applying poly, a fairly time-consuming process. I did everything the manufacturer recommends. I applied a pre-stain wood conditioner and carefully brushed it on using one the the manufacturers brushes intended for their polyurethanes. I let it dry overnight, sanded with steel wool and applied a second coat, which they also recommend. Still looked horrible. As I was already running behind on this project, I had to make a decision to keep applying more coats (after waiting 8 hours between each) or cut my losses and just paint the bookcase. I opted for the latter. This is a product marketed as an easy one-can finish for inexperienced finishers and DIYers. I cant help but wonder how many of them became as frustrated as me and gave up ever trying to finish wood again. Yes, paint!Strangely, I am very happy with the way the paint turned out of this piece! It matches one of the colors in my Jetsons wall clock and fits well in my mid-century modern living room. If you want a super-easy easy weekend project, make this bookcase with the intention of painting it. If you choose to go that route, you can eliminate the edge banding and just paint the exposed plywood edges. You can also eliminate the dowel jointery and just glue and screw it all together. Recess the screws (or nails) and fill in the holes with paintable wood filler. You can also save money by just using MDF instead of plywood, since grain direction is irrelevant on painted pieces. Plans
I was reading about poplar the other day in Wood Magazine, I think. Most of us avoid poplar for our finished pieces, because it has kind of a weird green tint to it. However, according to the article, feel free to use poplar... if you are patient. After a few years of aging, it loses that green tint and looks pretty nice. In this video, Ill show you what purpleheart looks like after it ages. Its a remarkable change. Plus, I thought Id throw in a couple of tips that you probably already know, but good ones, nonetheless. Mere Minutes
Got a note from Jonathan Benzaquen who teaches at the Emek Hebrew Academy down in Sherman Oaks, California. This past semester, the school wanted to incorporate educational electives once a week into its curriculum. Johnathan decided to teach woodworking to thirty 4th-5th graders once a week and thirty 6th-8th graders once a week. He is obviously a brave man!
"What began with three hack saws, miter boxes made from scratch and some glue and sanding paper, has slightly evolved to a drill press (donated by a grandparent), clamps and circular sander. Hopefully it grows into something more."
In this age of vanishing shop classes, it inspires me to see a group of kids eager to work with their hands to build something useful and fun. Kids havent changed: our desire and commitment to help them learn manual skills has. Big thanks to guys like Johnathan who are willing to take on tasks like this and enrich the lives of so many kids. Check out these sweet looking menorahs they made. After building them they made some Mere Mortal whistles with the leftover wood. Oh, and look in the background of the group photo. Is that a WWMM logo back there?
Another post ...at last!... Sadly again without in any real useful or interesting content.
Lately (as regular readers can probably tell), I have been lacking motivation in the wood working department - for a number of reasons.
Firstly, I dont have any wood around thats suitable for any of the things Id actually like to make - such as a tool chest. My Timber Investment is still drying out in the shed and wont really be ready for anything other than really rustic work and gardening projects for a little while and I am too tight to purchase more premium cost wood from the timber yard.
Secondly, in my quest to escape the timber merchant, I have been trying to process the raw billets of Oak and Walnut with a lot of frustration! While my little bench was fine for pre planed wood, its simply not man enough to handle the rough scrubbing of the billets down to usable dimensions. The poor thing racked so violently, it almost fell to pieces!
The base twisted so badly that the bottom shelf fell out and I swear the bench tried to escape from me by smashing through its supporting wall! Anyway, ... I will try and brace the bench up and bite the bullet and make it as low as possible to see if that helps with planing, while I try and ignore the obvious - Make a PROPER BENCH!
And I thought everybody was building Roubo benches just because they were just fashionable!
Lastly, being as OCD as I am, I find it really hard to obsess about more than a single topic of interest at any one time and lately that topic of interest has been gardening. The gardening obsession was born through my overall interest in Self Sufficiency, which in turn has led me back to wood working, albeit of a slightly different nature this time. As I have cut down a few small trees in the garden lately, I find myself staring at their small trunks and wondering if theres any usable wood inside...
I found a guy selling really cheap (less than £30 inc P&P) Froes on Ebay. Its not hand forged or anything fancy but its certainly good at its job. I really wish Id had this tool while in France playing with the Oak and Walnut logs. I carved a mallet for it from one of the small trees, to save my Beech chisel mallet from being ruined. I have also invested in a really nice Wetterlings hatchet, which is hand forged and lovely.
A Hook Knife is still on the shopping list.... Spoons, Bowls and Kuksas here I come!... And, you dont need a bench!
Hi guys, I am back from my week off and feel fairly rejuvenated. The biggest problem with returning from a vacation is trying to catch up on all the email and messages that have piled up over the week! I was thrilled to discover how many of you busy bees have been making mallets. So lets dive in. ***** Wes Woods in Idaho made his using oak from an old pallet and added black walnut wedges.
*****
Carmen Salamone had the great idea to fill the head of his mallet with pennies. I think Ill try that next time!
*****
Heres Denny Scharringas take using birdseye maple, ipe, and mahogany.
*****
Ron Ward made a mallet without the help of a table saw, but it came out great. I especially like the head shape.
*****
James Everett raided his scrap pile and put some red oak, purple heart, and walnut to use.
*****
Bill Wilson checked in with his walnut and padauk mallet. He used lead weights from black powder bullets for the head.
*****
Mere Minutes
I am making a door harp for Fridays video. Plus a little of what I did on my summer break.
This is my last video of the year. Mostly, I just want to thank all of you who continually support my show and inspire me with your creativity. Ive got a number of projects in mind for the new year. Near the top pf that list is a router table. I really hope to get that started very soon. Keep watching, and Ill see ya next year! *****
Even if you spend most of your woodworking time in a well-equipped shop, there are times you will need a good pair of sawhorses. I use them all the time, especially for working on outdoor projects. If you dont have a any, build a pair! I guarantee you will find all sorts of uses that you never expected. There are a lot of different ways you can make a sawhorse; it seems everyone has his own preferred method. Here is a pair you can easily make in less that an hour, using five 2x4s. I used my miter saw for all cuts. *****
One thing leads to another as I organize my shop. It really just started by wanting some clamp storage racks. That got me to make a new lumber storage rack, which inspired me to go through my wood hoard. Now I have a bunch of wood in my driveway I need to get rid of. The clearing of excess lumber got me to clean out a bunch of other junk under my workbench. Mostly, a large pile of towels that have been doing nothing but collecting sawdust for a couple years. When my wife buys new towels for the house, the old ones become shop towels. And shop towels are not like clamps: you can definitely have too many. Now I have seemingly tons of extra space in my shop. Im going to give this all some thought before I start slapping up shelves willy-nilly. Need to fully examine the long-term implications. ***** Thirteen-year-old Connor DeWald (so close to DeWalt!) began organizing his clamps with this DIY rack. Connor sent me over a shop tour, BTW. Great looking shop in the making.
***** Heres a clamp rack Wil Wilson built with his father-in-law to store his massive collection. Wow!
*****
And Bill Wilson was able to organize some of his clamps using my rack:
*****
Looking for a simple clamp storage solution? Check out Dallas Diehls system. PVC pipes! This make a lot of sense.
***** And just in case youve been wanting to buy some green clamps and having a hard time finding any, it appears Michael Calhoun bought them all.
*****
But you wont need to buy any clamps at all if you make your own. Here are Dave Rutans homemade bar clamps and awesome fold-up storage system. Check out the full story here.
*****
Tomas Johansson shows how clamp storage is done in Sweden. Well, at least in his shop. Very organized!
*****
Quarto!
Lest you think people have stopped making Quarto games, heres Ibrahim Al Abdulaalys all-in-one board with storage. He made it using an old Ikea bench!
*****
Patrick J. ORourkemade this version with oak and walnut pieces (love the shaping on those pieces) and used a glass cutting board for the game surface. Clever!
***** Shane Rudnik really took Quarto to another level by making a dual-function game table. Quarto on one side, chess on the flip-side. Sweet.
*****
Mere Minutes
Heres an update on the lumber rack from last Friday.