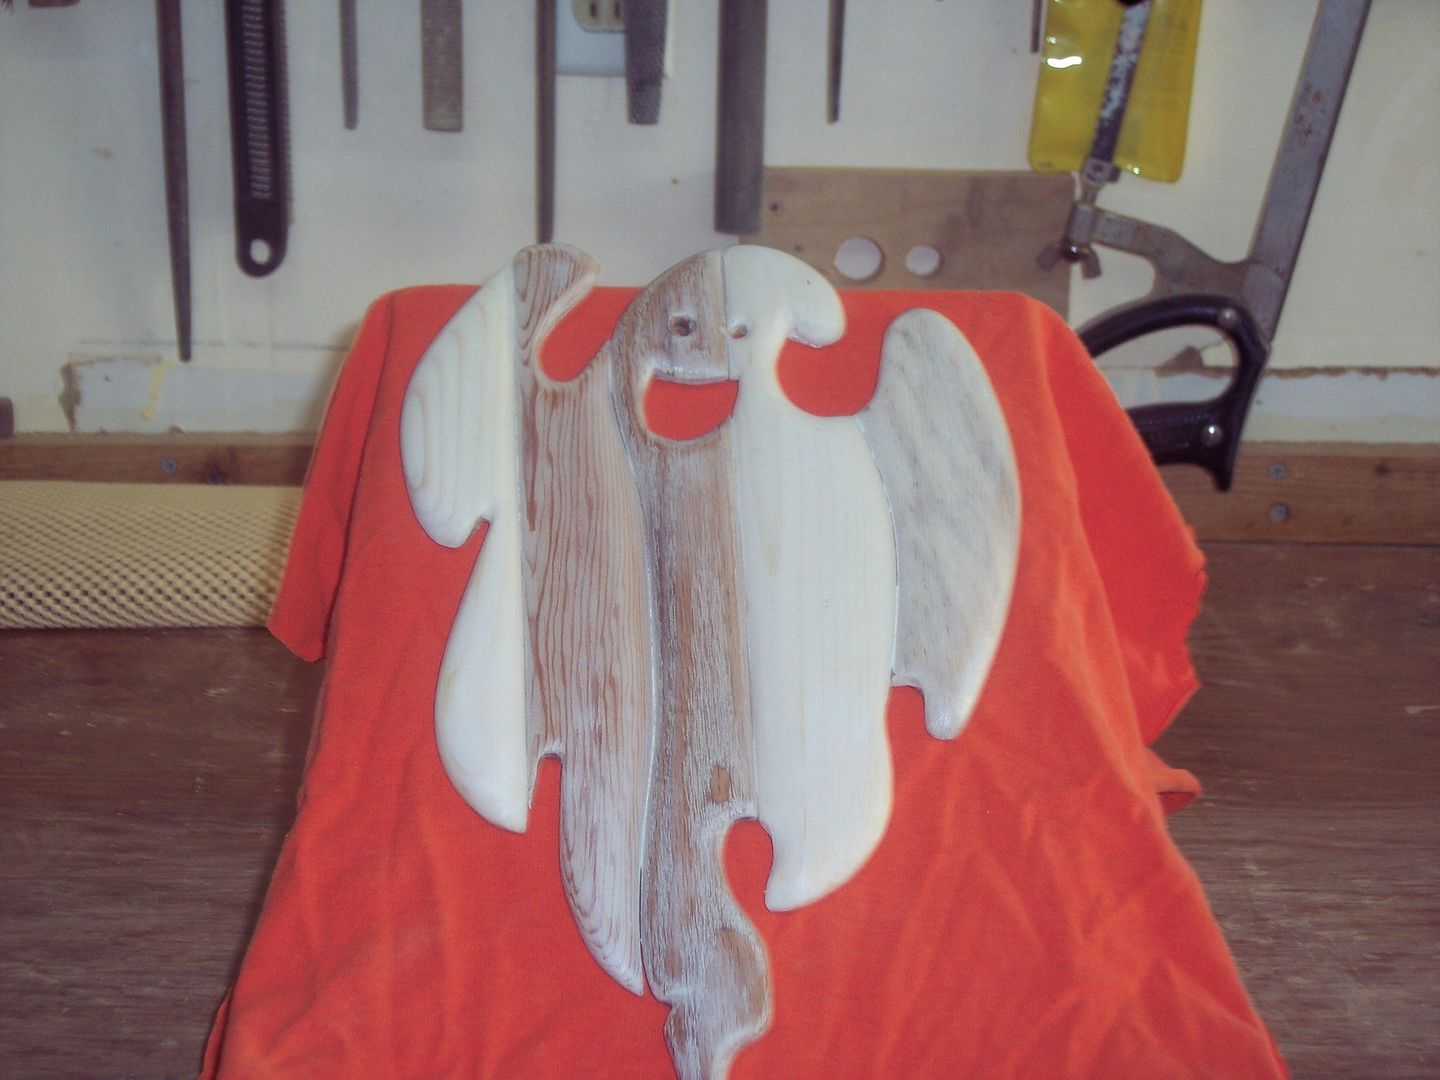
I wanted to answer a few questions about the snowflakes. The most common question was is how to slice them up if you dont have a band saw. In this mere Minutes video I suggest using a handsaw which I think would work pretty well. If you have a scroll way, I think that is another option, assuming its wide enough. If you have any other idea, post them in the comments section. *****
Ive been reading this book that is getting me to examine my own creative process, both in woodworking and video production. Making Your Creative Mark: Nine Keys to Achieving Your Artistic Goals By Ph.D. Eric Maisel makes a clear connection between expressing yourself artistically and self-confidence. Even if you arent a professional woodworker, projects we create just for friends and family can cause us stress. After building something, we open ourselves up to scrutiny. When you give someone a gift you have made, you are giving them more than the object: you are presenting your unique vision and all the hard work that it took to get to that point. In a way, it takes more confidence to open yourself up to friends and family because they will rarely give you honest opinions of your work, leaving you with uncertainty. "I wonder what they really think of that jewelry box? My dovetails sucked!"I suspect this may be one reason why many woodworkers spend a lot of time making "shop projects", projects that are not open to review and criticism other than by ourselves. I am enjoying this book and recommend it for helping you focus on your vision and understanding its validity. And who couldnt use a bit more confidence? Mere MinutesA bit more about purple paint.
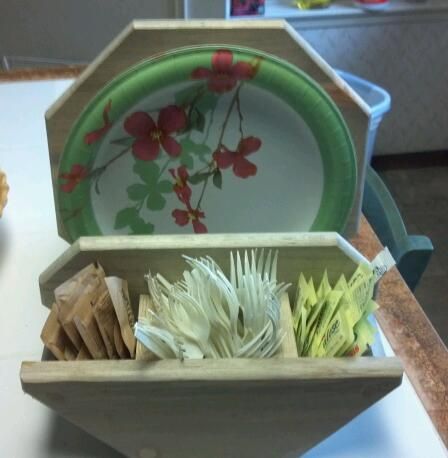
Its been a quiet week for me online. My dad came out for a visit turning this week into a vacation of sorts. But we did manage to put together a quick project for tomorrows video. Heres what some of you have been up to. Definitely a lot of springtime projects getting made. Last year I made a picnic tote for storing paper plates and a keeping paper napkins from blowing away. Bill Wilson made this one double sided for holding condiments and utensils.
*****
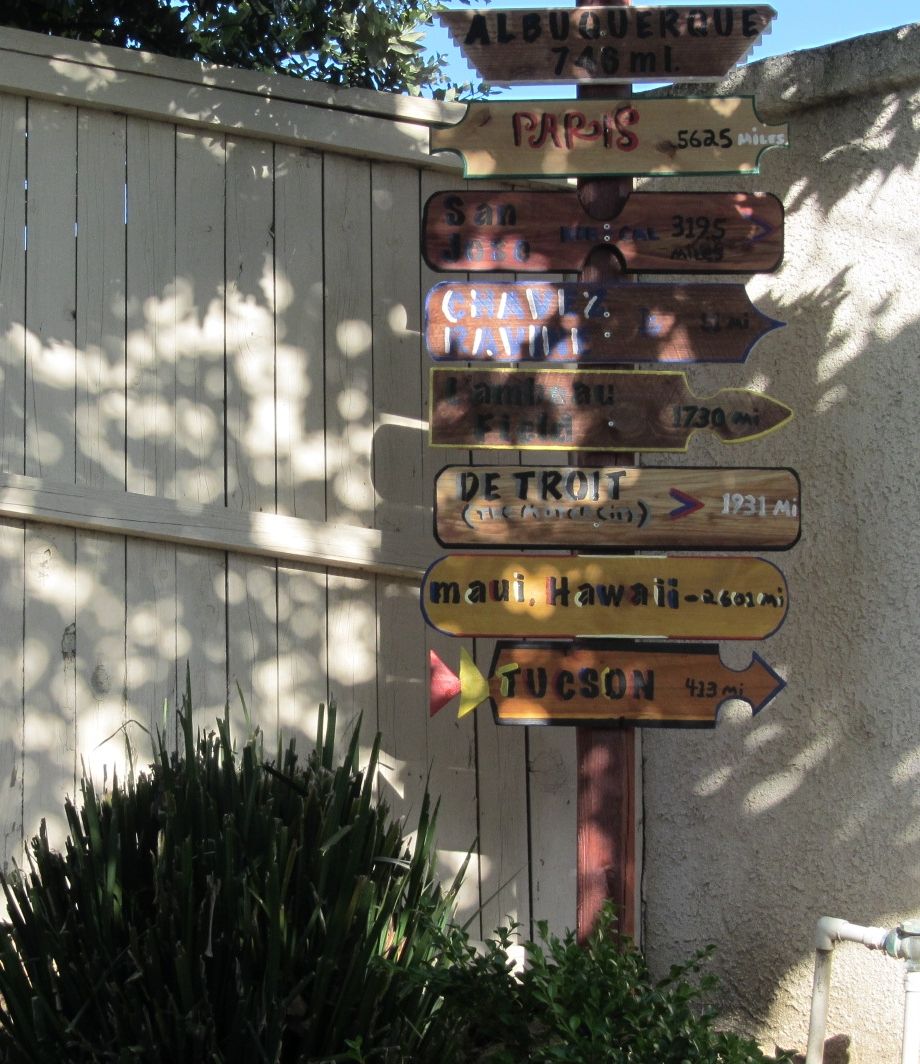
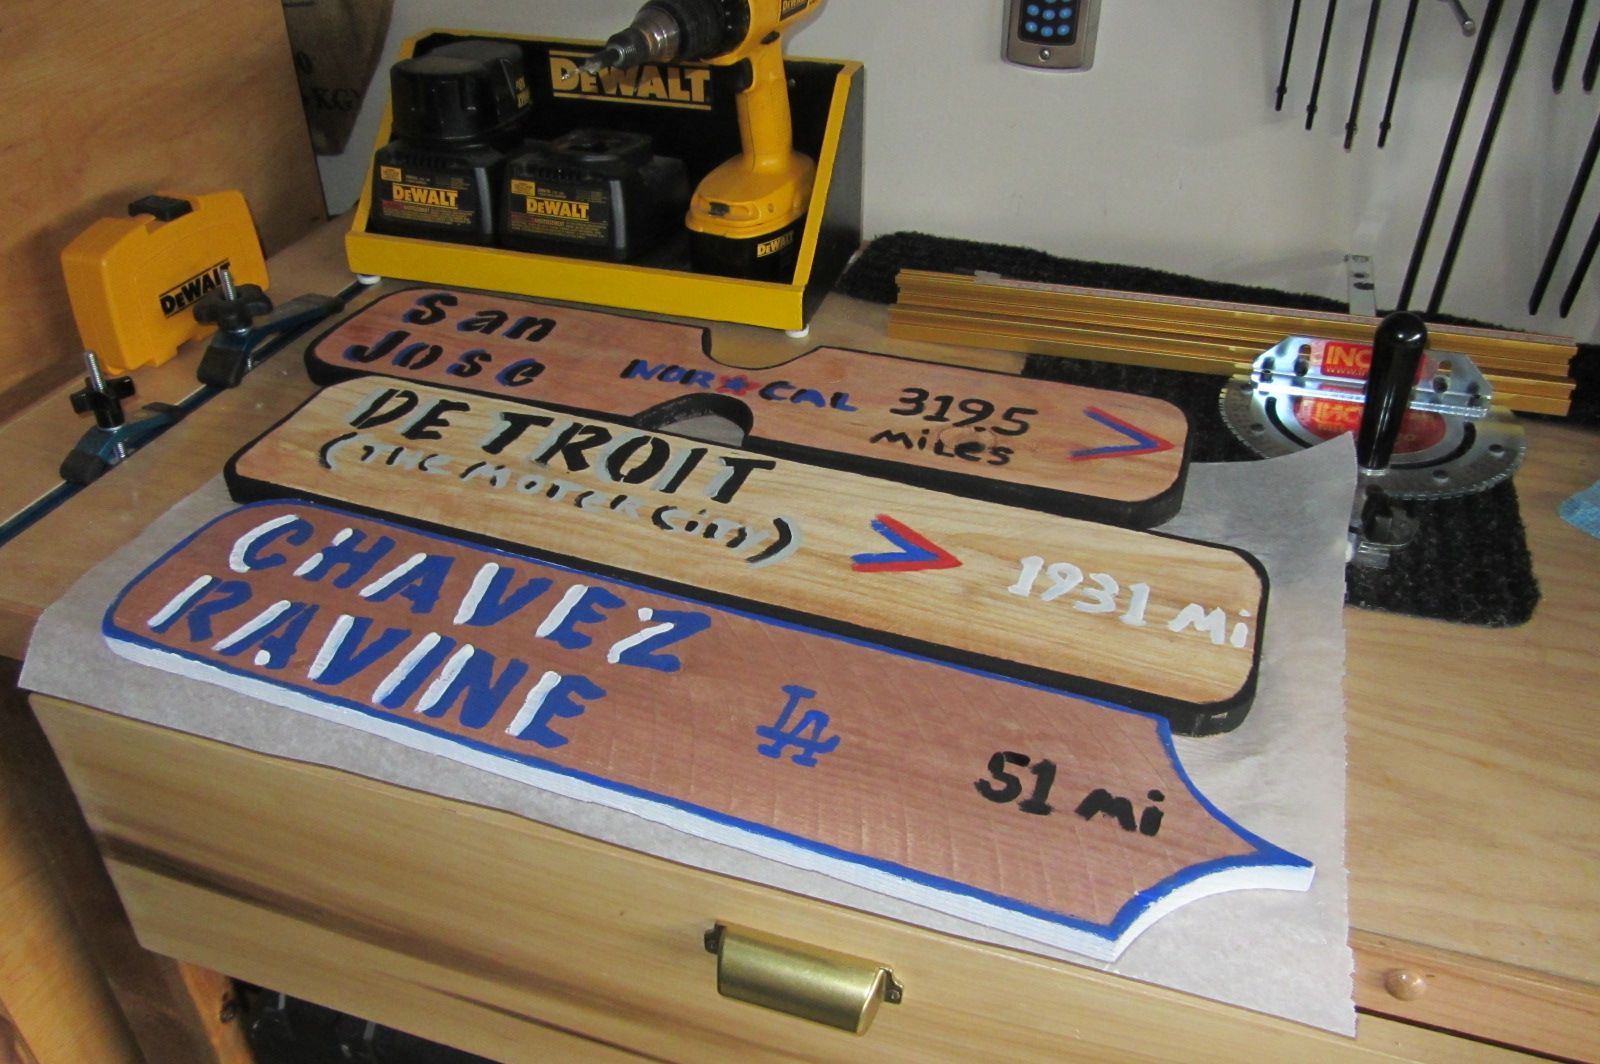
Heres a project Ive recently added to my to-do list. Ron Ward made this sign post for his yard with all different sign shapes pointing to important and memorable places in his life. I just love this idea.
*****
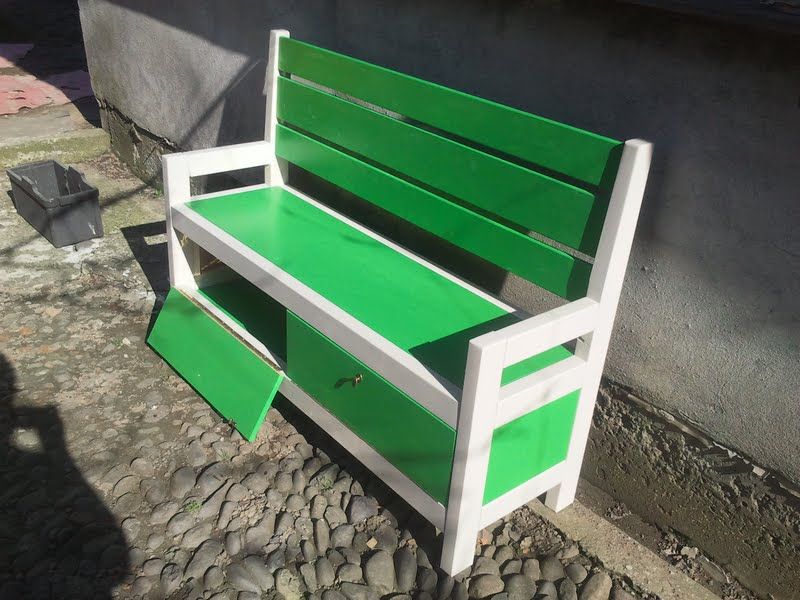
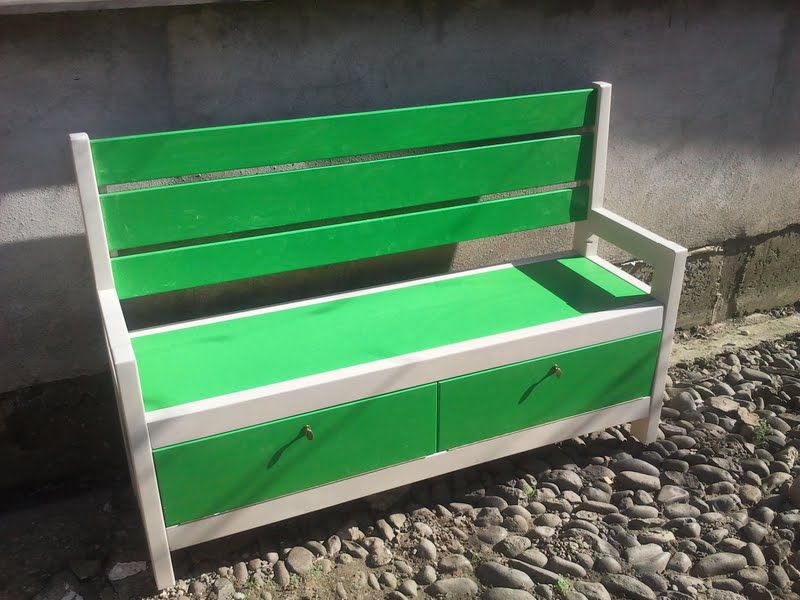
If you are looking for a very simple project to get you into the yard this spring, try making my 2x4 garden bench. You can build it in a weekend. I love seeing how people have modified it too. Check out
Horatiu Simions version in Romania. Love the bright paint and storage area.
*****
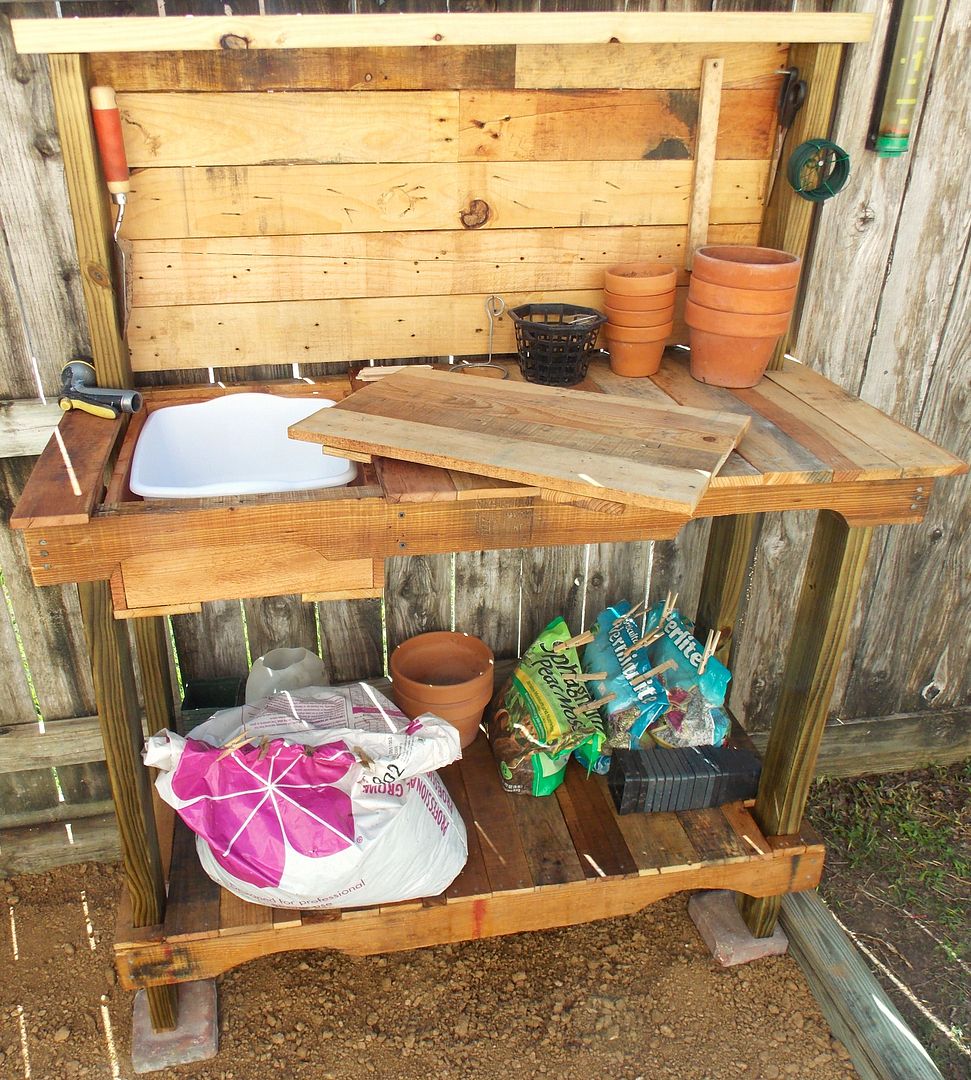
Have you tried any pallet projects yet? Heres Arnold Knoches take on my rustic potting bench. These things are really fun to make.
*****
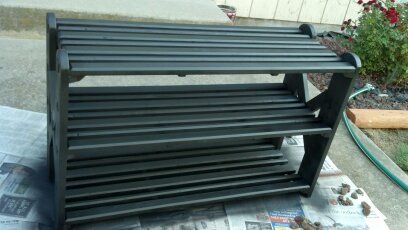
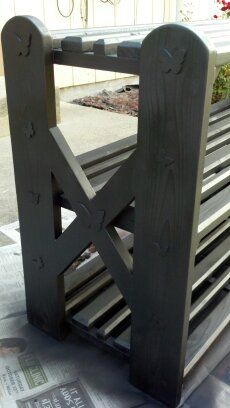
And heres a good idea from Bill Kirbym, who made this shoe rack using reclaimed pallet wood. The butterflies and details on this really set it apart.
*****
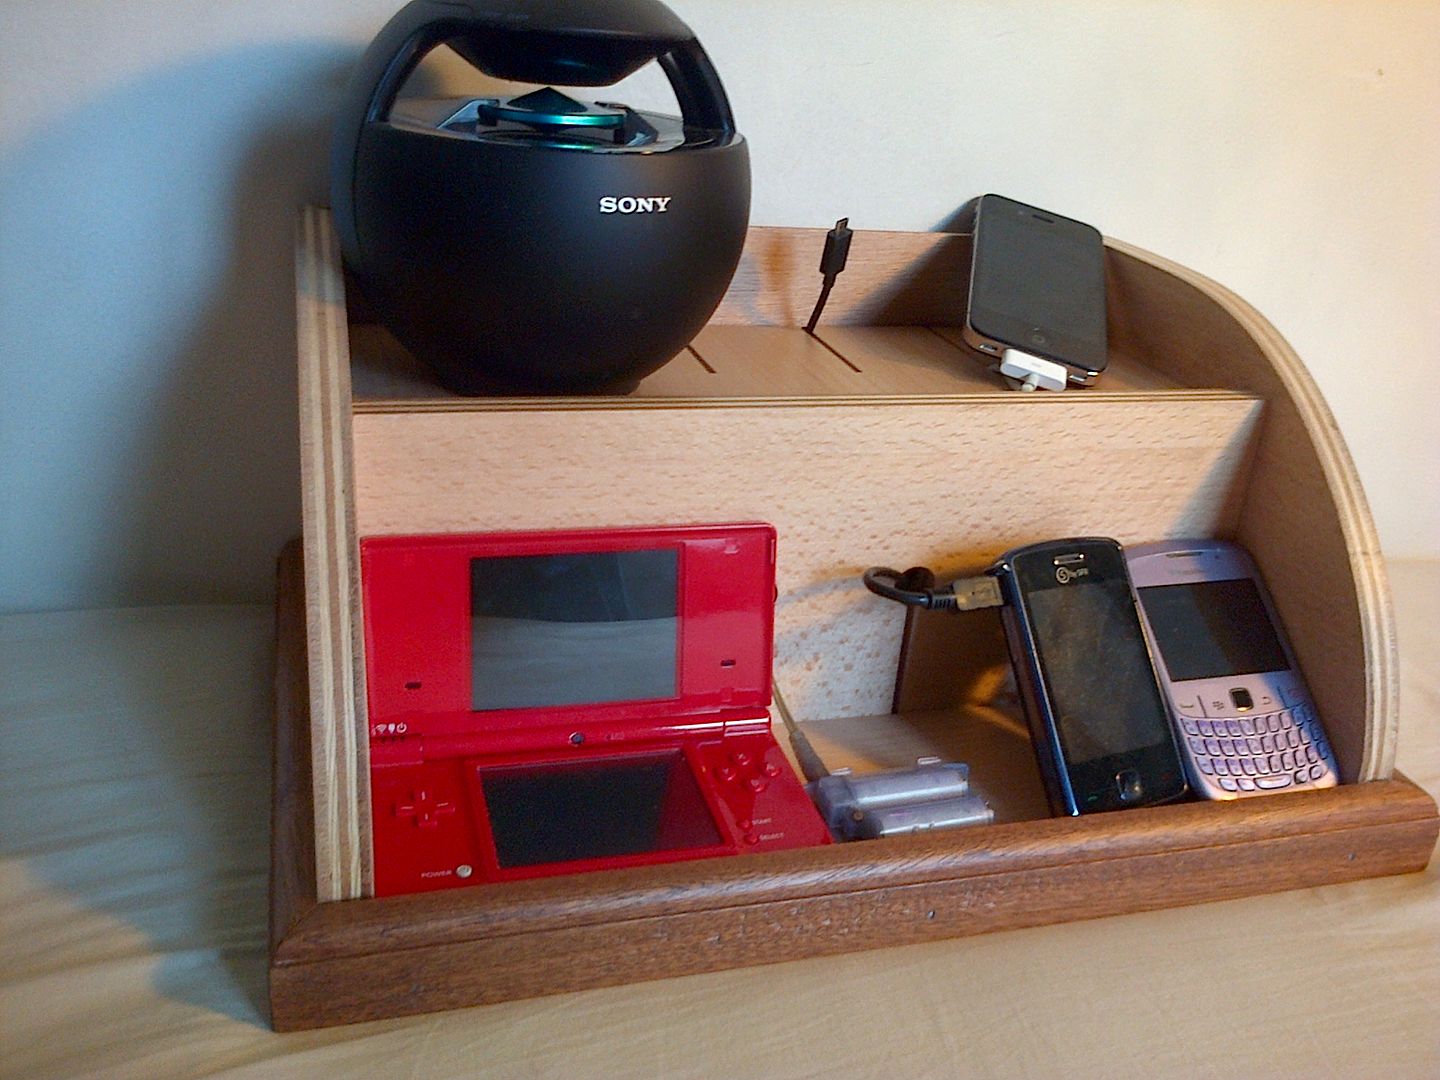
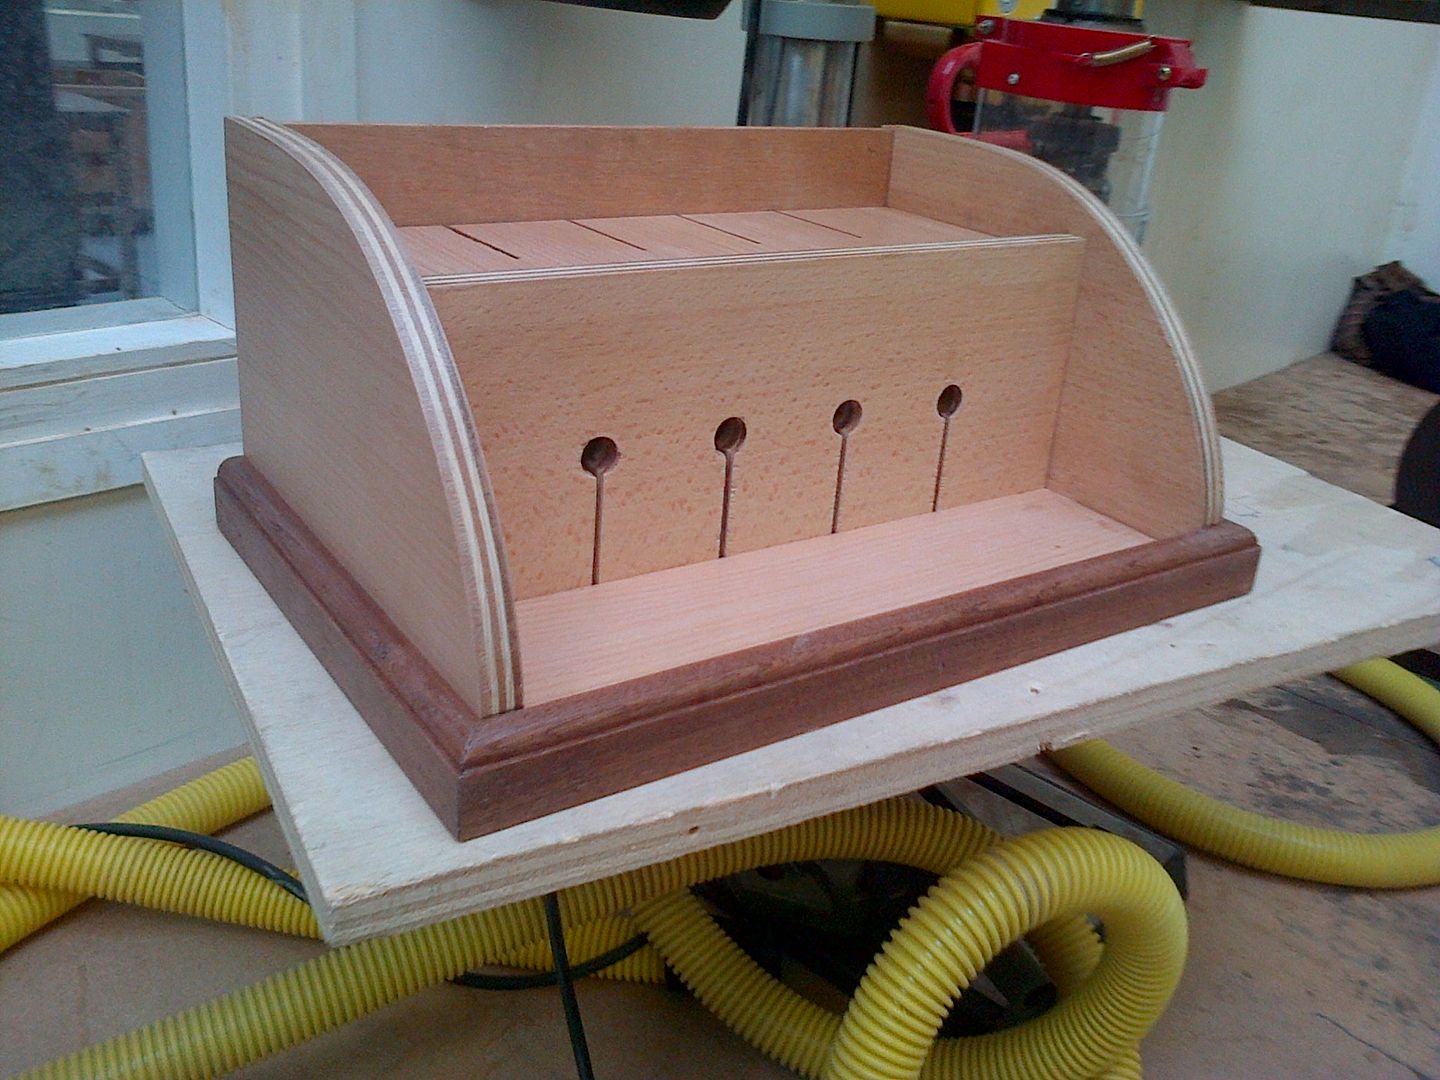
Of course, just because its spring doesnt mean you cant make indoor projects! Gregory Morel made one of my charging stations using plywood and exotic lumber. That combination is always interesting.
*****
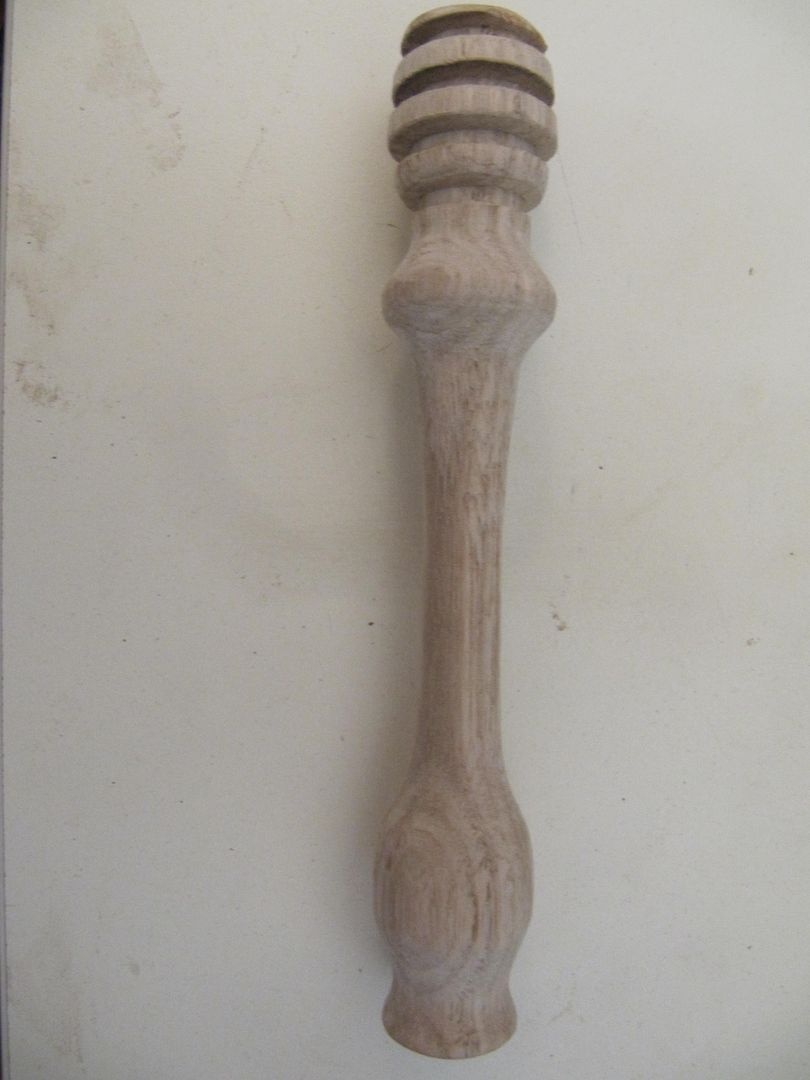
Finally, I wanted to show off some projects from 16-year-old Connor Mcallister in Australia. He recently got a lathe and turned this honey dipper. I told him that is one of those projects I think about every single time i turn something on my lathe. One of these days maybe Ill actually make one!
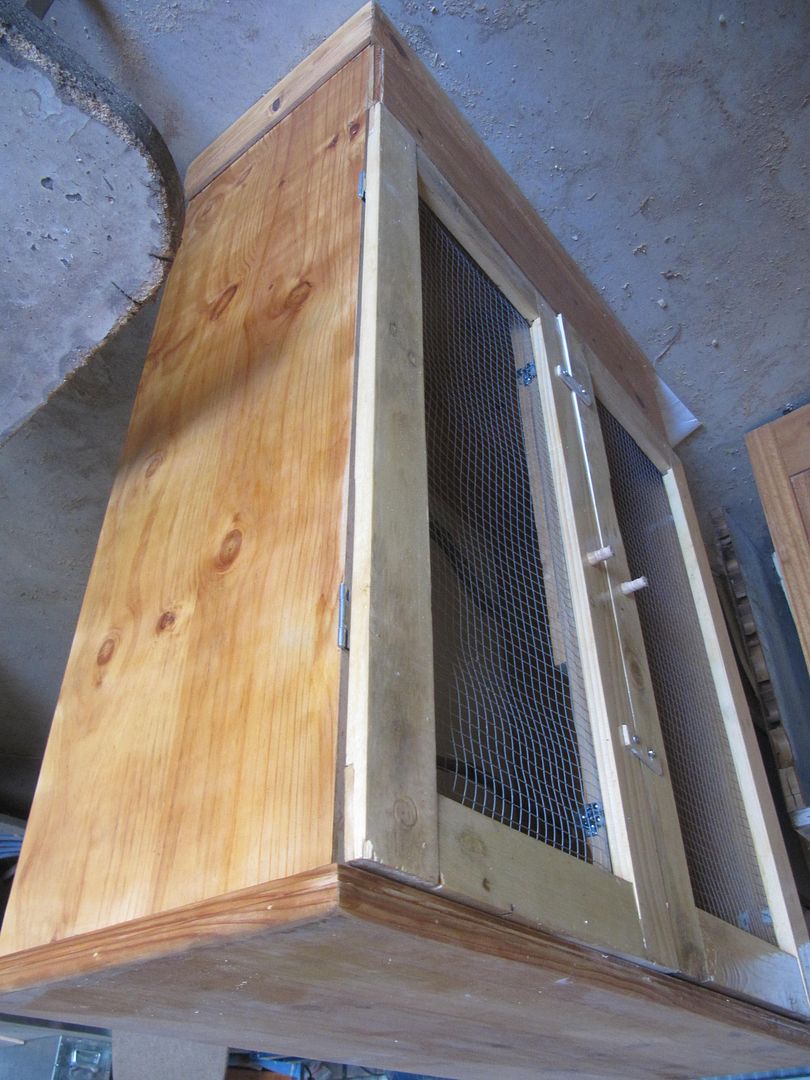
Connor also took and old wardrobe and converted it into an aviary for his grandfather using pallet wood for the doors. Way to go man.
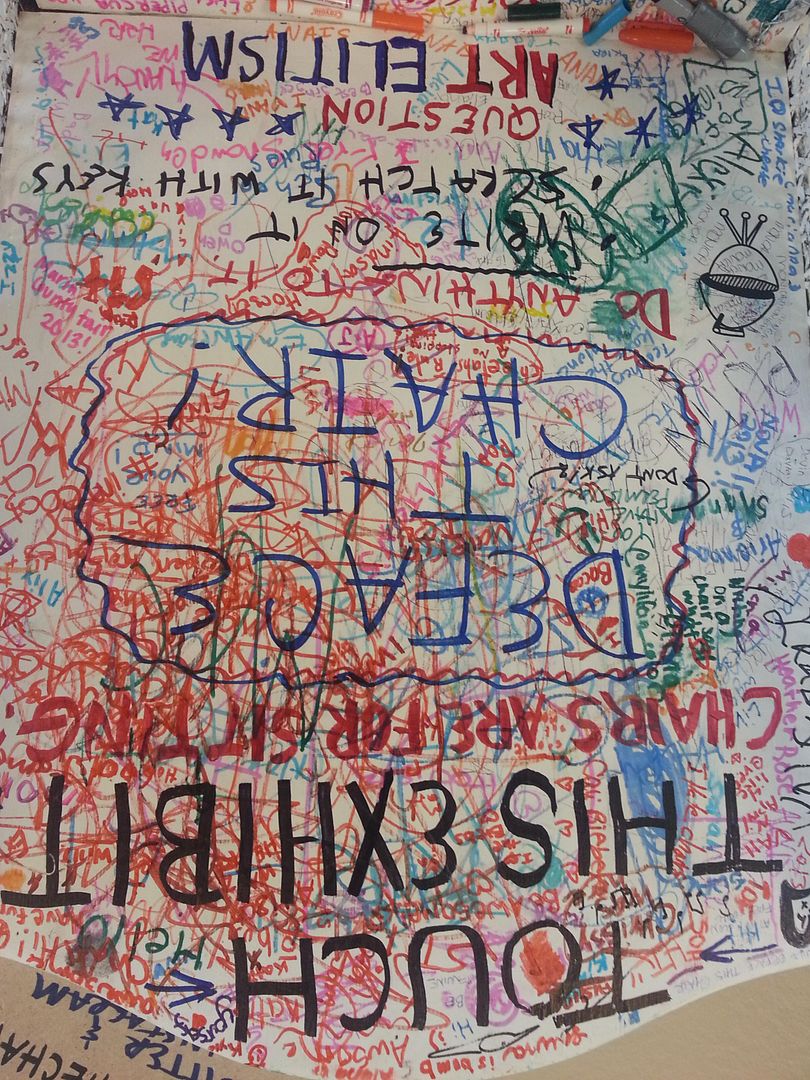
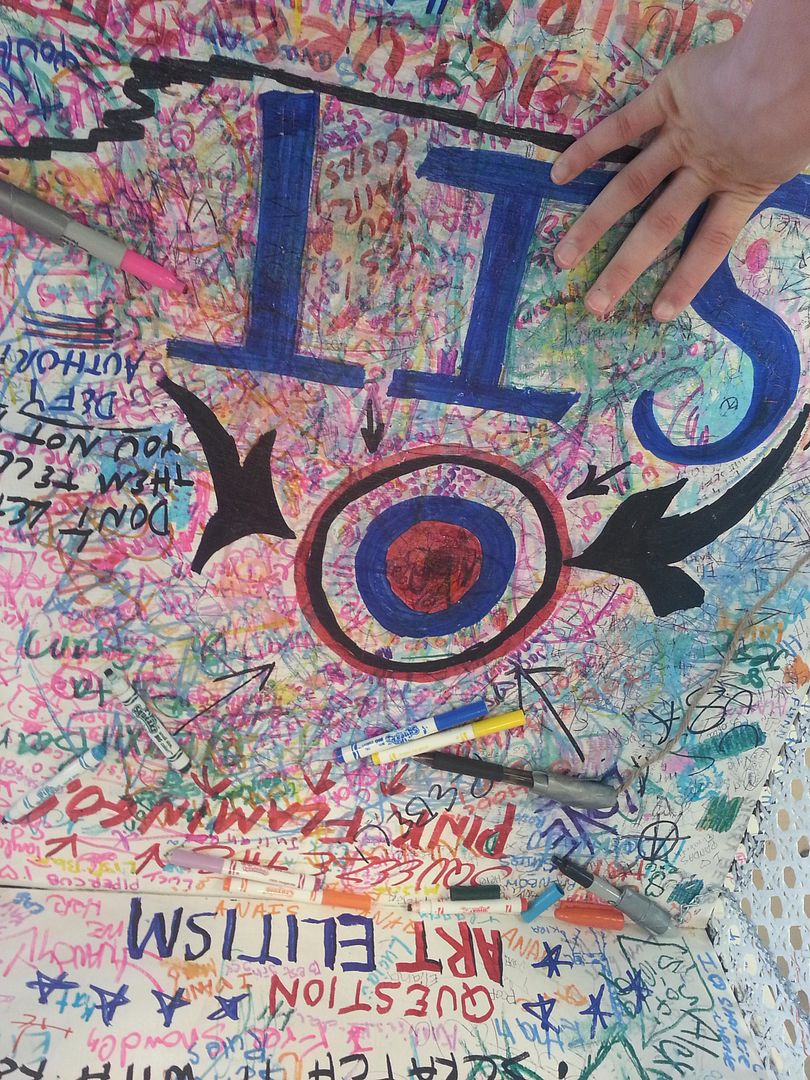
We went to the Marin County Fair yesterday and I was thrilled to observe the popularity of my "decorated chair" entry. My intention was to challenge peoples notions of art exhibits and get them involved. The fair has thousands and thousands of entries in hundreds of competitive art categories. As far as I know, mine was the only one that asked the viewer to get involved and be part of the exhibit by writing on it and posting photos of themselves on Instagram using #iminthechair. It was fun to see people spending lots of time writing on it. It is completely covered with graffiti: I cant wait to bring it home and read all the messages. Gotta give credit to the Fair officials who seem to have had no problem letting people do more than just touch my exhibit, although the noisy flamingo squeak toy is missing. I cant help but wonder if it will be back on the chair when I pick it up.
I should have spent a little more time explaining the advantage to using a miter sled, and actually showed that in Fridays video. What I showed was cutting a miter on the same side of the sled, which obviously defeats the beauty of using a miter sled. Essentially, you just need to ensure that the two "fences" are exactly 90 degrees. That is the critical part. If they are slightly off from 45 degrees to the blade, thats okay. Just make sure you cut each piece on opposite fences and they will add up to 90 degrees. And, I want to know about your vises. No, not your vices. You can keep those secret. Never really thought much about vises before, but well, anyway, heres a video: Mere Minutes
This started out as a simple enough project, but turned very frustrating. I predicted that tuning the keys would be tricky, so I decided right from the beginning that I wouldnt drive myself mad about obtaining perfect pitch. This was intended to be a toy xylophone, after all. What I didnt foresee was the challenge of attaching the keys to the frame. I spent hours trying many different methods, most of which left the keys producing dull thuds or rattles. In the end, I achieved fairly good results by using felt and velcro. But I am sure there are much better ways to hook them on. I can tell you with certainty however, that padauk wood sounds great! *****
Contest time! Microjig sent me a couple of Grr-Rippers recently and asked me to try them out. They improve not only my safety, but the cuts of my wood. Heres the best part: Microjig is offering up a Grr-Ripper to one lucky Mere Mortal. Entering is simple, but you have to get a little creative.
Please enter the Mere Mortals Haiku Challenge here!
Get to it quick. Enter by next Friday...the 10th!
Heres my video about the Grr-Ripper. Not only that, but a cool magic box you can make in your shop in a day.
I really enjoy making wood games. They make great gifts and are a great way to try out some new woodworking techniques to customize them. This time last year I made a Quarto game, which holds endless design possibilities. Like some chess boards, they become works of art as well as pastimes. Shut-the-Box is a very old game dating back to the 12th century. Im going to guess that it is most popular as a gambling game, since it isnt very involved and each game lasts a minute or so. I think it would also be a good early-learning game for children to reinforce simple arithmetic. I made mine out of cherry and paduk left over from my recent cheese cutting board project. I used all 1/2" thick wood because 3/4" boards always look "heavy" to me on smallish-sized boxes. I like to add inlay on lids such as this, where I drop a plywood panel into a rabbeted frame. It looks good, but the main reason is to conceal any gaps where my cuts arent perfect! Plans:
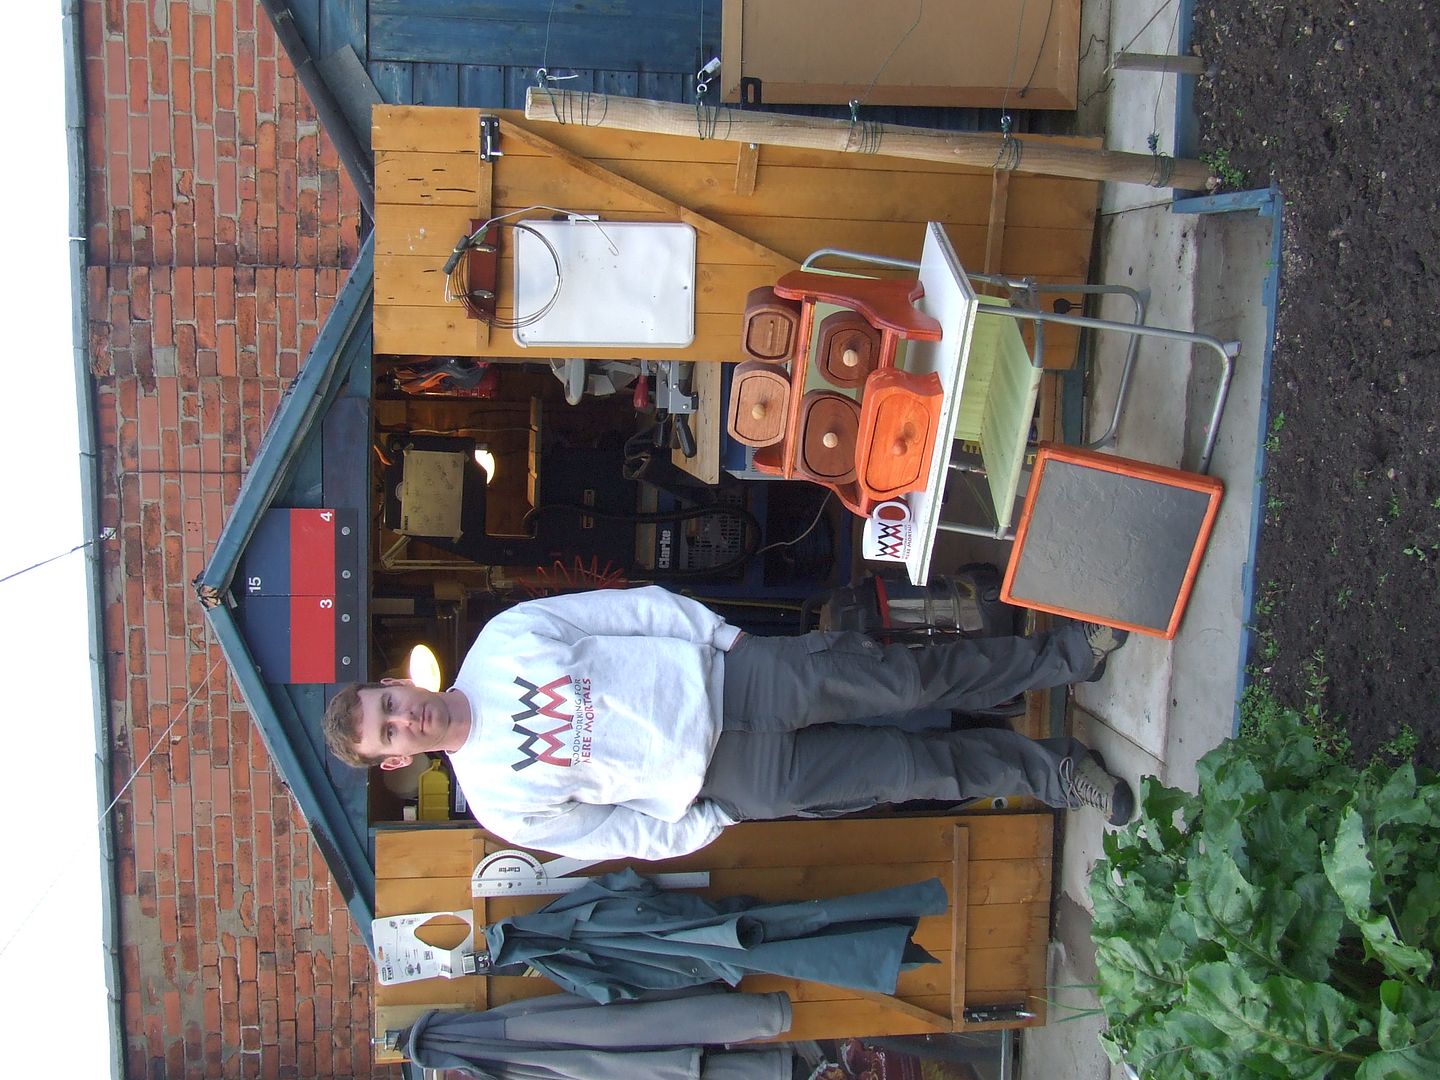
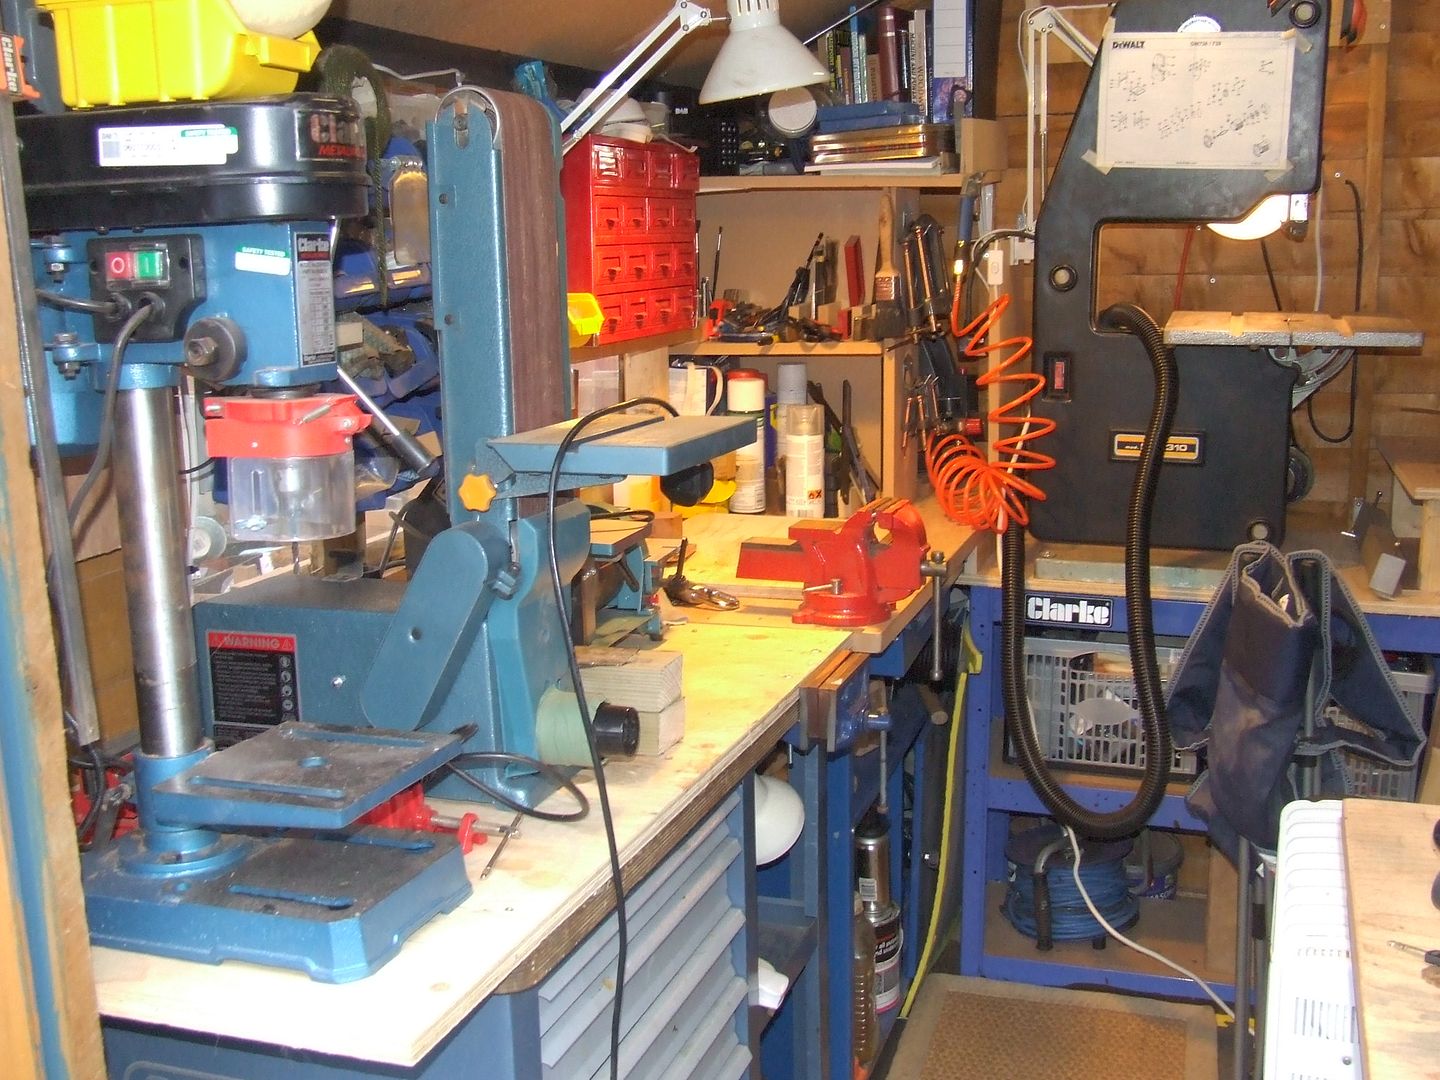
While its not Halloween related, I had to show off Paul Lewickyjs shop in the U.K. Paul is currently on a 7 month tour of Afghanistan with 15 Sqn Royal Air Force Regiment. Nice shop! And he definitely appears to be a fan of WWMM! Woohoo! Nice looking stuff there.
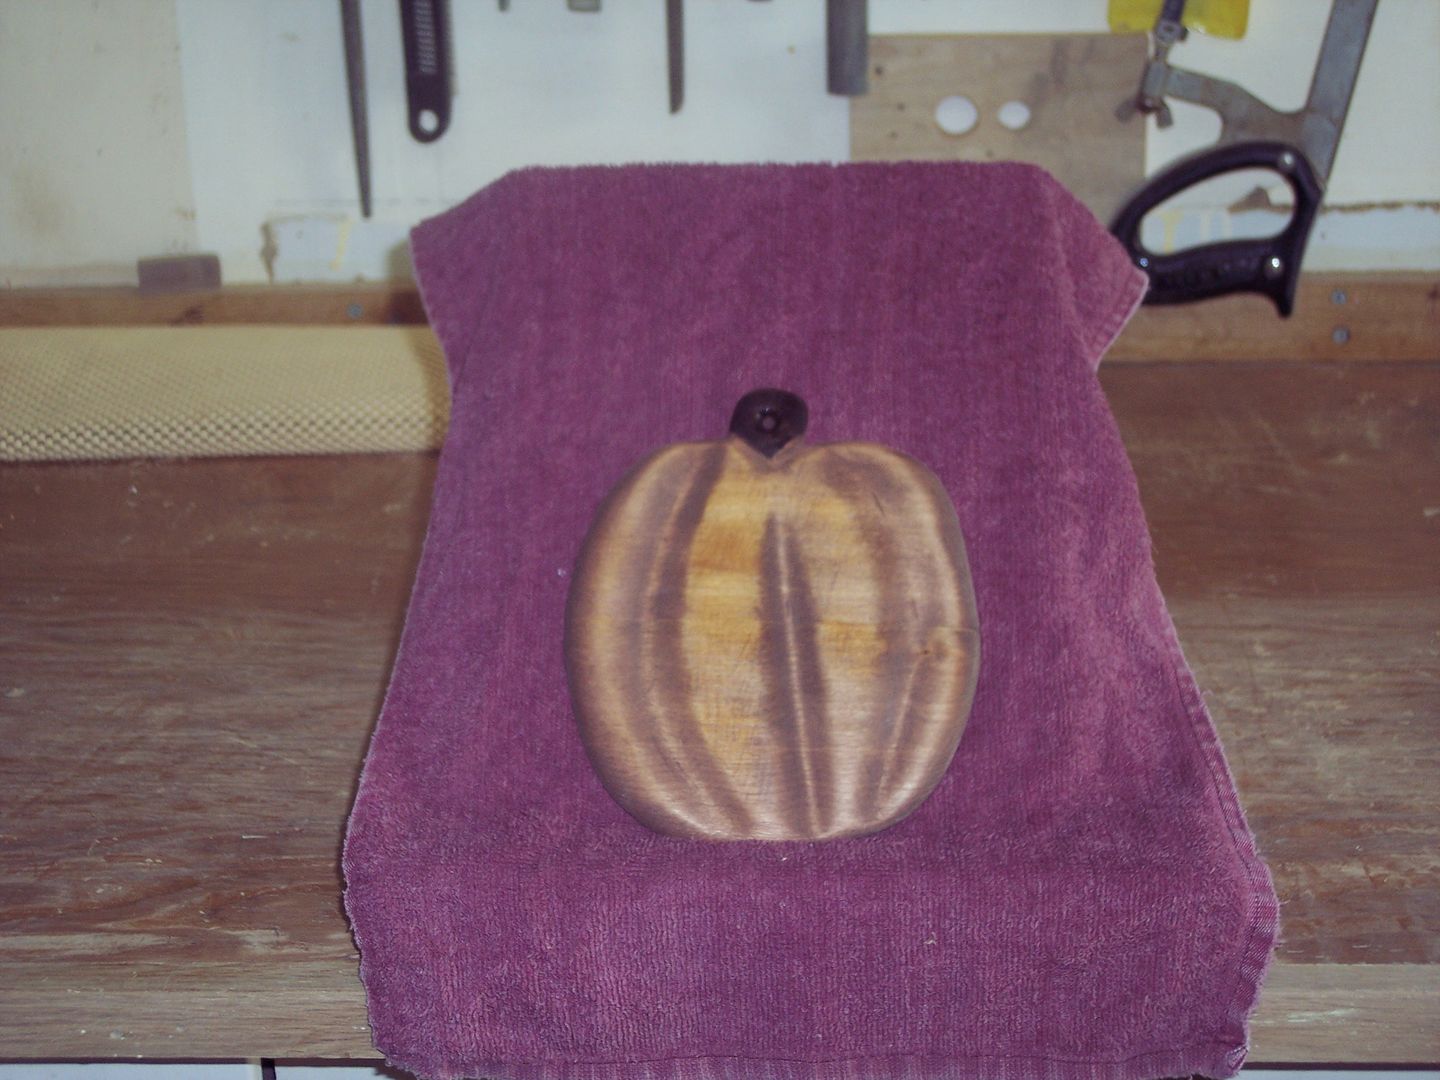
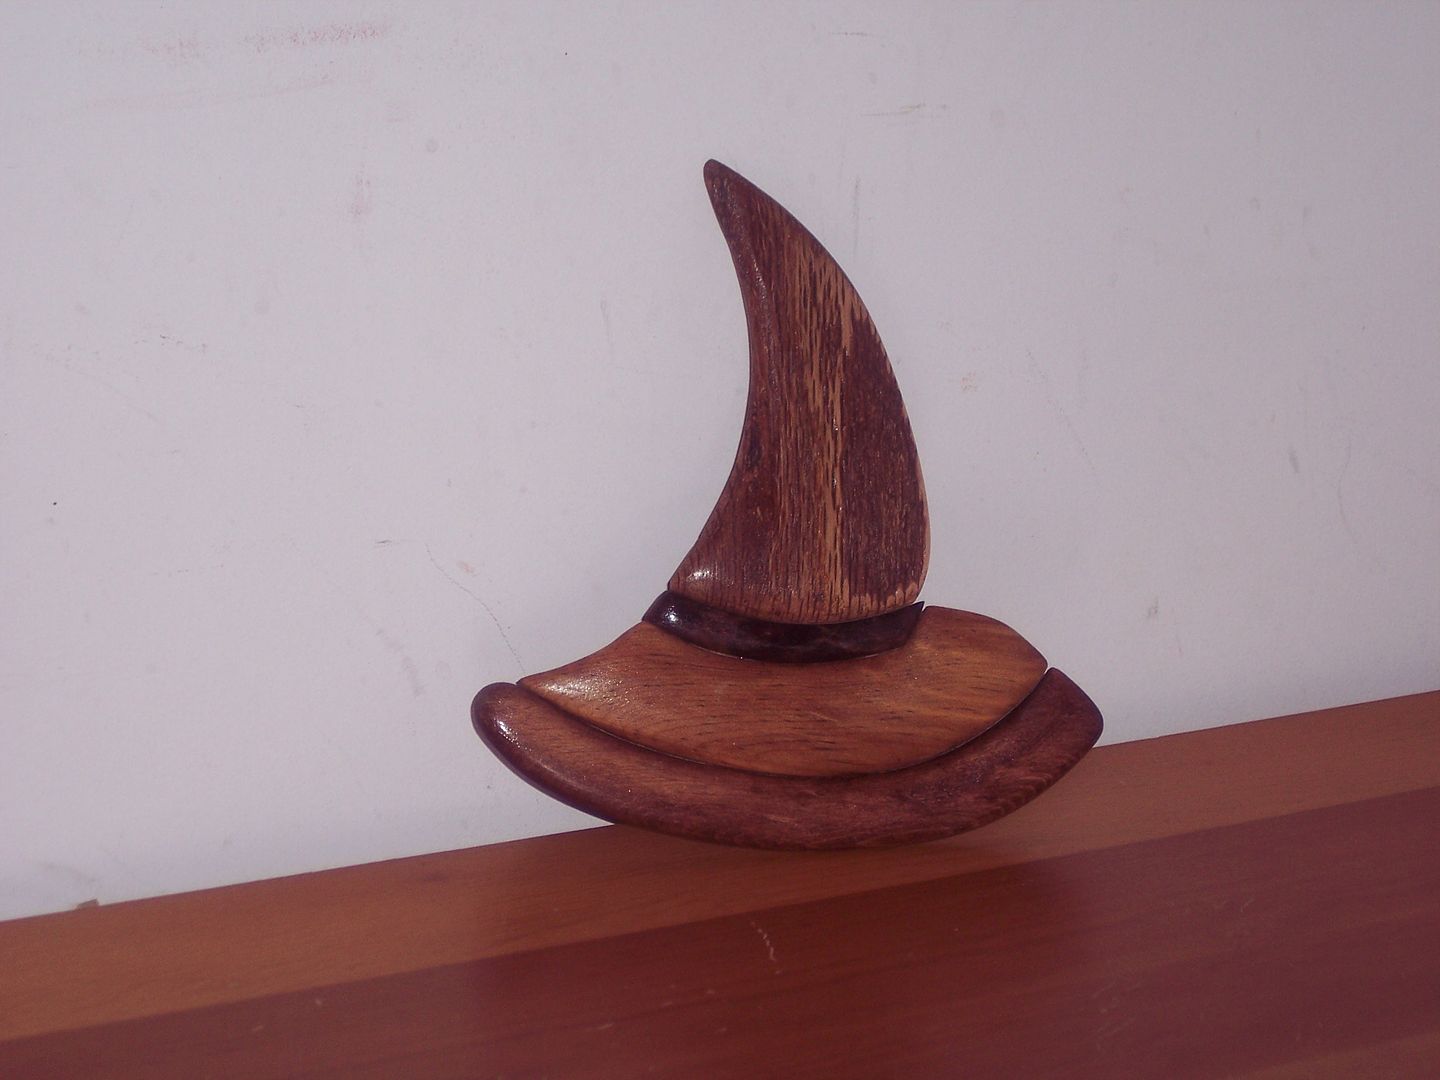
*****Bill Bumpus sent over some of his Halloween projects. Love the witchs hat intarsia! Double double, toil and trouble.
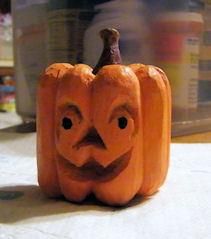
*****Tim Sluder is always carving. Heres a really cute jack-o-lantern, 2" tall and carved from basswood.
***** Halloween 2009Thought Id rerun some of my past Halloween videos. Most of you probably see this every year, but in case you are new, here is my first Halloween video from 2009: Read More..
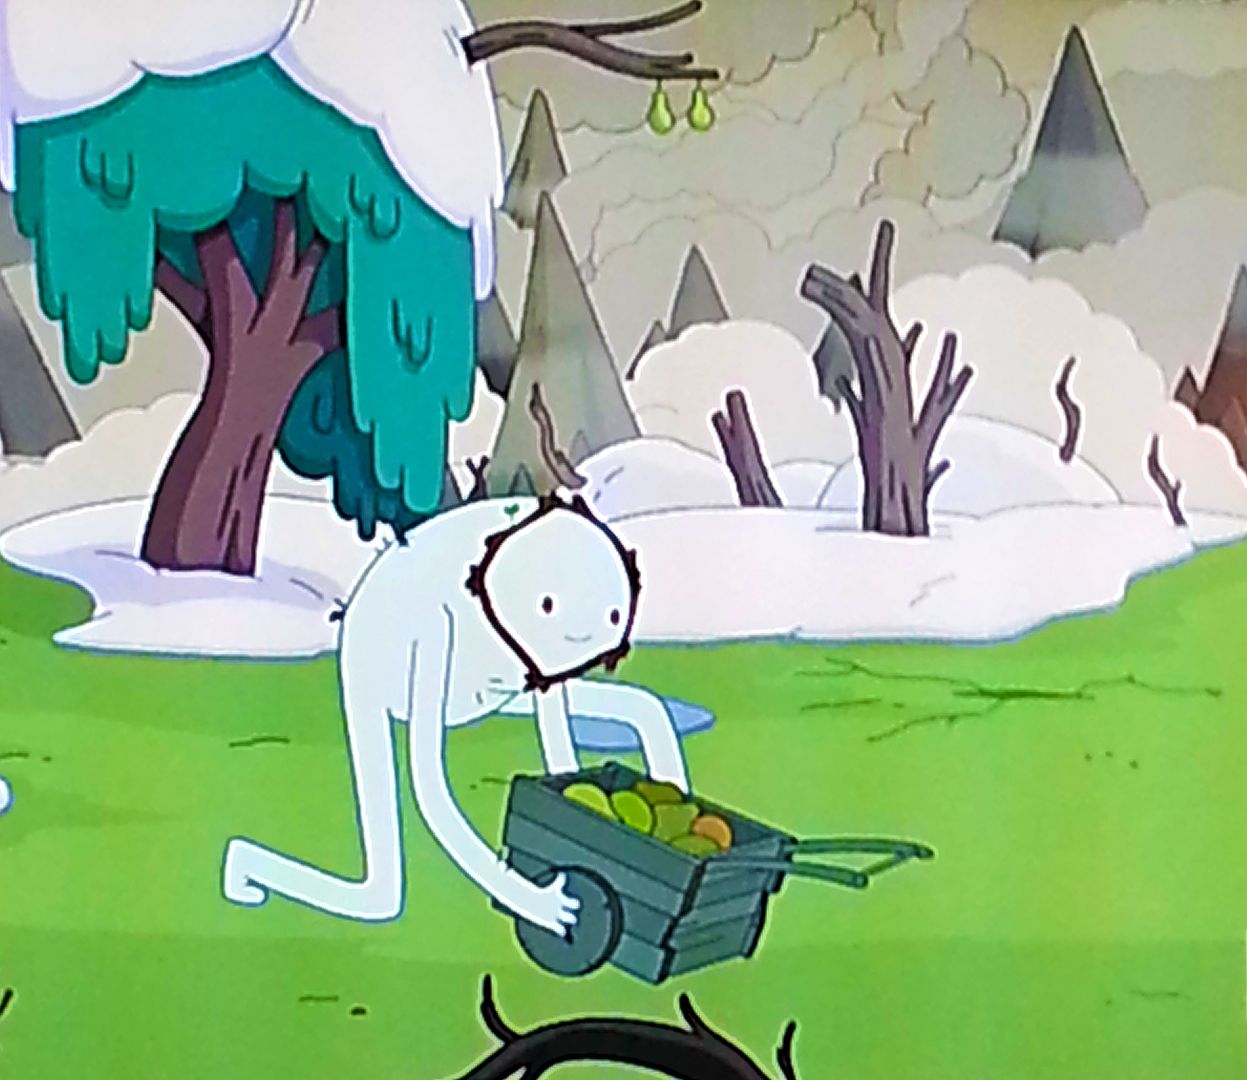
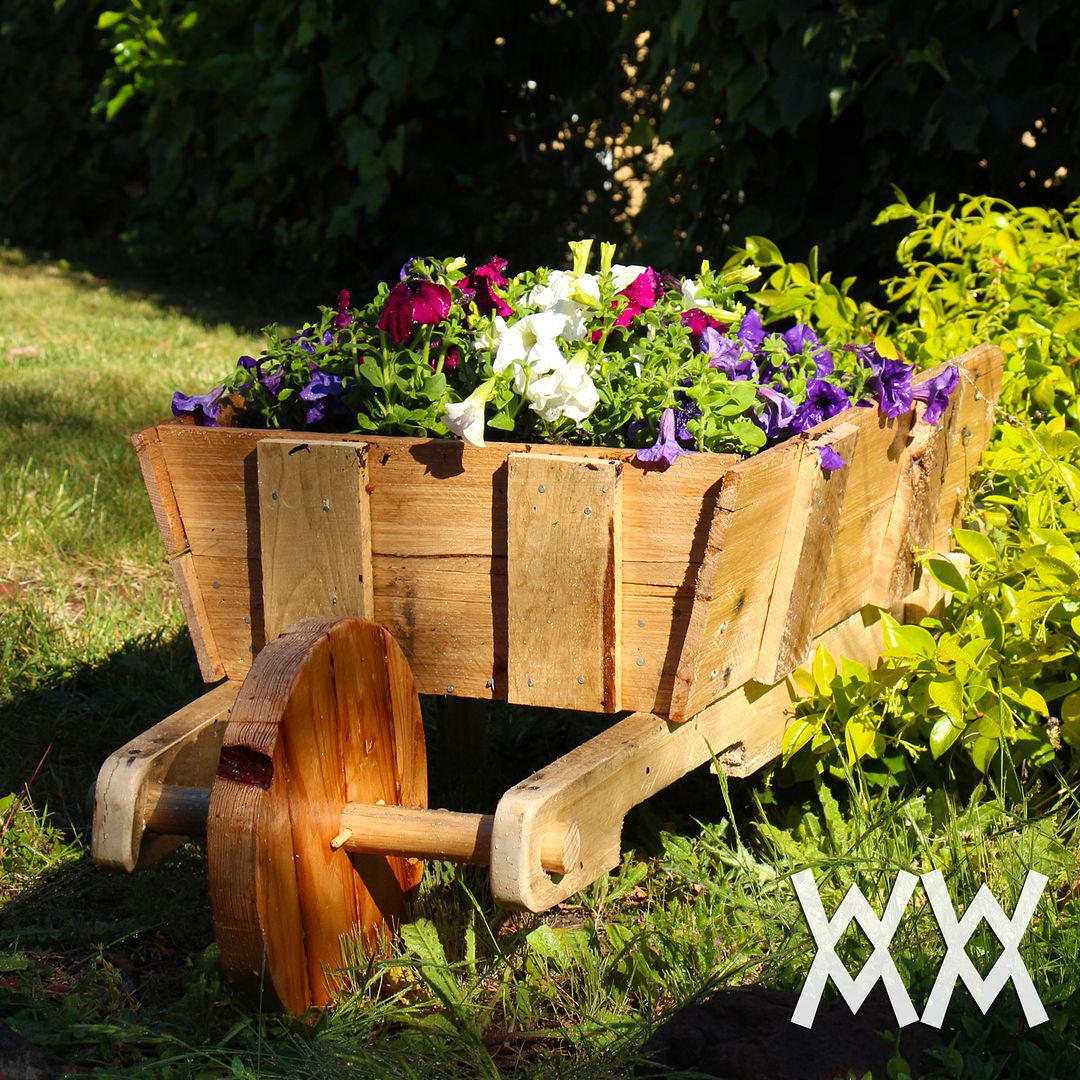
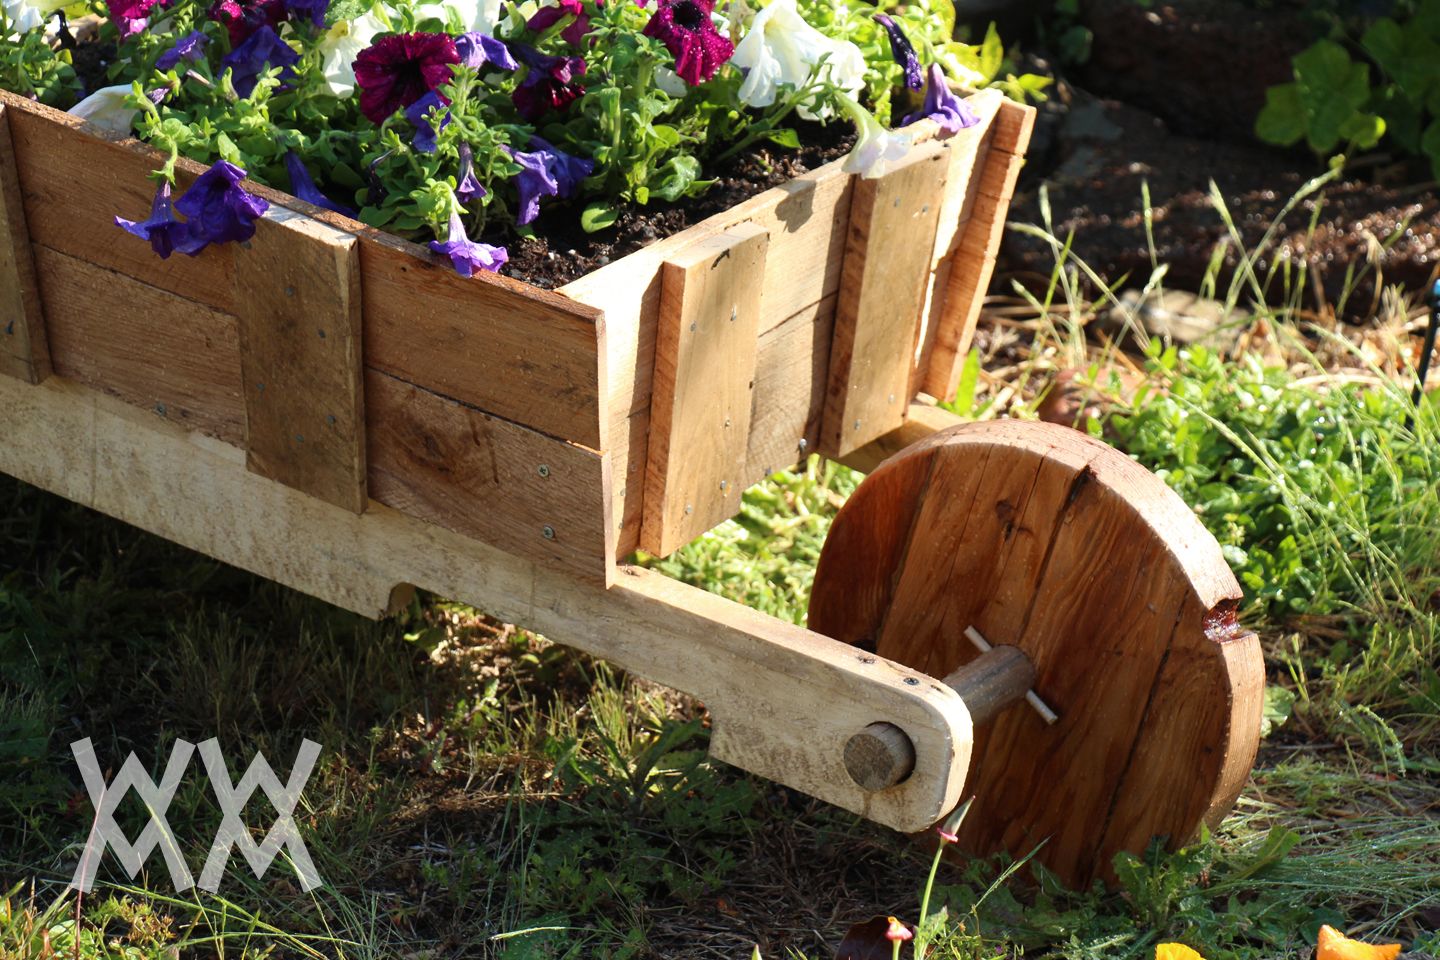
I was watching an episode of Adventure Time recently featuring the Snow Golem. In one scene he was pushing around a rustic little cart. Even though it is just cartoon drawing, I love the wooden wheels (complete with a chip that I included quite by accident in my wheelbarrow) and the unevenness of the side boards. I was so intrigued by the simplicity whimsy of it that I decided to make one for the garden. A perfect pallet wood project. Soon, my idea evolved and became a bit more stylish as I transformed it into a wheelbarrow. Inspiration is one of those things that just happens. The trick is to keeping yourself open to it all the time. Relax. Its rustic.The advantage to rustic projects is that you really dont need to stress out about any of this. No protractors or exact measurements needed. If parts are a little off, dont sweat it: its a rustic project! Got any rusty nails lying around? Use them! If a nail bends over when you are pounding it in, leave it that way. And any uneven, split boards and chipped out wood you use adds to its charm, just as with the Snow Golems little cartoon cart.
Plans This is another project that anyone can build with very little experience and limited tools. I used my miter saw, but you could just as easily use a circular saw or a jig saw. You will need a hammer and nails and a drill and screws. If you decide to use pallet wood (its free!) watch the first part of my Rustic Side Table video to see my method for breaking them apart into wood you can use.
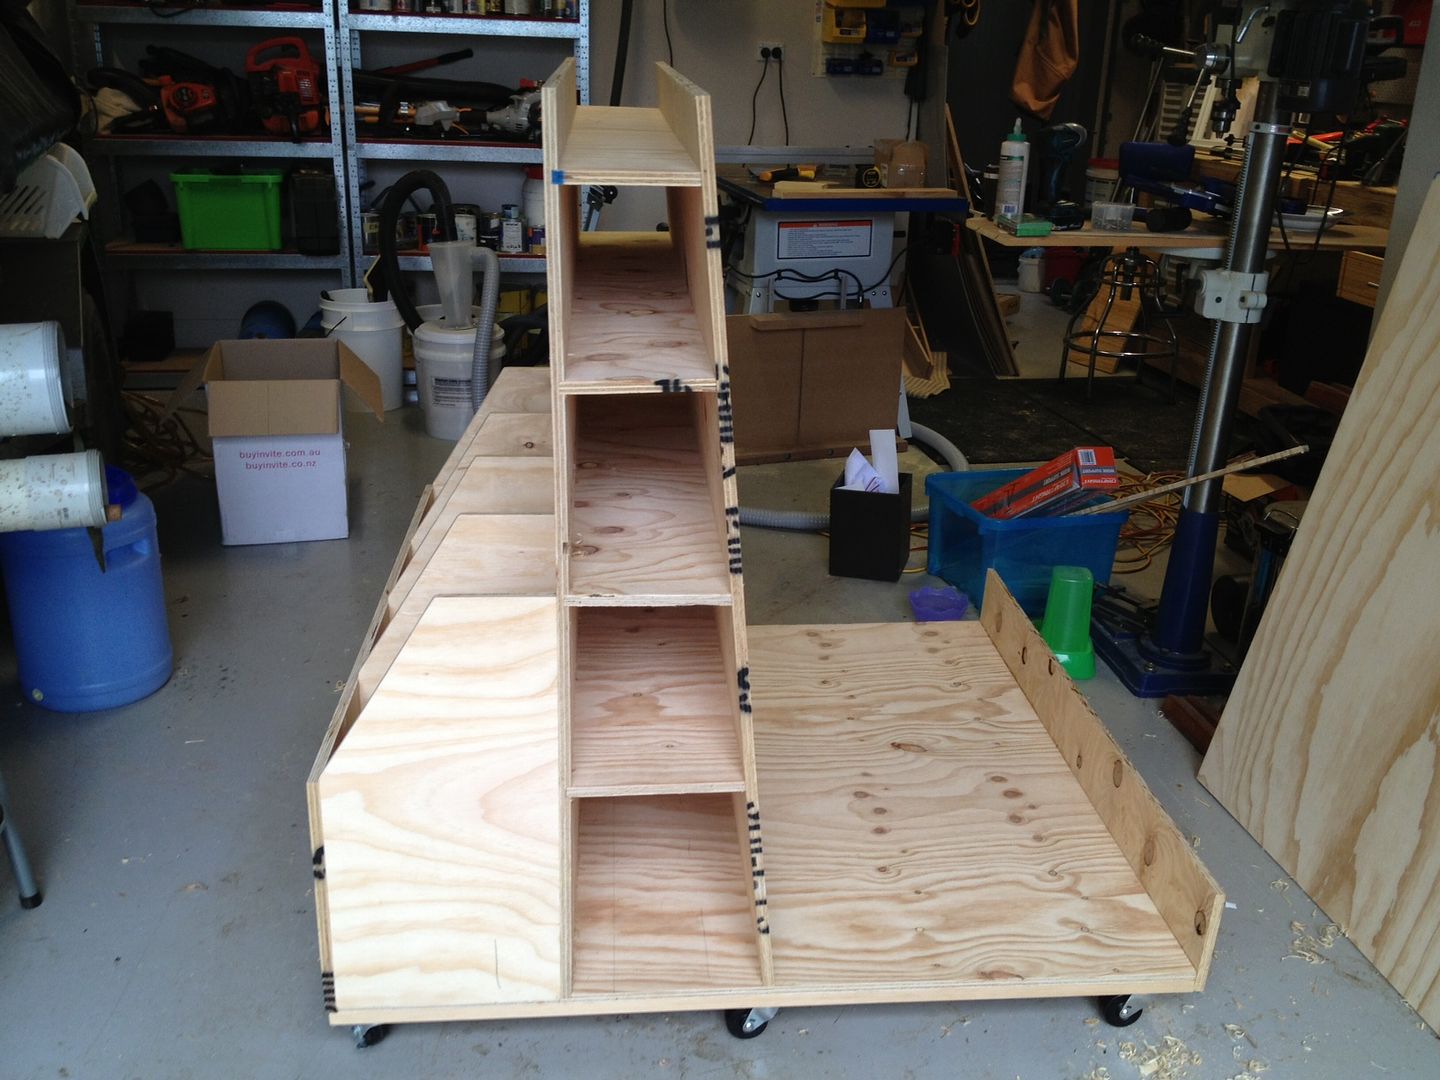
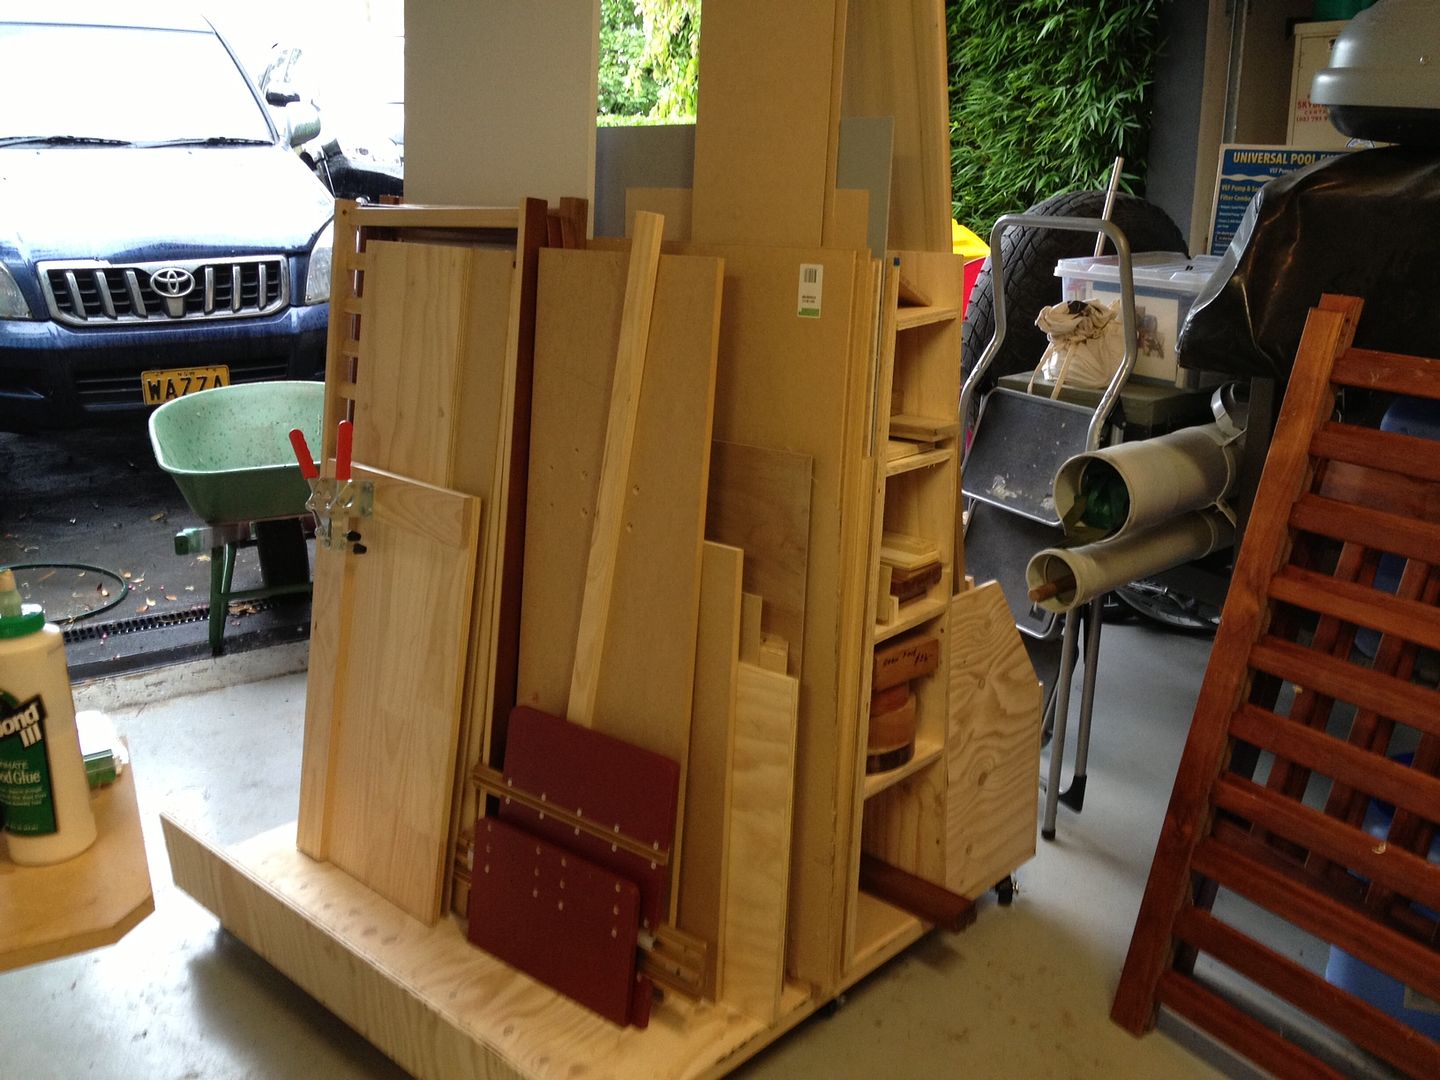
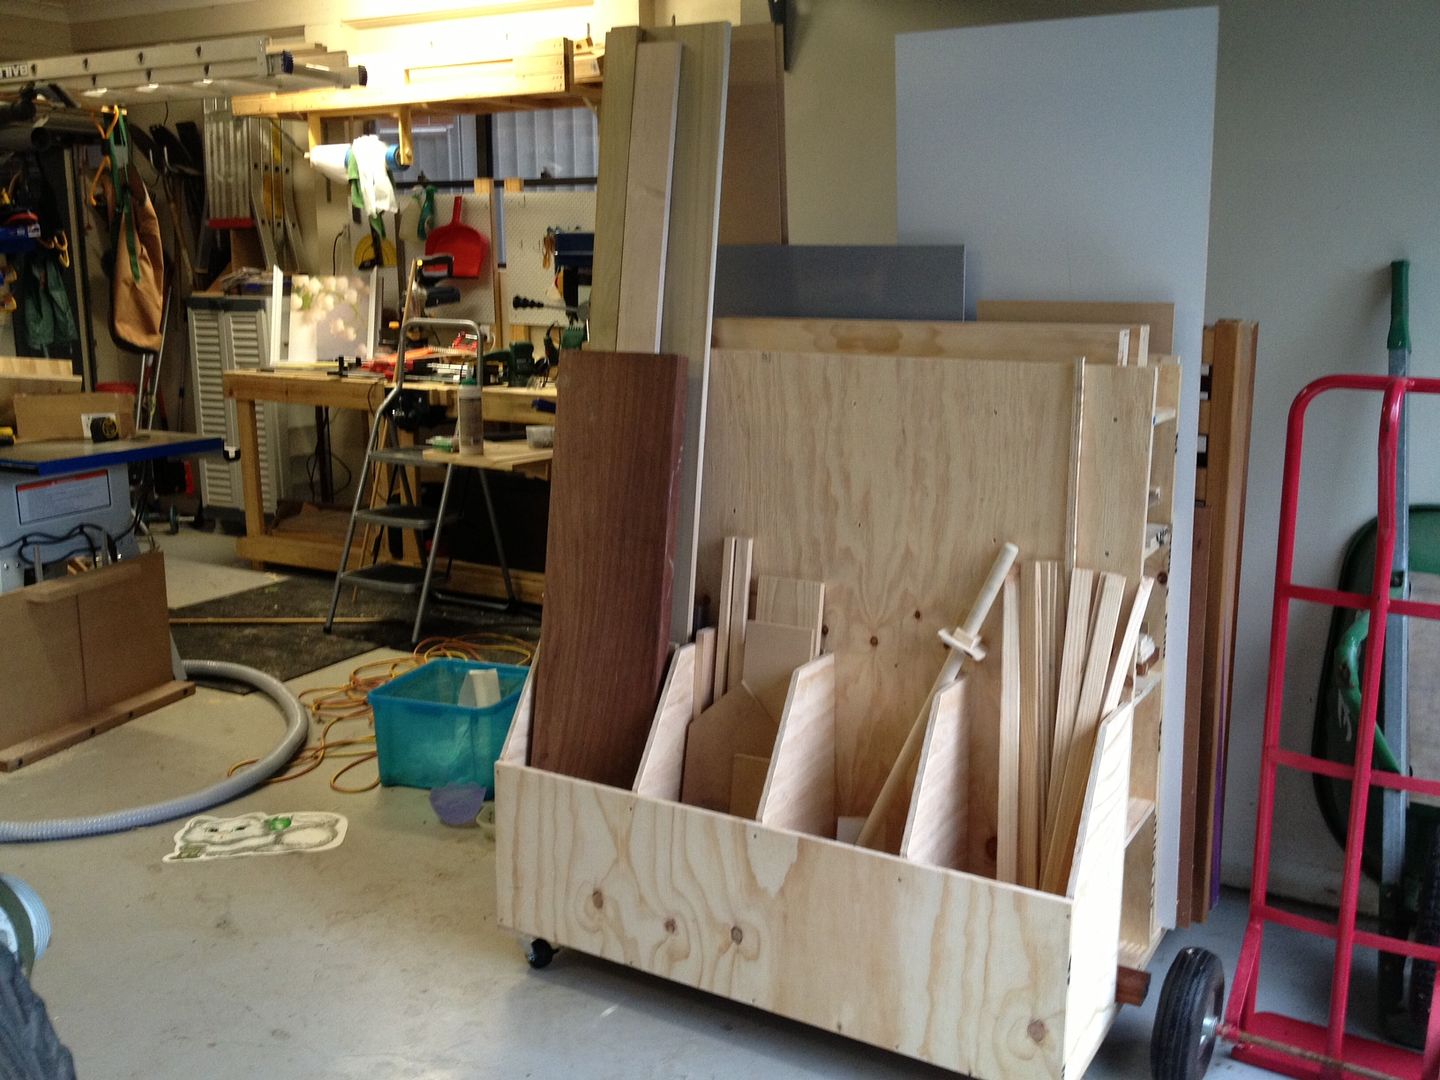
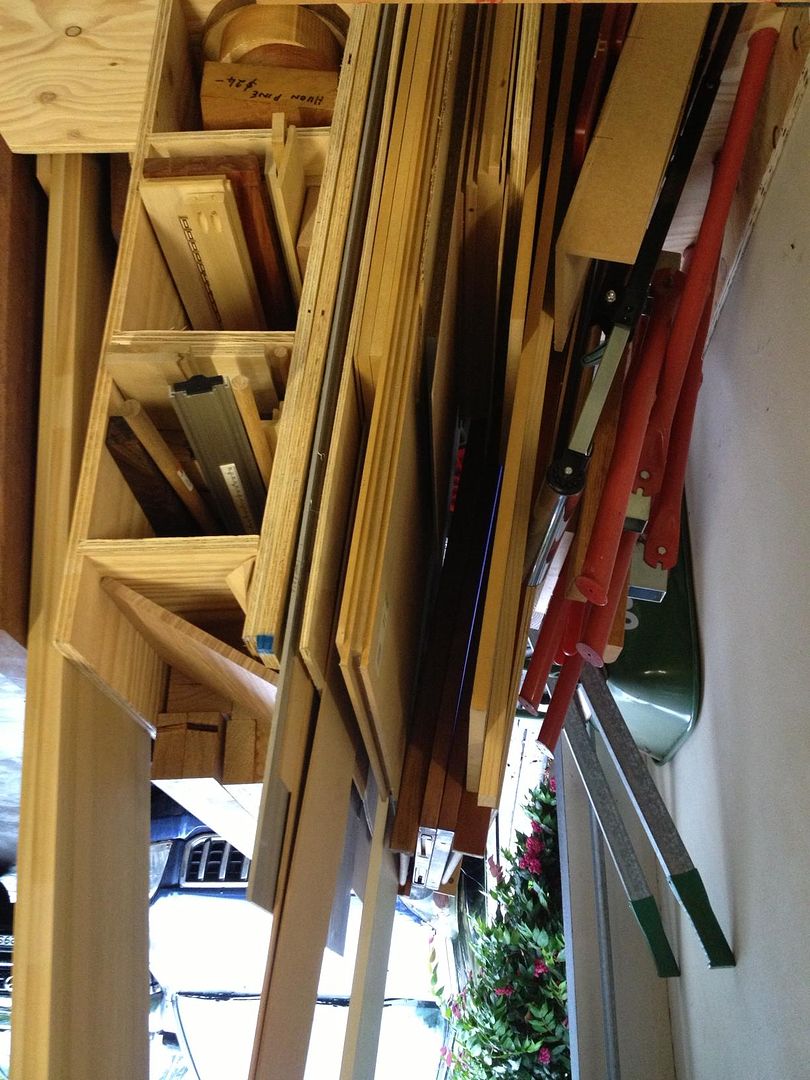
There is something quite satisfying about clearing space in a workshop. I started out the year with an organization state of mind and it still continues. Warren Downes decided to make an extra large version of my lumber cart that also holds jigs, sawhorses and other stuff. He added extra casters to ensure it wouldnt sag.
*****
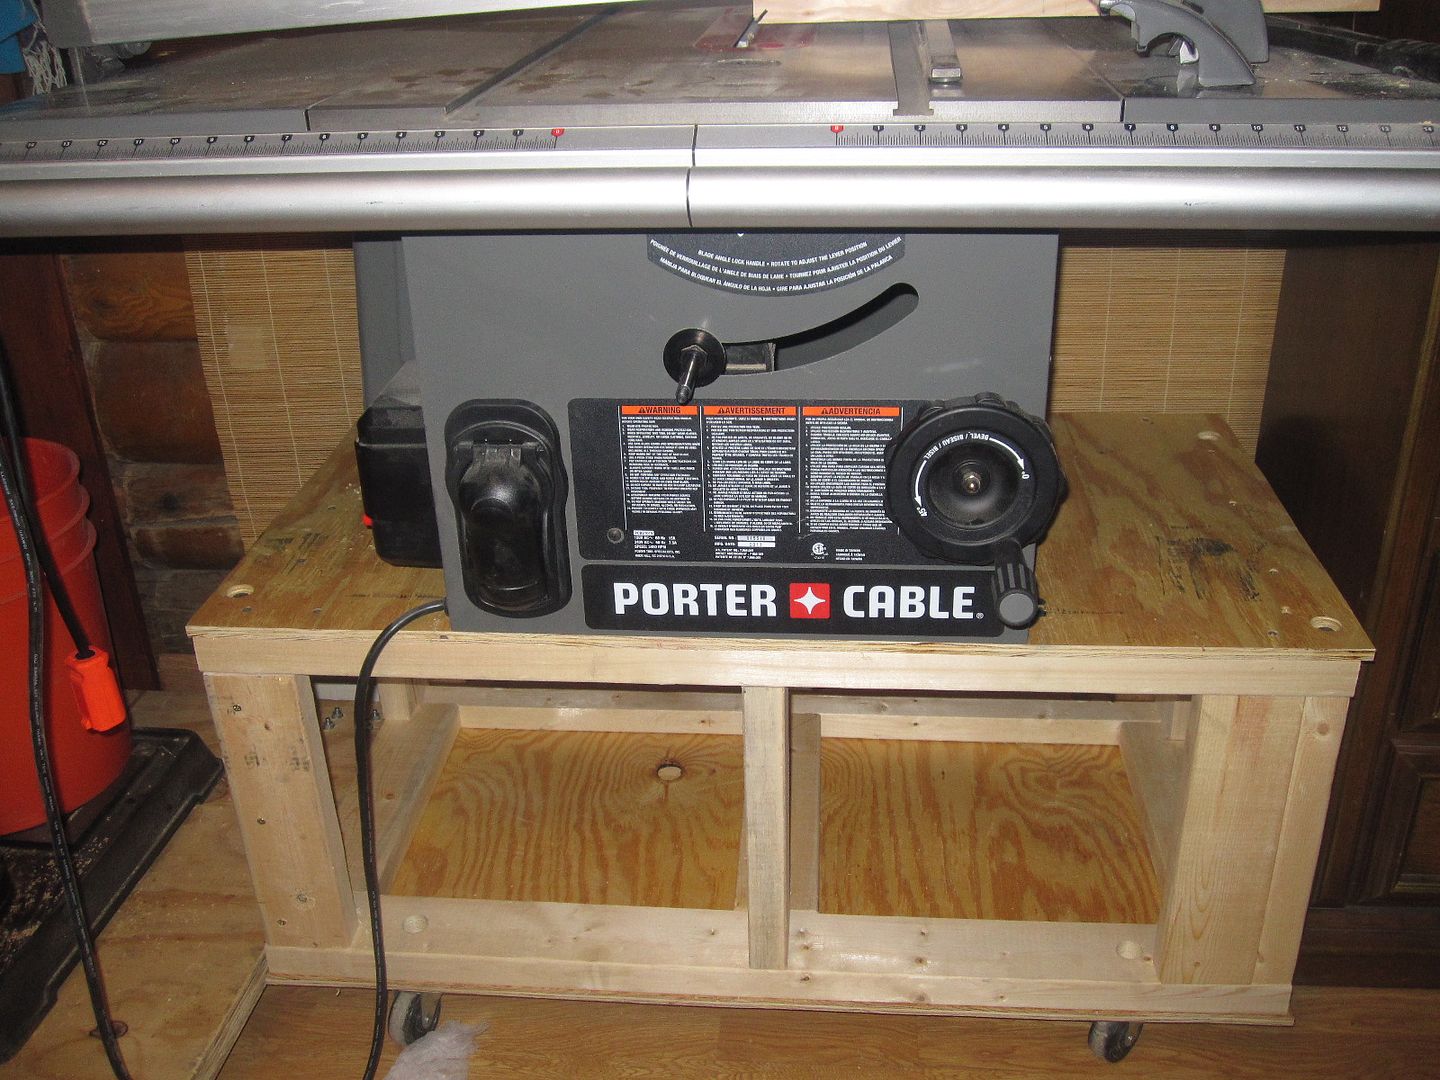
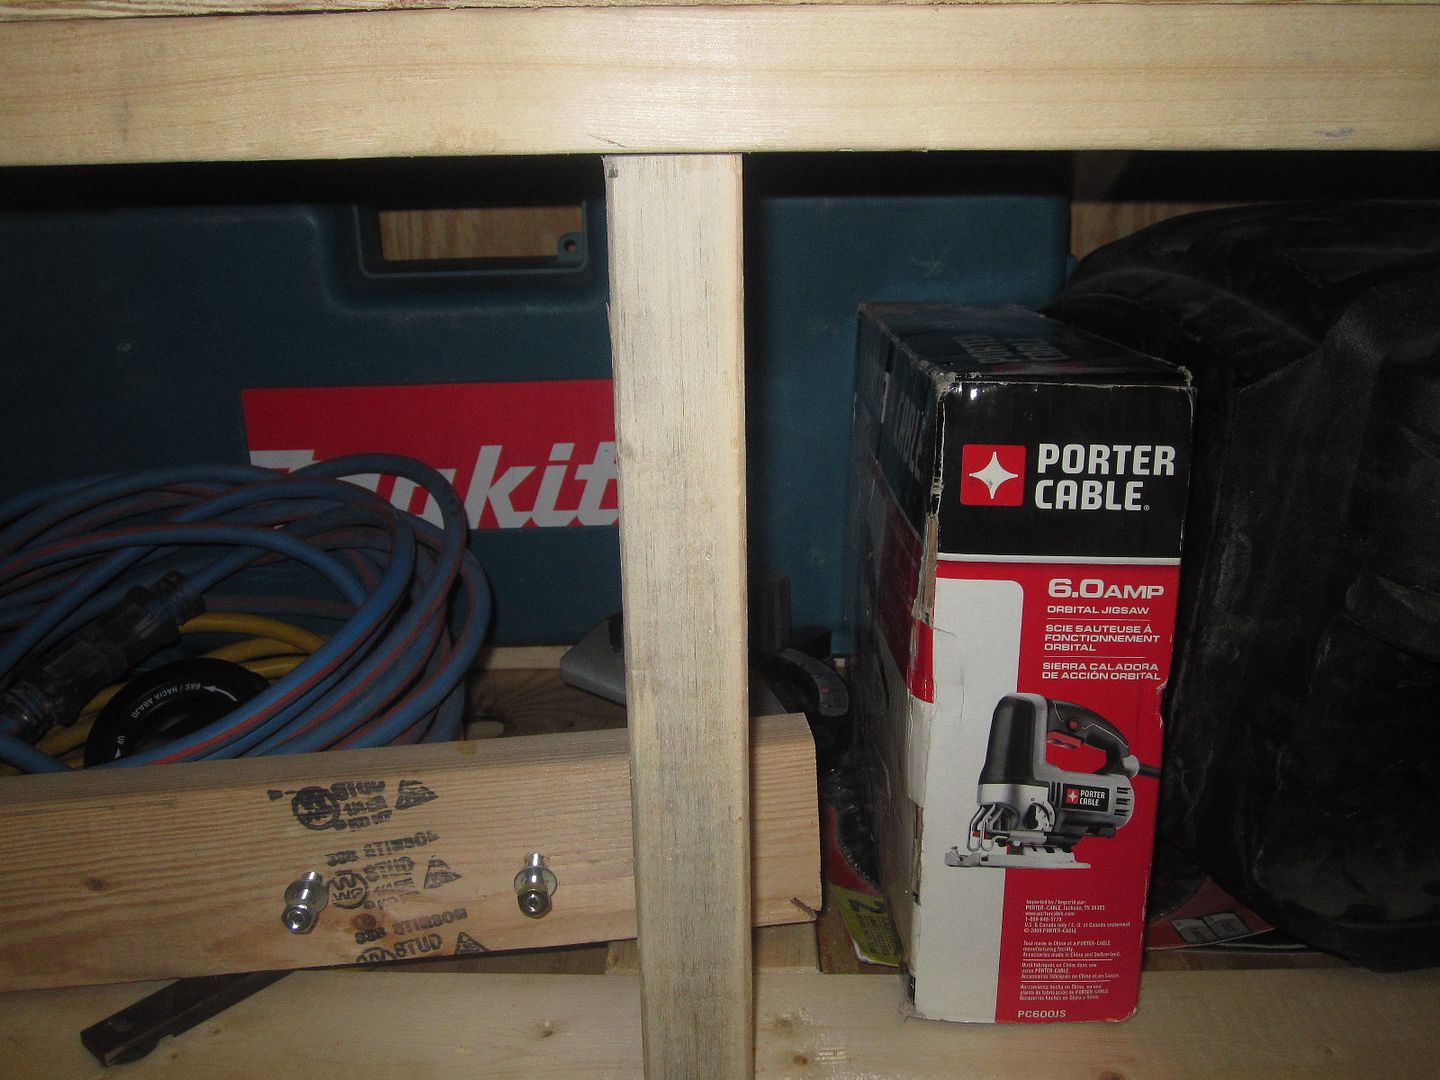
Jeremiah Giehl removed the stand from his table saw (same one as mine!) and built this space-saver that includes a space beneath in which he can store hand-help power saws. Built with scrap wood, the whole project only cost him $5.29 for the hasp. I love having a mobile table saw. Not only is it easy to store, but its great to work outside on sunny days!
*****
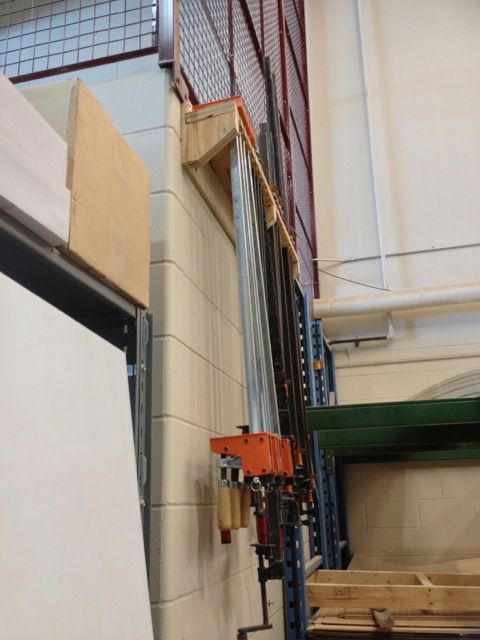
Allan Voisin decided to organize his clamps using my system. Looks like a big space! I can also report back that I still love the racks I made a couple months ago. They really work great.
*****
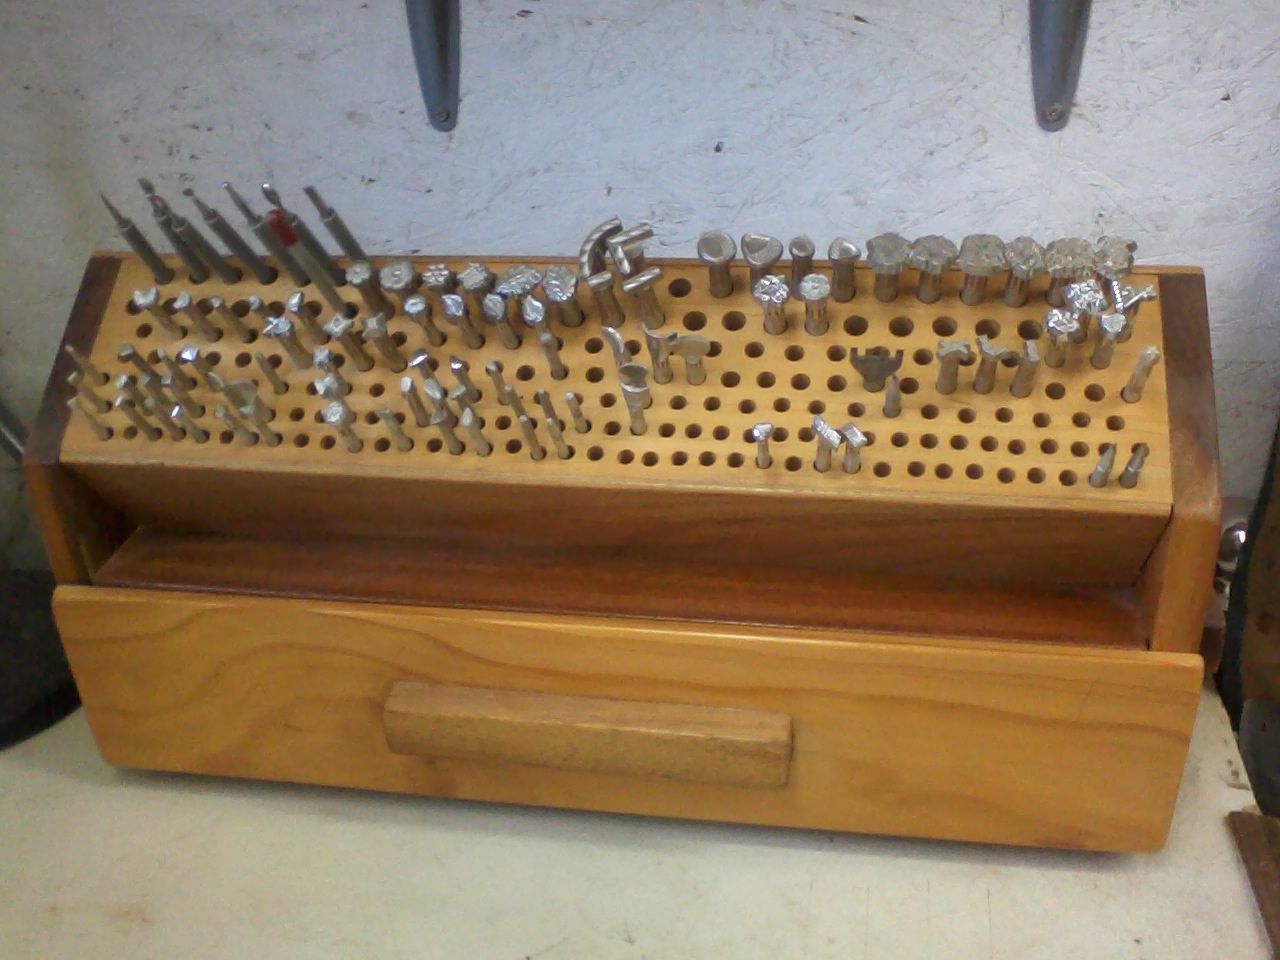
For a long time, well years, Ive been wanting to make sense out of my router bits and drill bits. They tend to be all over the place. Ray Levesque made this tool box for his leather-working tools. I think I may build something similar to this for my router bits and accessories.
*****
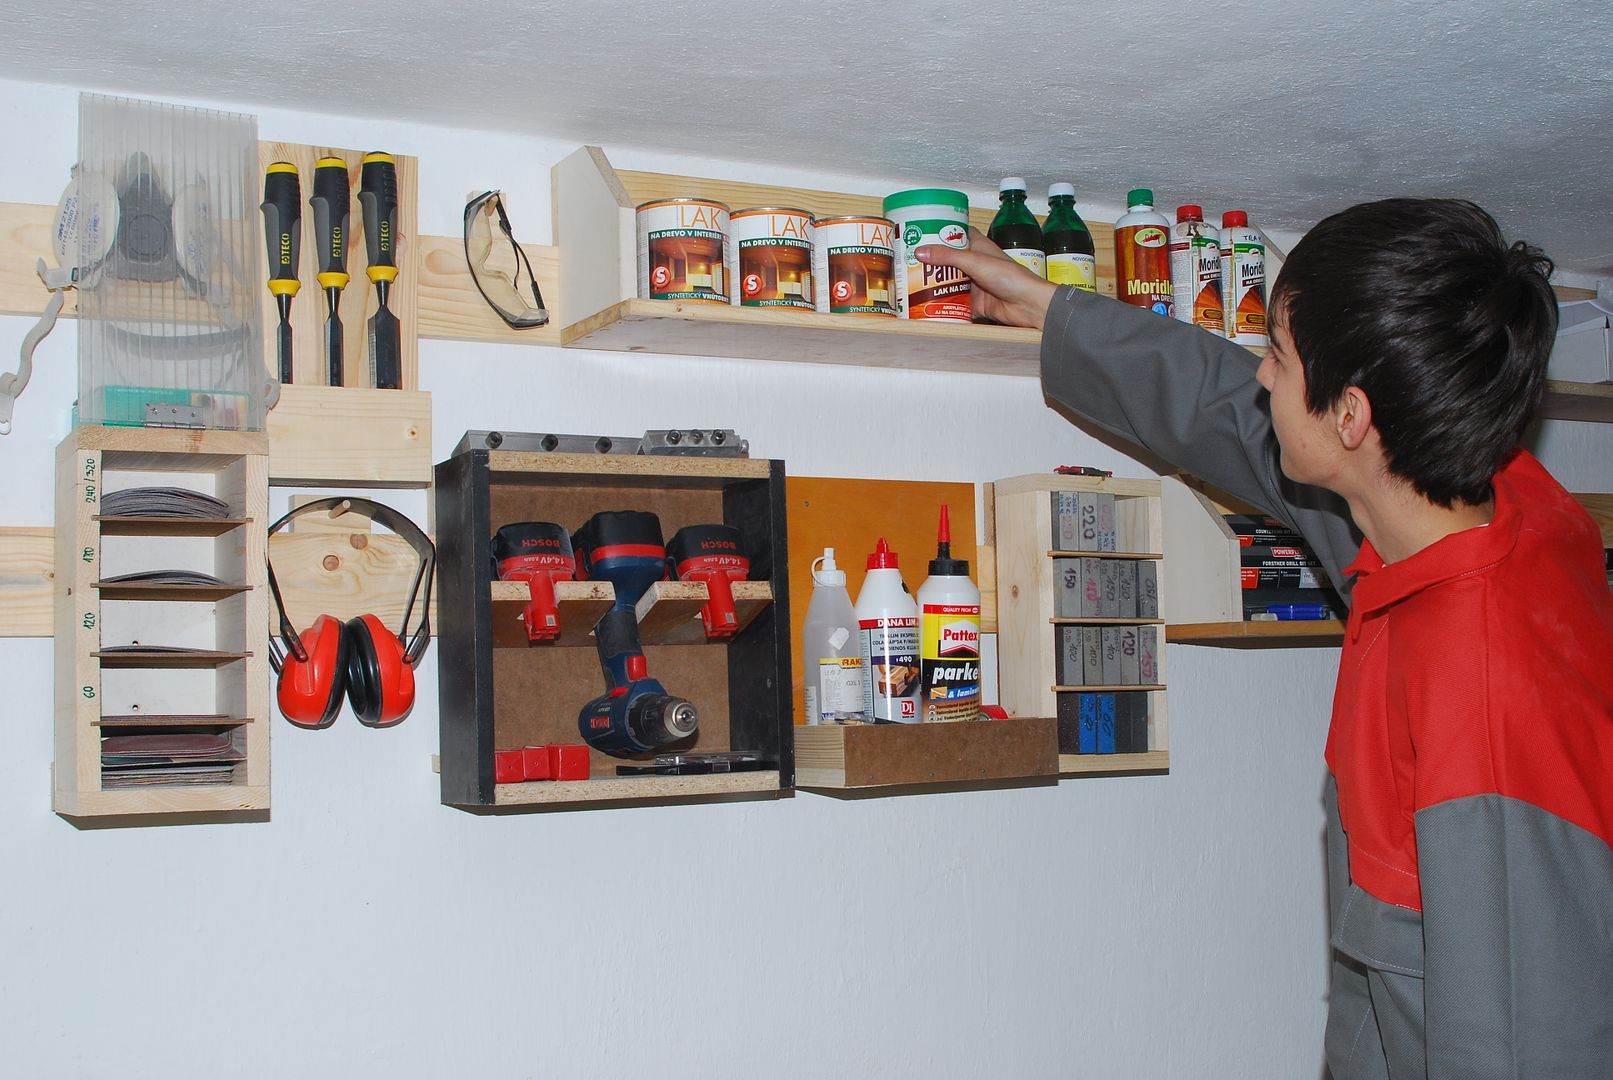
Milan Gigel in Slovakia sent over a picture of his french cleat system. The thing I like most about french cleats is that they are so customizable. Milan builds boxes and holders to fit whatever changing needs arise. He can remove the shelves and take them to his work space then return them when hes done.
*****
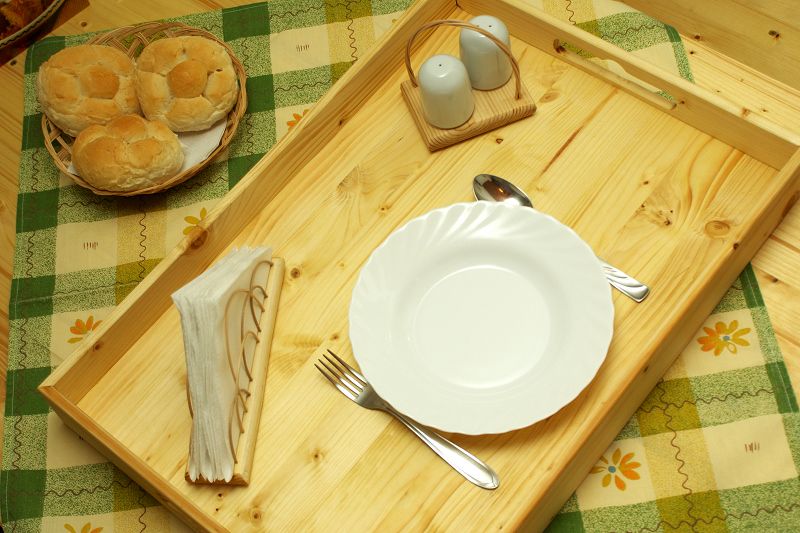
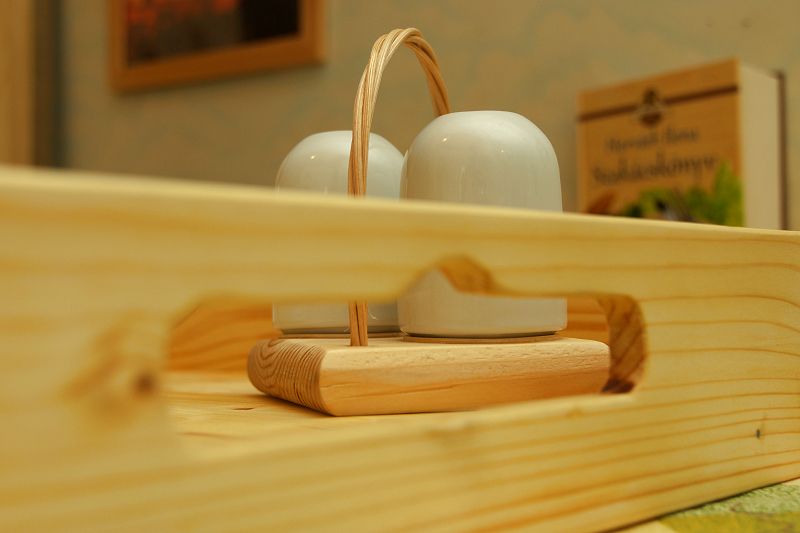
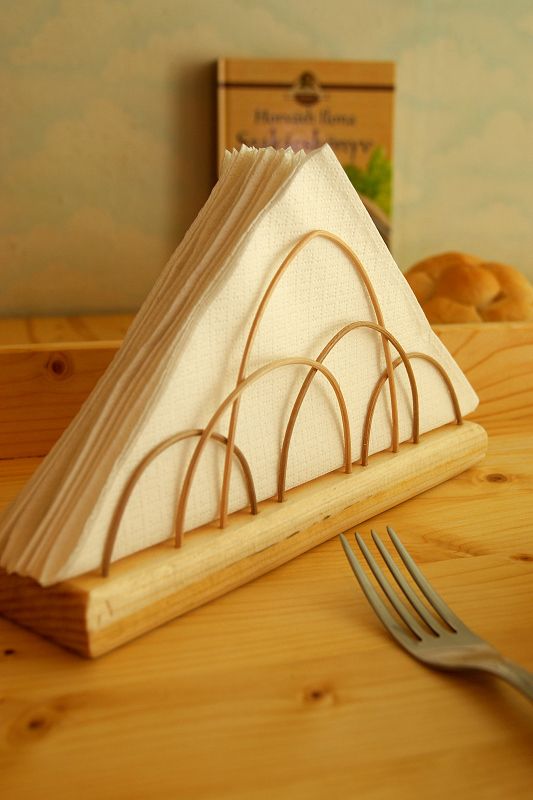
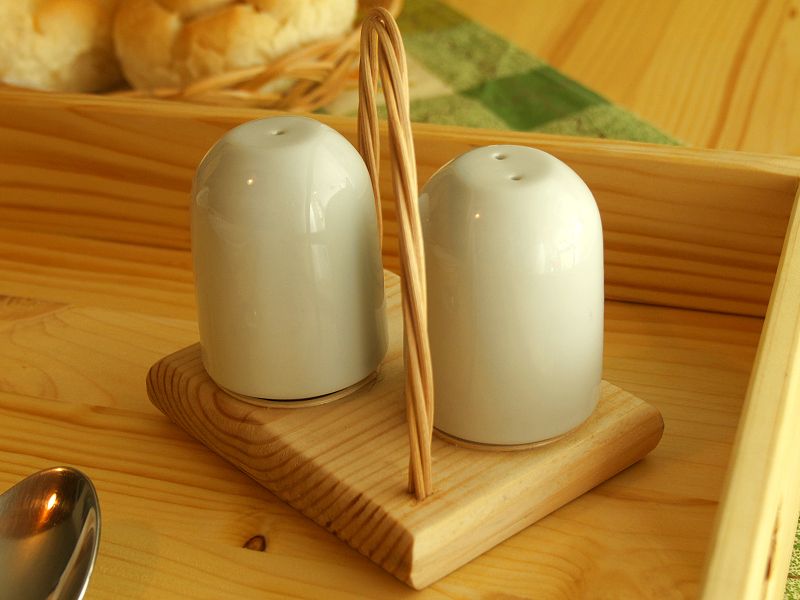
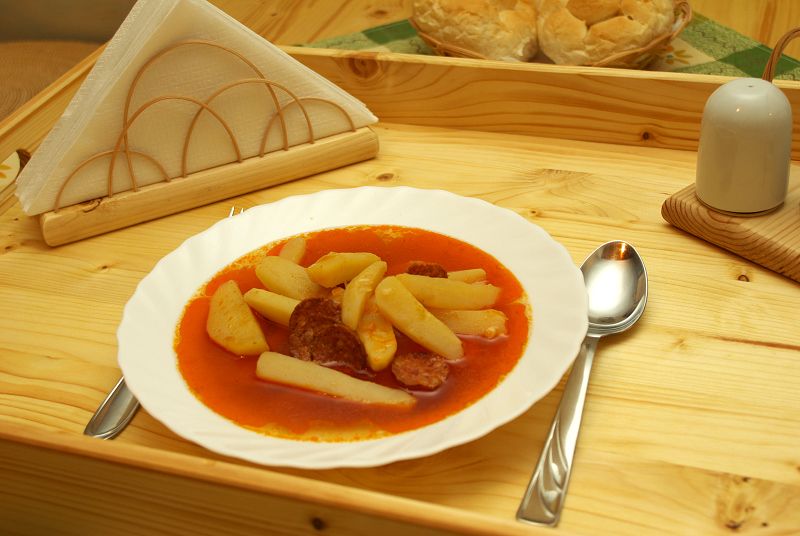
In the kitchen organization department, Andor Rábay and his wife Timea in Hungary sent over some very cool projects. They are a very creative couple. I really like the napkin holder made with scrap wood and reeds. The serving tray was Andors first router project. And oh man, those paprika potatoes look good!
*****
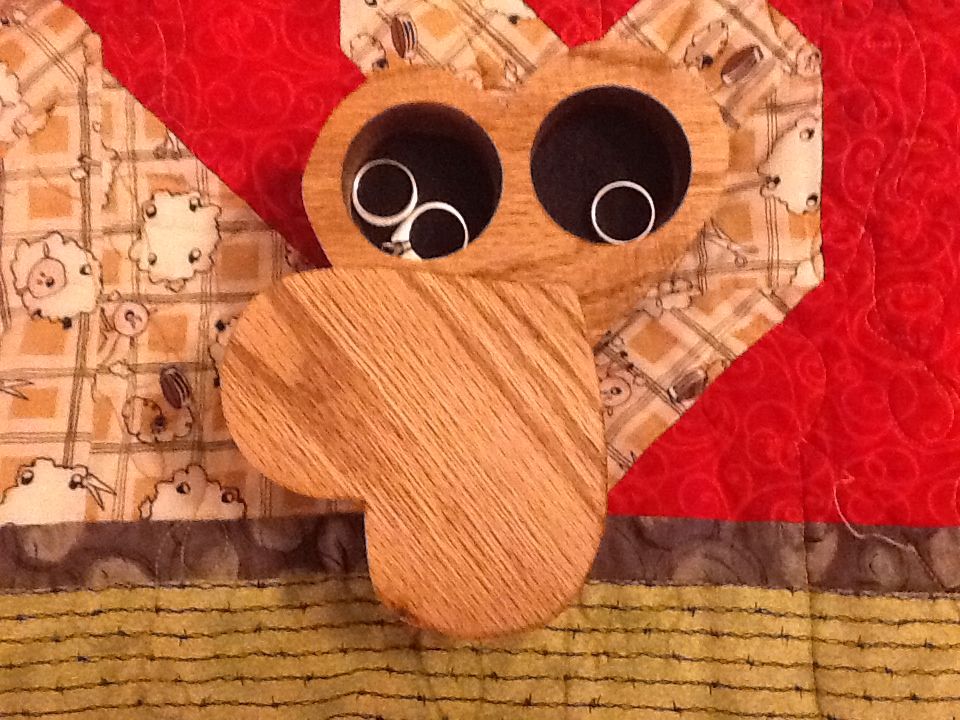
Check out this box Matthew Denny made. Its a kind-of modified bandsaw box and would make a great, lets see, oh yeah...Mothers Day project! Ha. Just when you breathed a sigh of relief that Valentines Day was over.
*****
Finally, Phil Keirnan built one of my book-boxes for his wifes fifth wedding anniversary. (Well, I guess its his anniversary too.) Made with Euaropean Oak. Beautiful work!
*****
Mere Minutes.
Heres a follow-up to the french cleat video from last Friday.
 Ive been reading this book that is getting me to examine my own creative process, both in woodworking and video production. Making Your Creative Mark: Nine Keys to Achieving Your Artistic Goals By Ph.D. Eric Maisel makes a clear connection between expressing yourself artistically and self-confidence. Even if you arent a professional woodworker, projects we create just for friends and family can cause us stress. After building something, we open ourselves up to scrutiny. When you give someone a gift you have made, you are giving them more than the object: you are presenting your unique vision and all the hard work that it took to get to that point.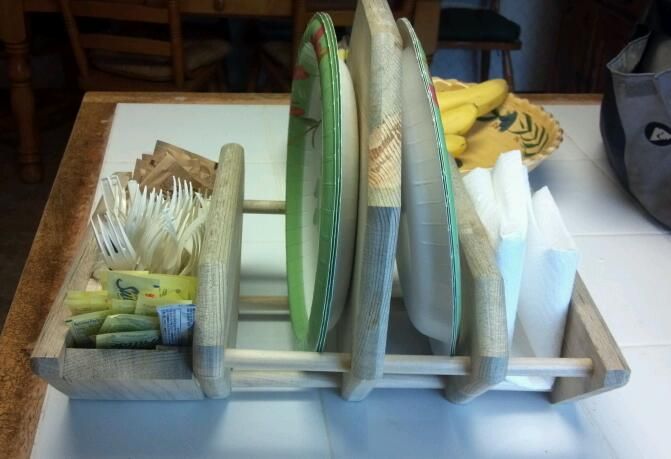

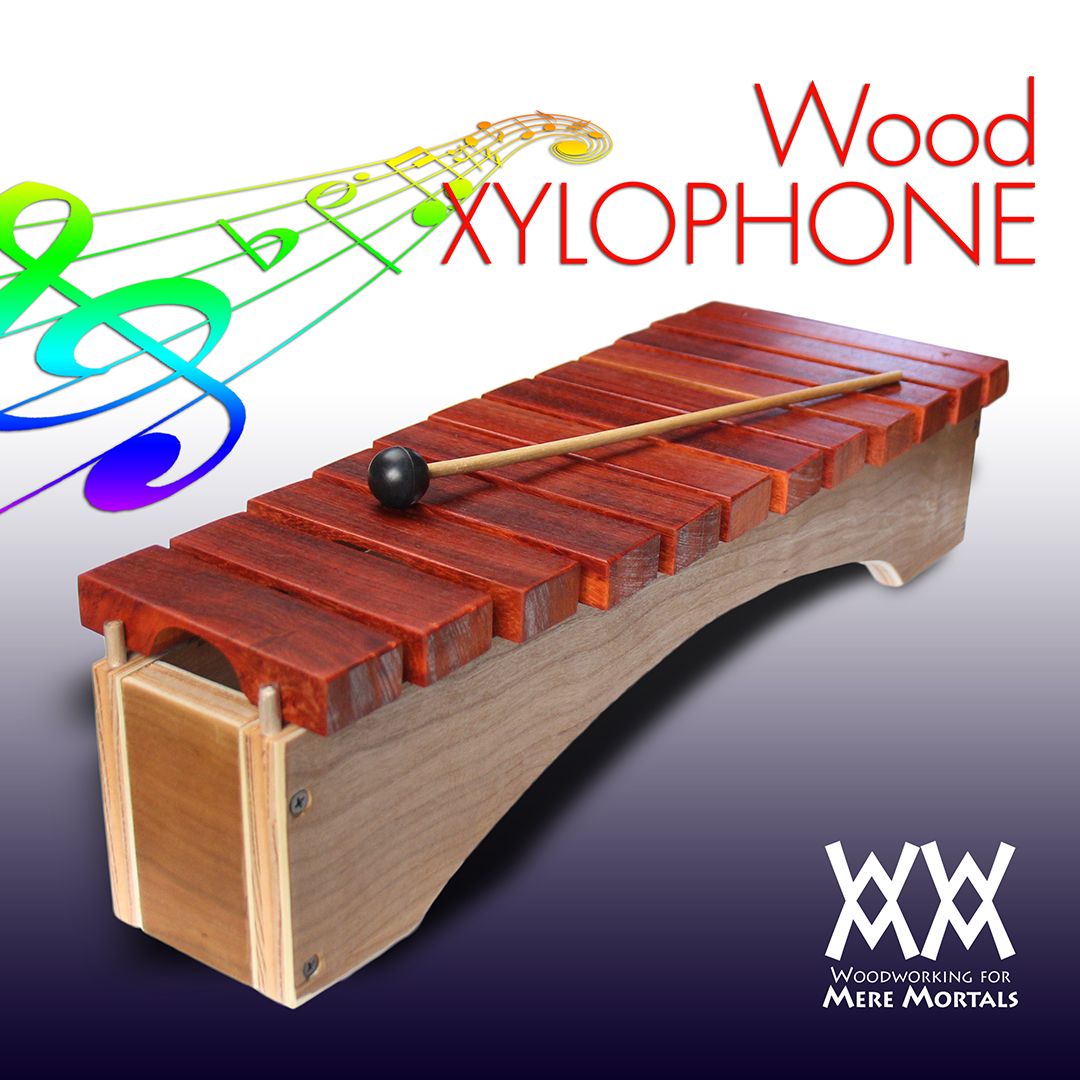 This started out as a simple enough project, but turned very frustrating. I predicted that tuning the keys would be tricky, so I decided right from the beginning that I wouldnt drive myself mad about obtaining perfect pitch. This was intended to be a toy xylophone, after all.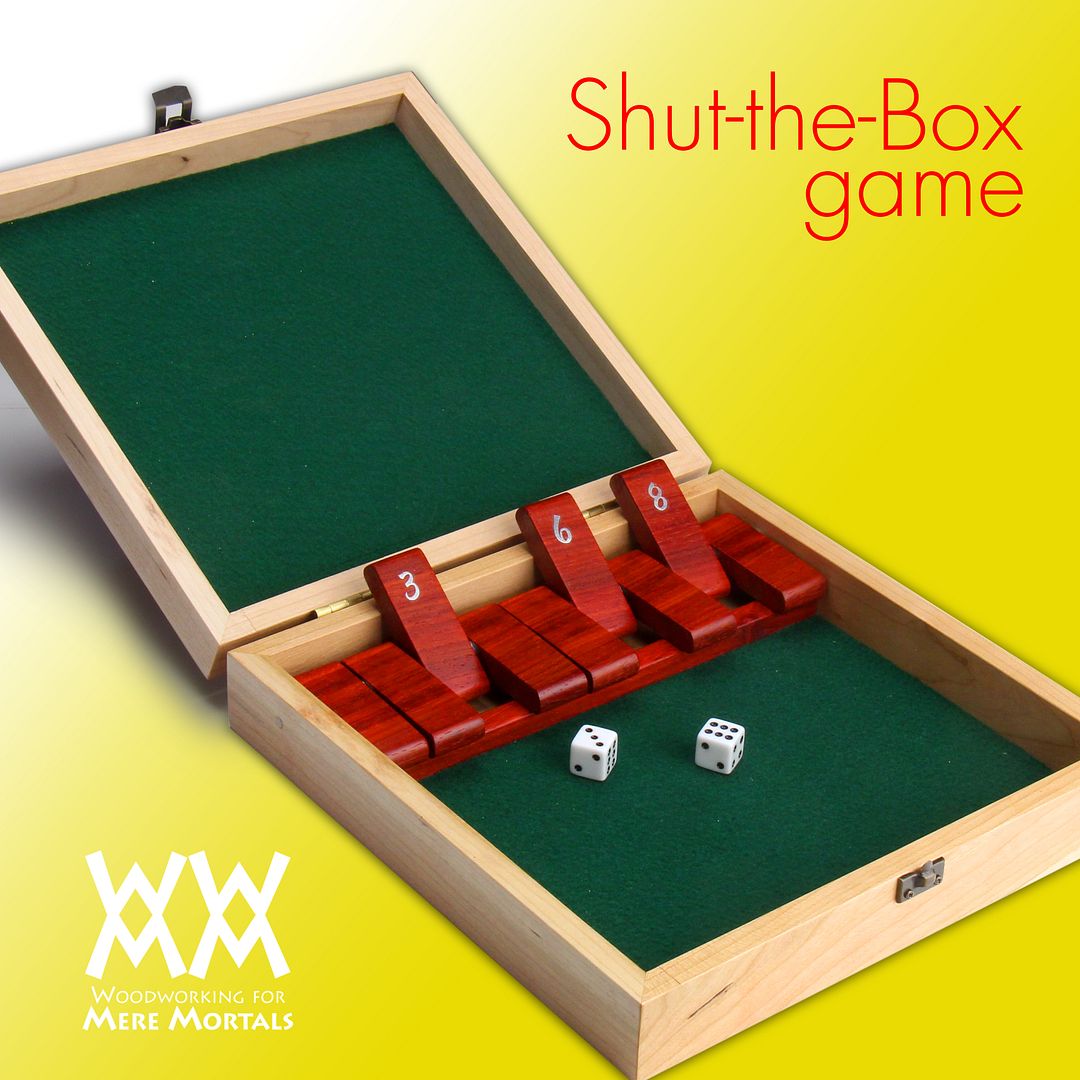
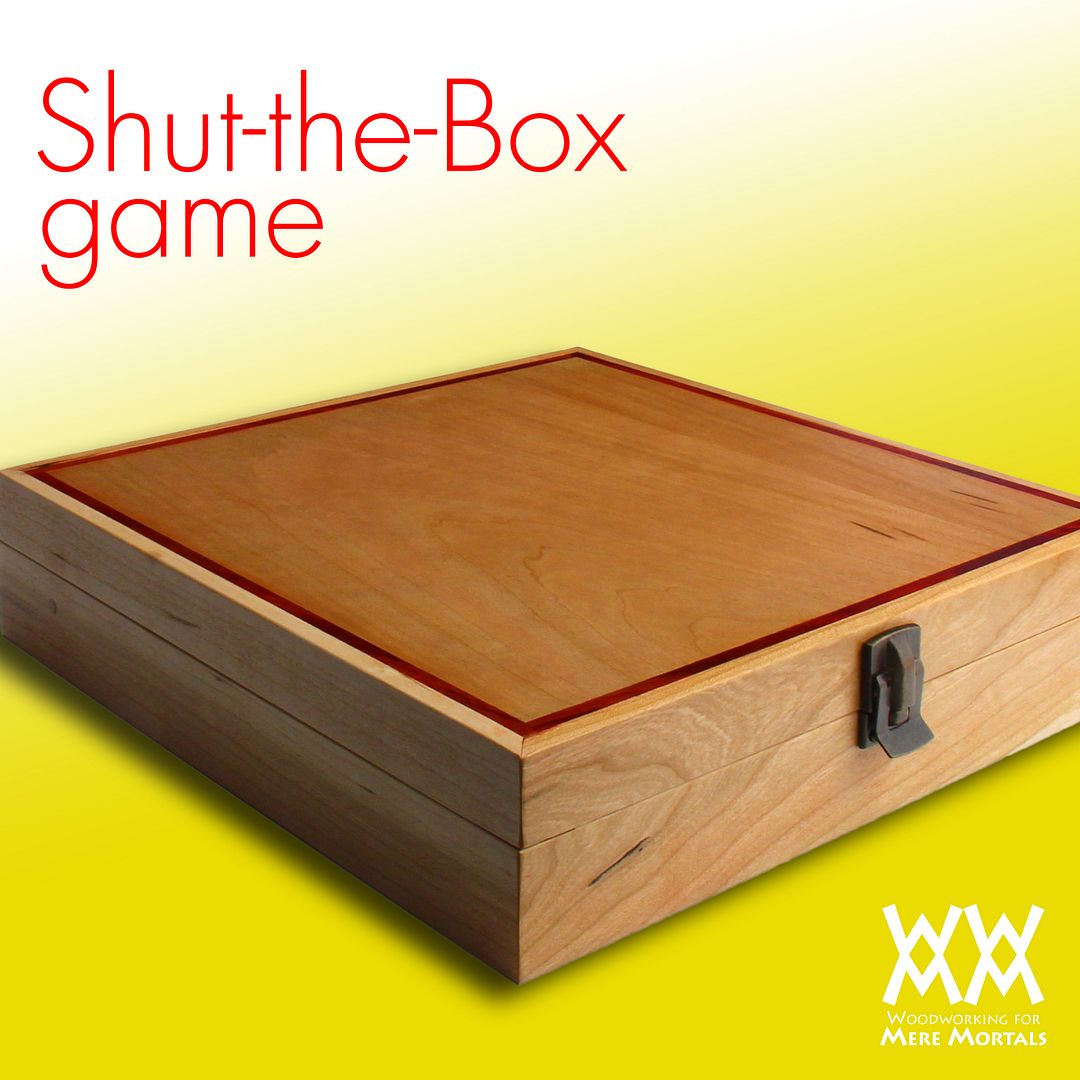 I really enjoy making wood games. They make great gifts and are a great way to try out some new woodworking techniques to customize them. This time last year I made a Quarto game, which holds endless design possibilities. Like some chess boards, they become works of art as well as pastimes.