One of the most popular woodworking projectsIt seems that at one time or another, all woodworkers try their hands at making an end-grain cutting board. Its easy to understand why: cutting boards are useful, durable, allow you to really get creative on the design, and are simple to build.
And I have never made one. Its one of those projects thats been on my to-do list for a long time. As you may know, I love to cook and have been getting by for years with one of those thick plastic ones. Its built into my counter and slides out for use. The problem is that it gets mangled pretty quickly and doesnt clean well. After a while is begins to take on a permanent onion odor. Yuck. So I have to replace it every year.
 |
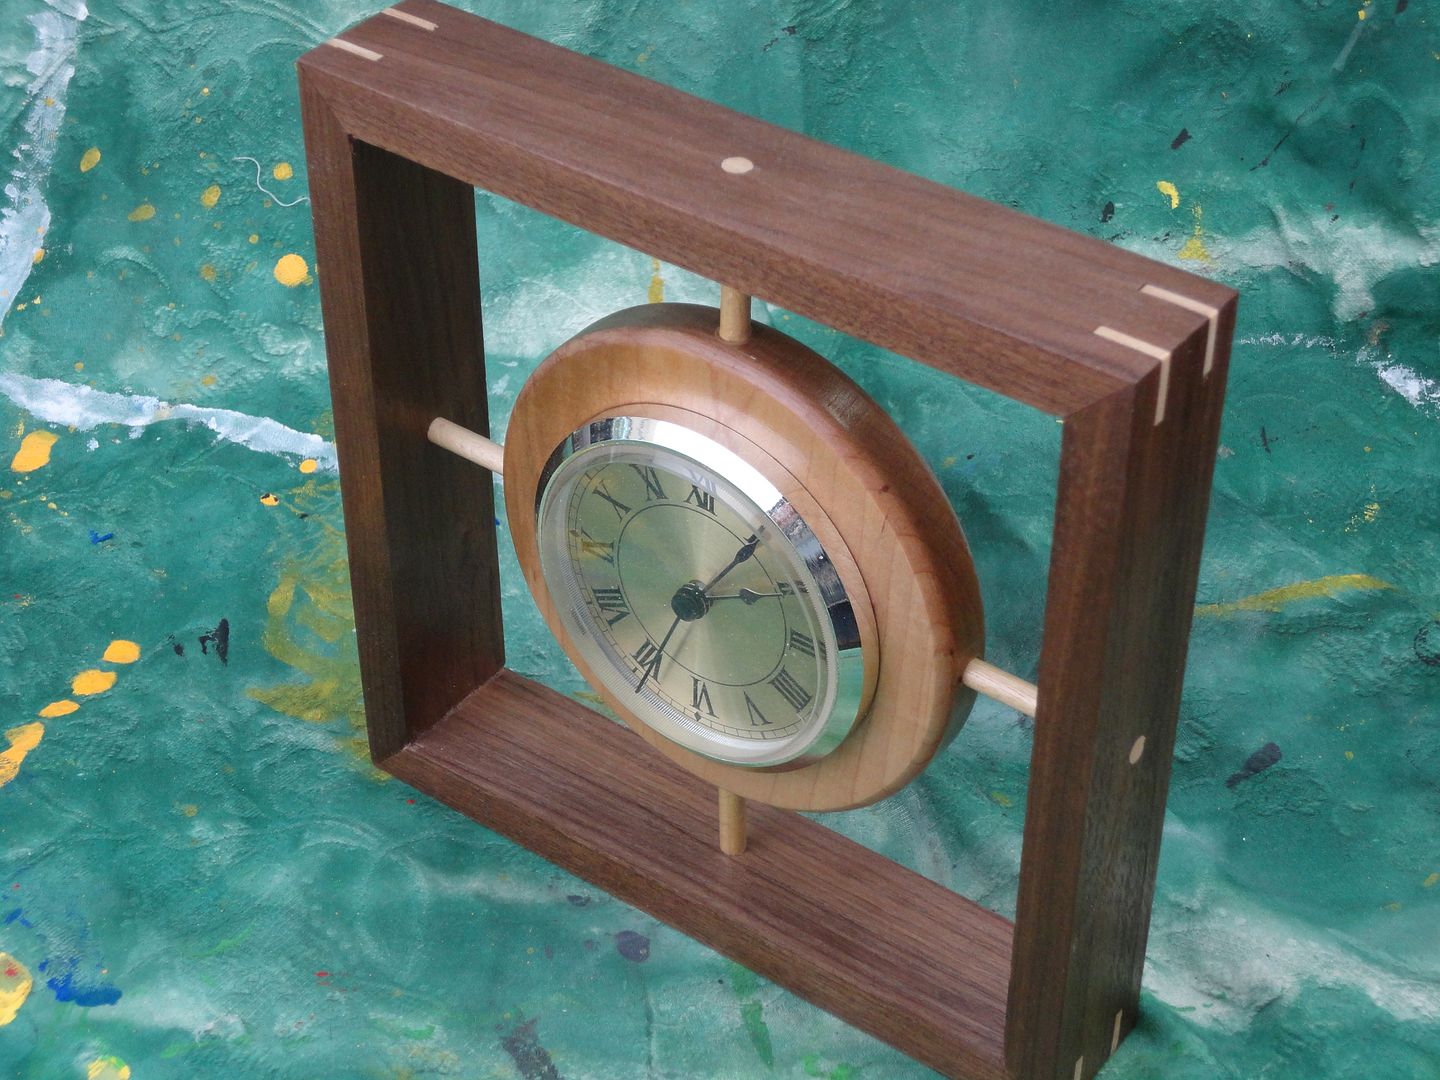
| Built by Mike D. (RetiredCoastie) on LumberJocks.com |
 |
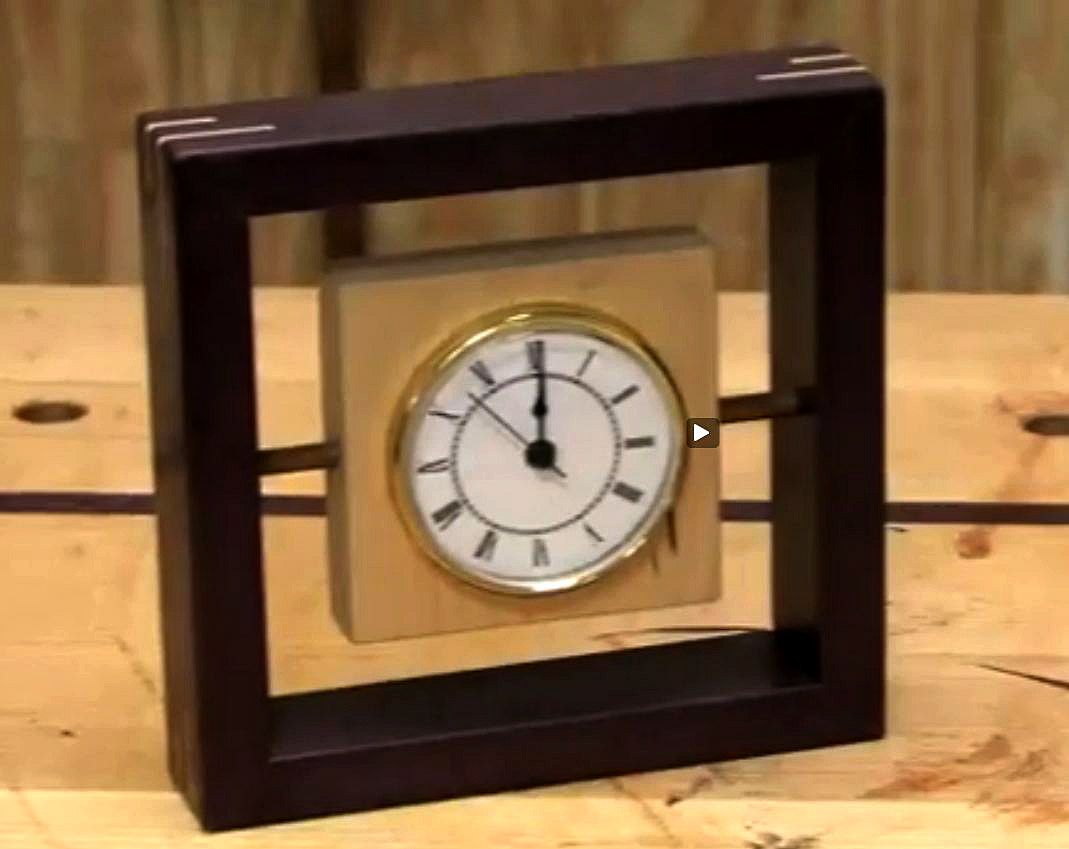
| Built by Jeff (jonasramus) on LumberJocks.com |
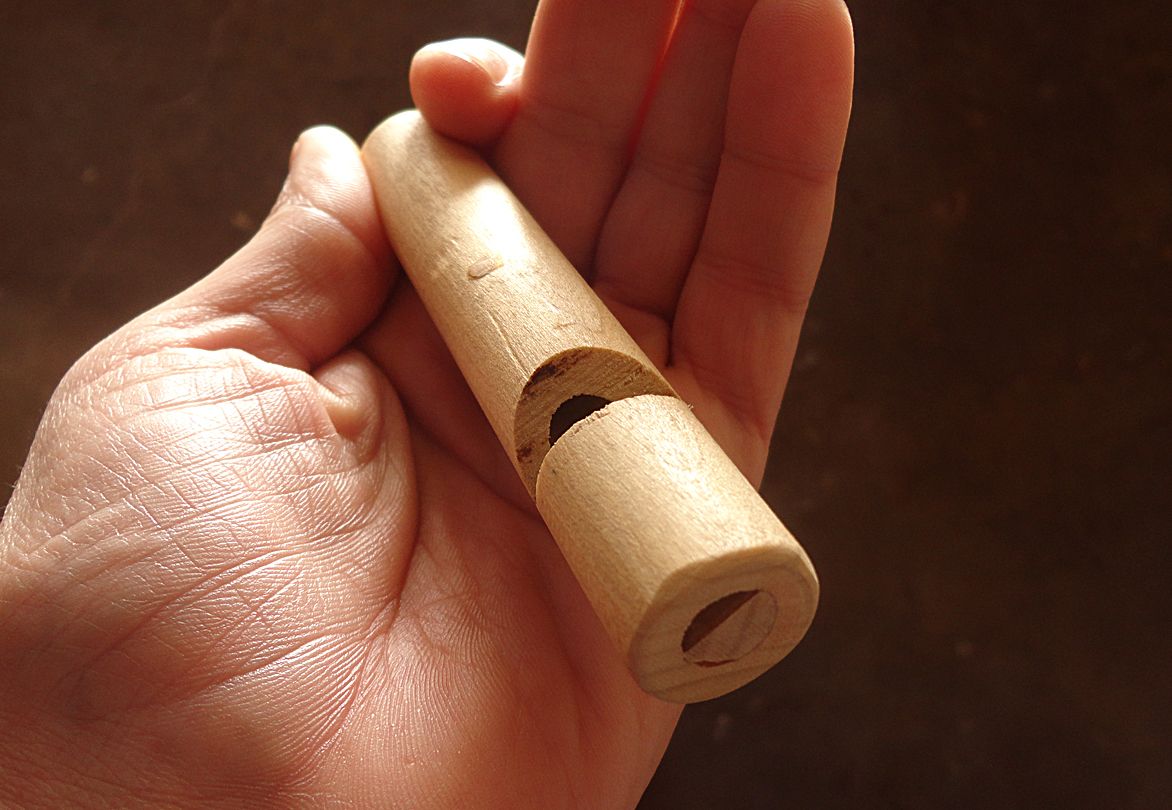 I researched whistles and was reminded of the classic wooden train whistle. My son loved these as a boy and they arent too difficult to make. Its essentially the same whistle as the one above, but with four tone holes and a cap to direct air into all of them.
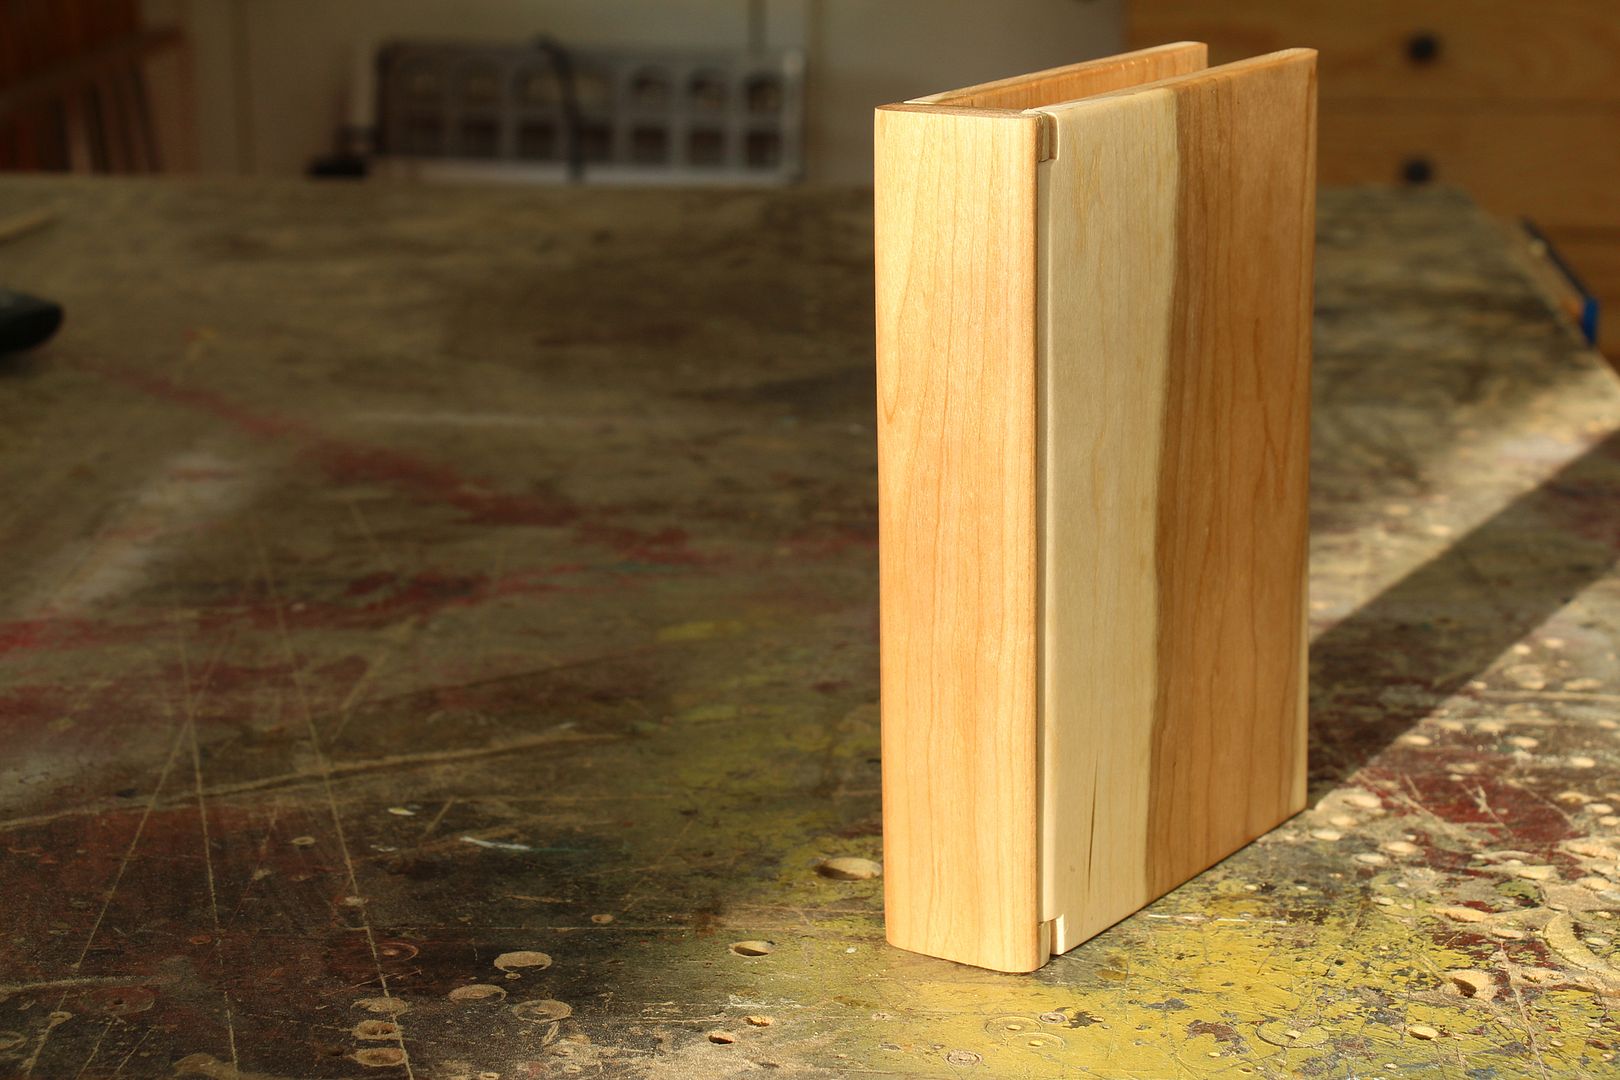 The logistics of pulling that off were a bit more than I had time to deal with, so about halfway through the build, I decided to just make a simple frame insert and call it a keepsake box.
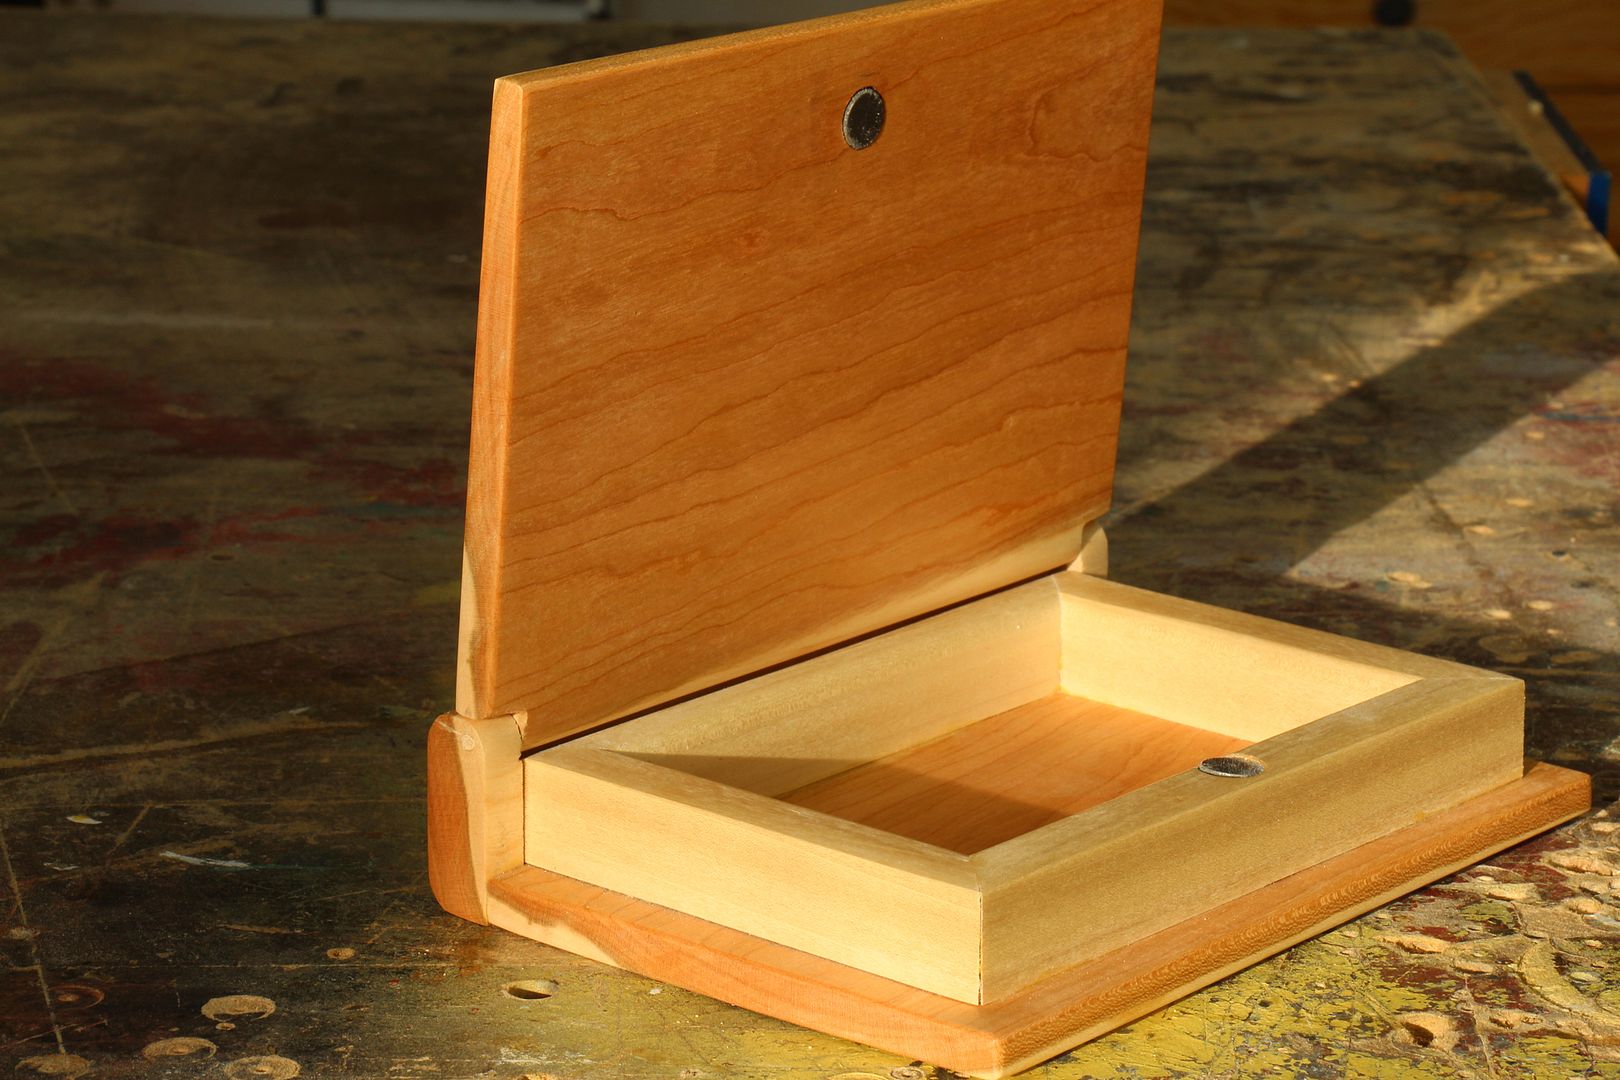 This is a pretty easy project to make. Mostly, you will spend your time on the hinge mechanism and shaping the cover and spine so that it swings properly. Take your time to test it along the way and youll be fine. Most importantly, resist the urge to force the cover to swing if it sticks: the dowel holes are so close to the edge, it will likely cause a split. And by the way, use a hardwood. Pine will almost certainly split.
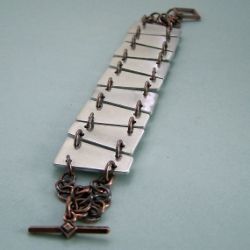 Last weekend I was watching the movie Atlas Shrugged which features a metal bracelet. I love the angular and geometric simplicity of it and decided to make one out of wood.
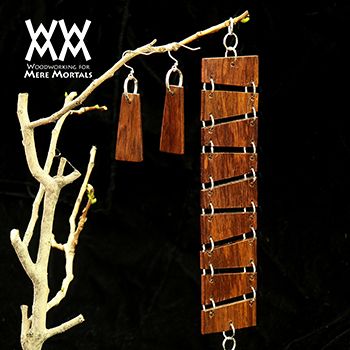 The biggest problem I ran into with this was that it simply didnt look right when I first assembled it. The rings I bought were just too big. It was a case of something that could only be discovered in the "real world". On paper, the rings looked good. I made another trip to the craft store and bought some 10mm rings, which worked out perfectly.
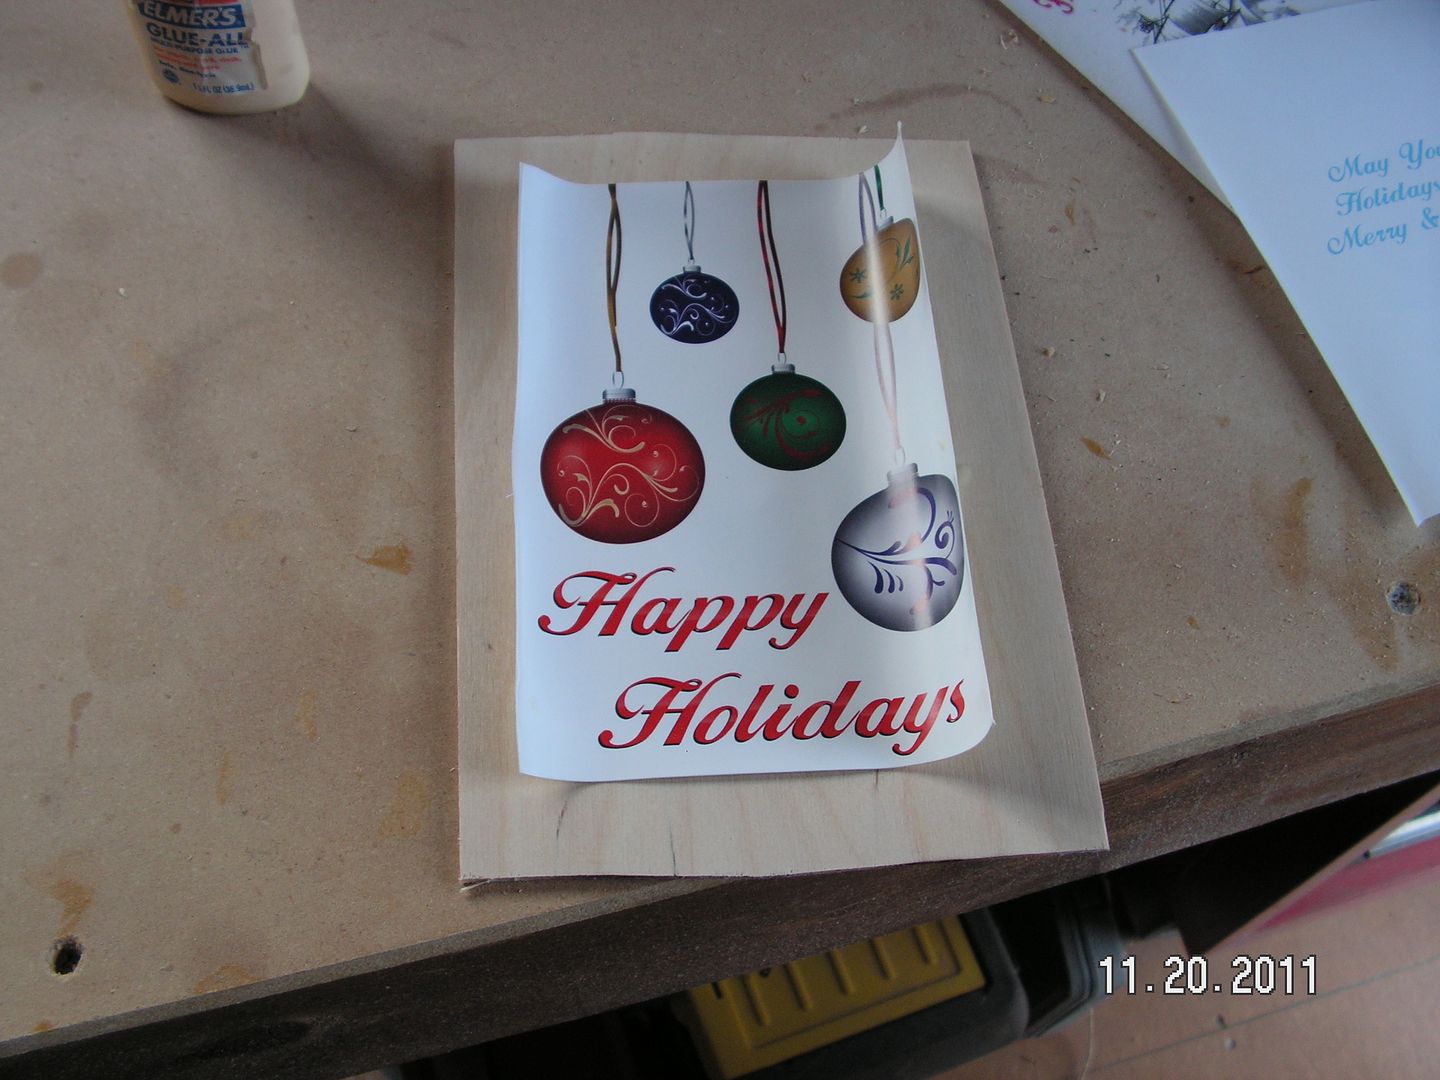
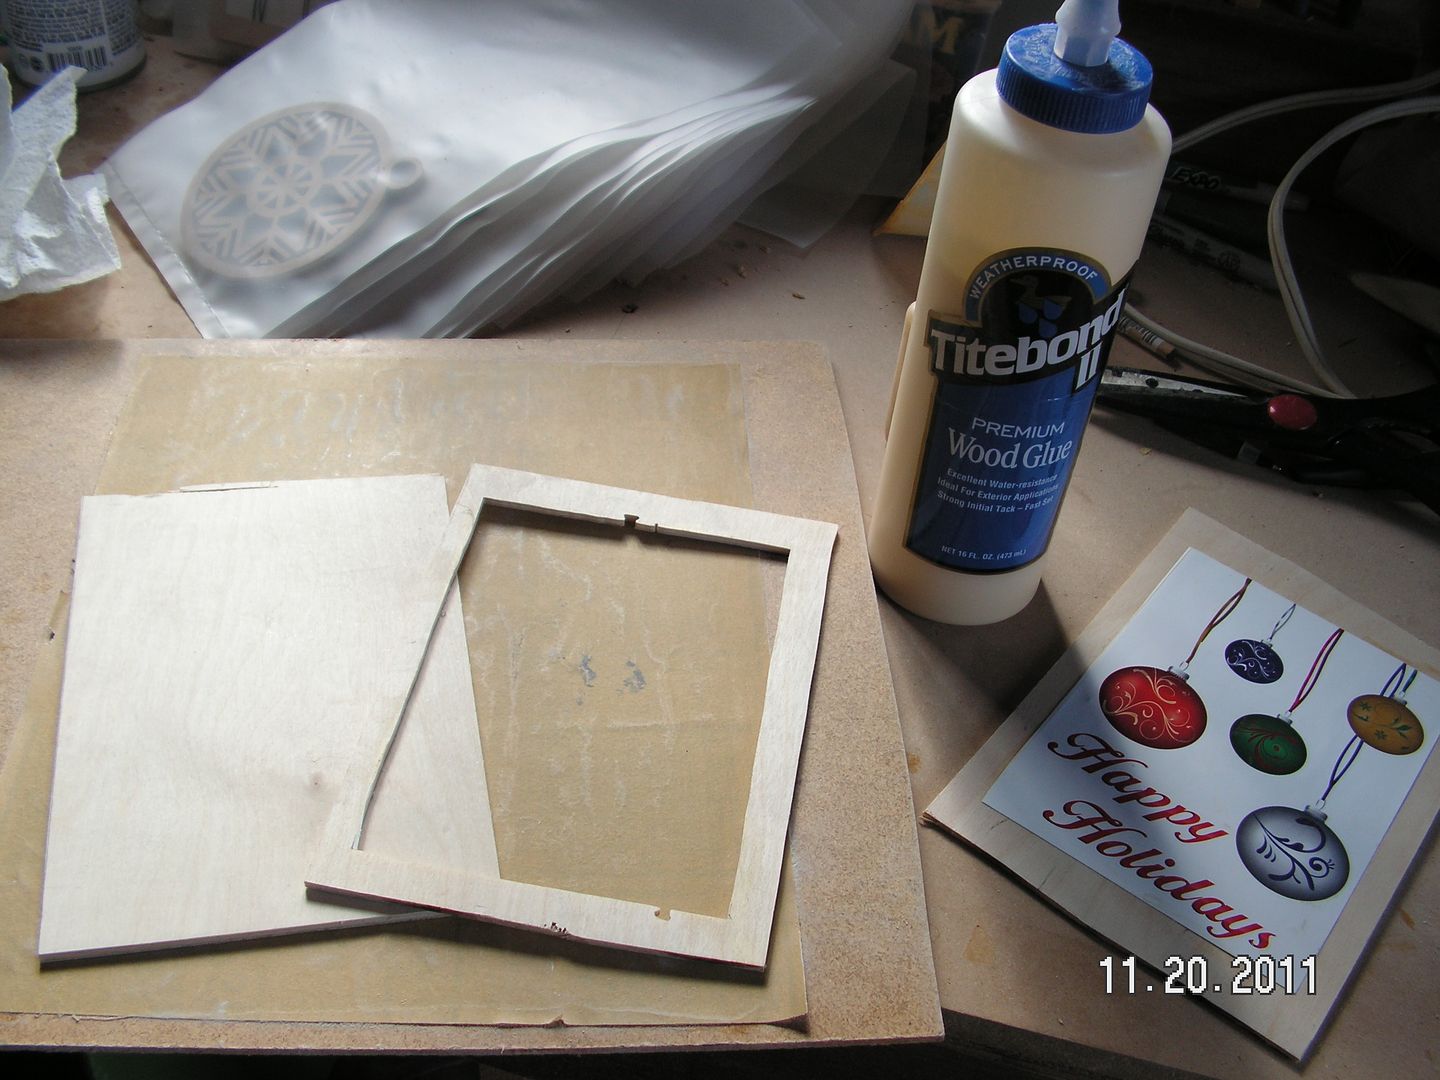

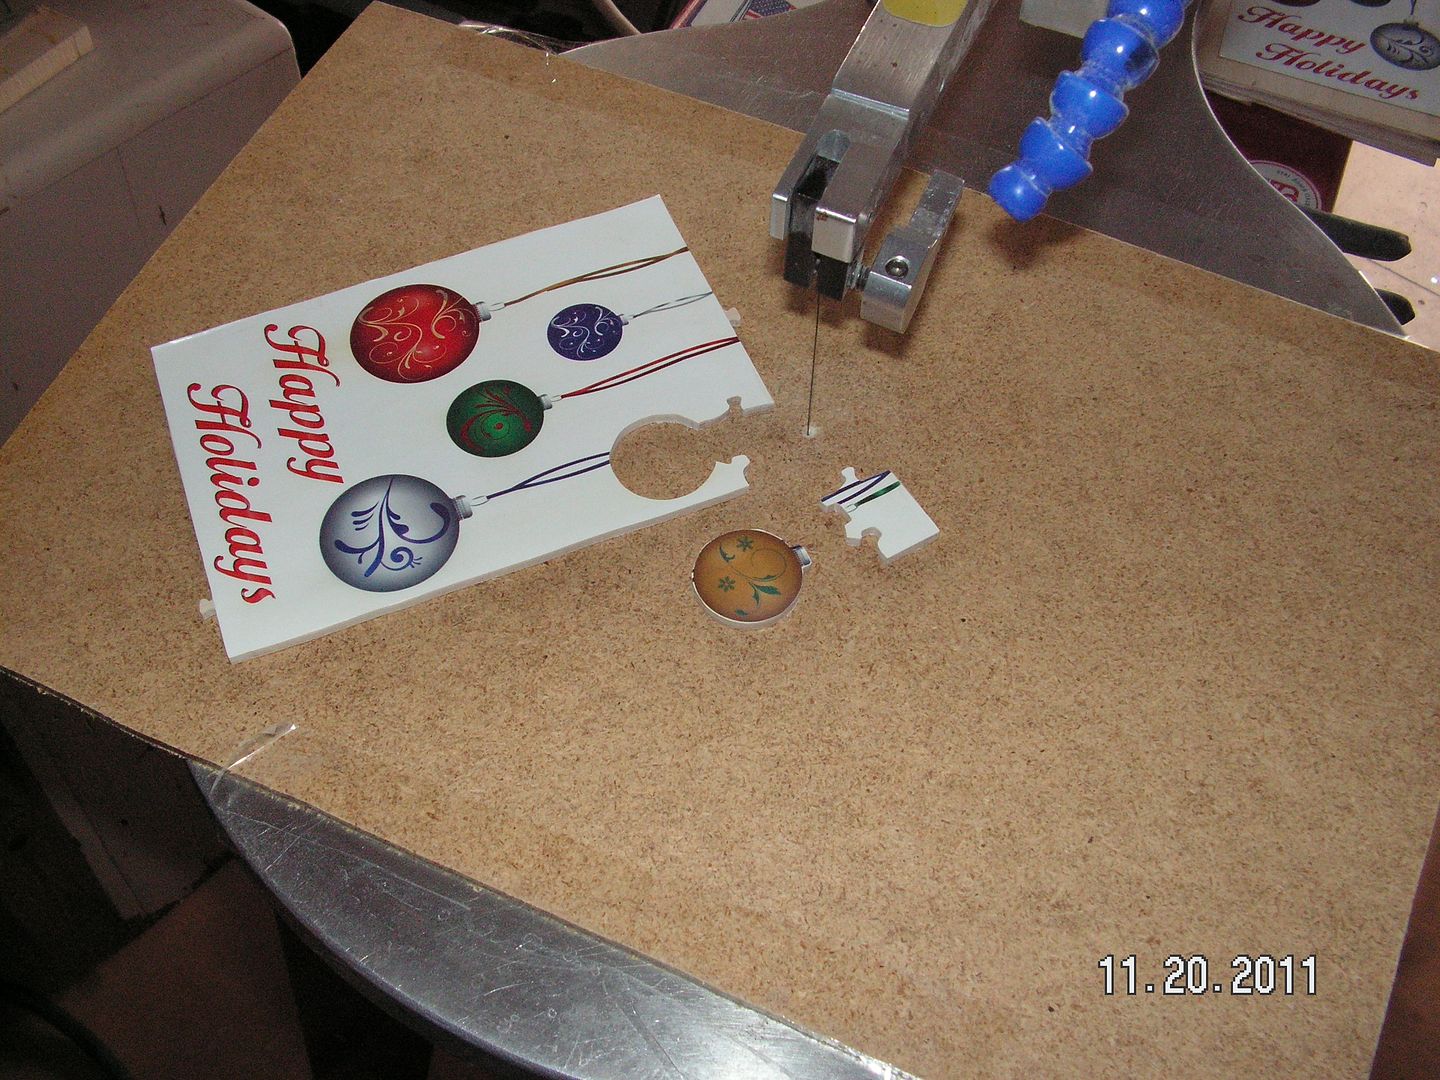
 Cut the puzzle and try to have a lock at each side that faces another piece. In this case I didn’t do that. I wanted the balls to be loose in these cards. It’s your puzzle, cut it the way you want. There are no lines to follow unless you want to. It may not come out the way you had had it planned but the recipient won’t know that. They will probably be pleased with a cool Christmas card.
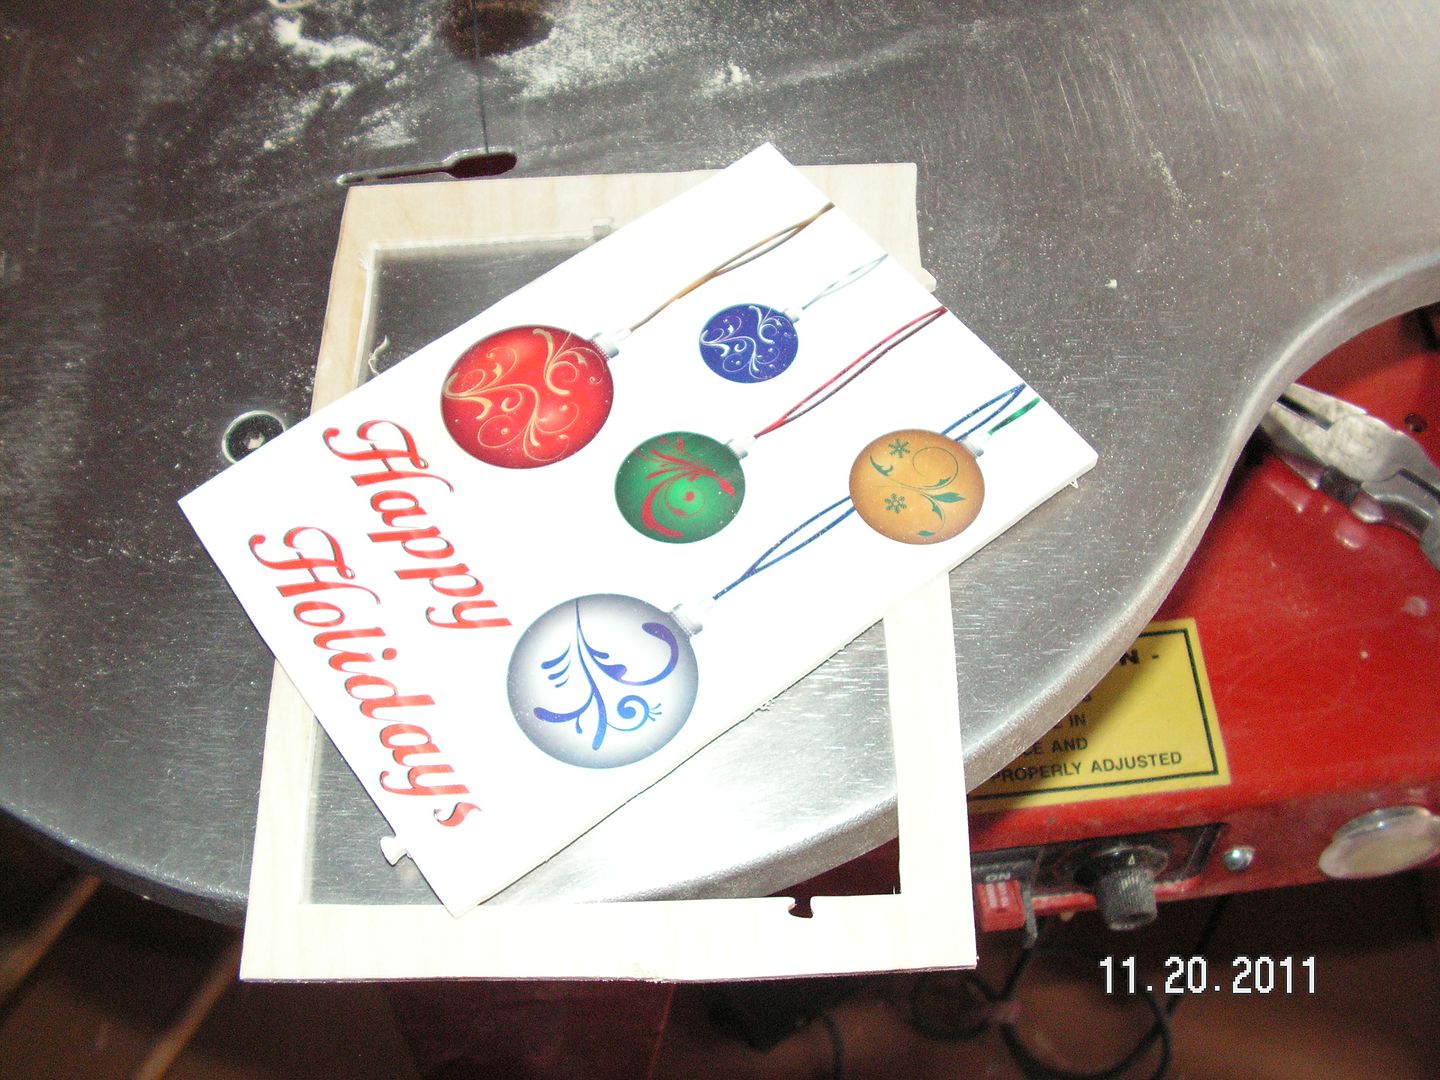
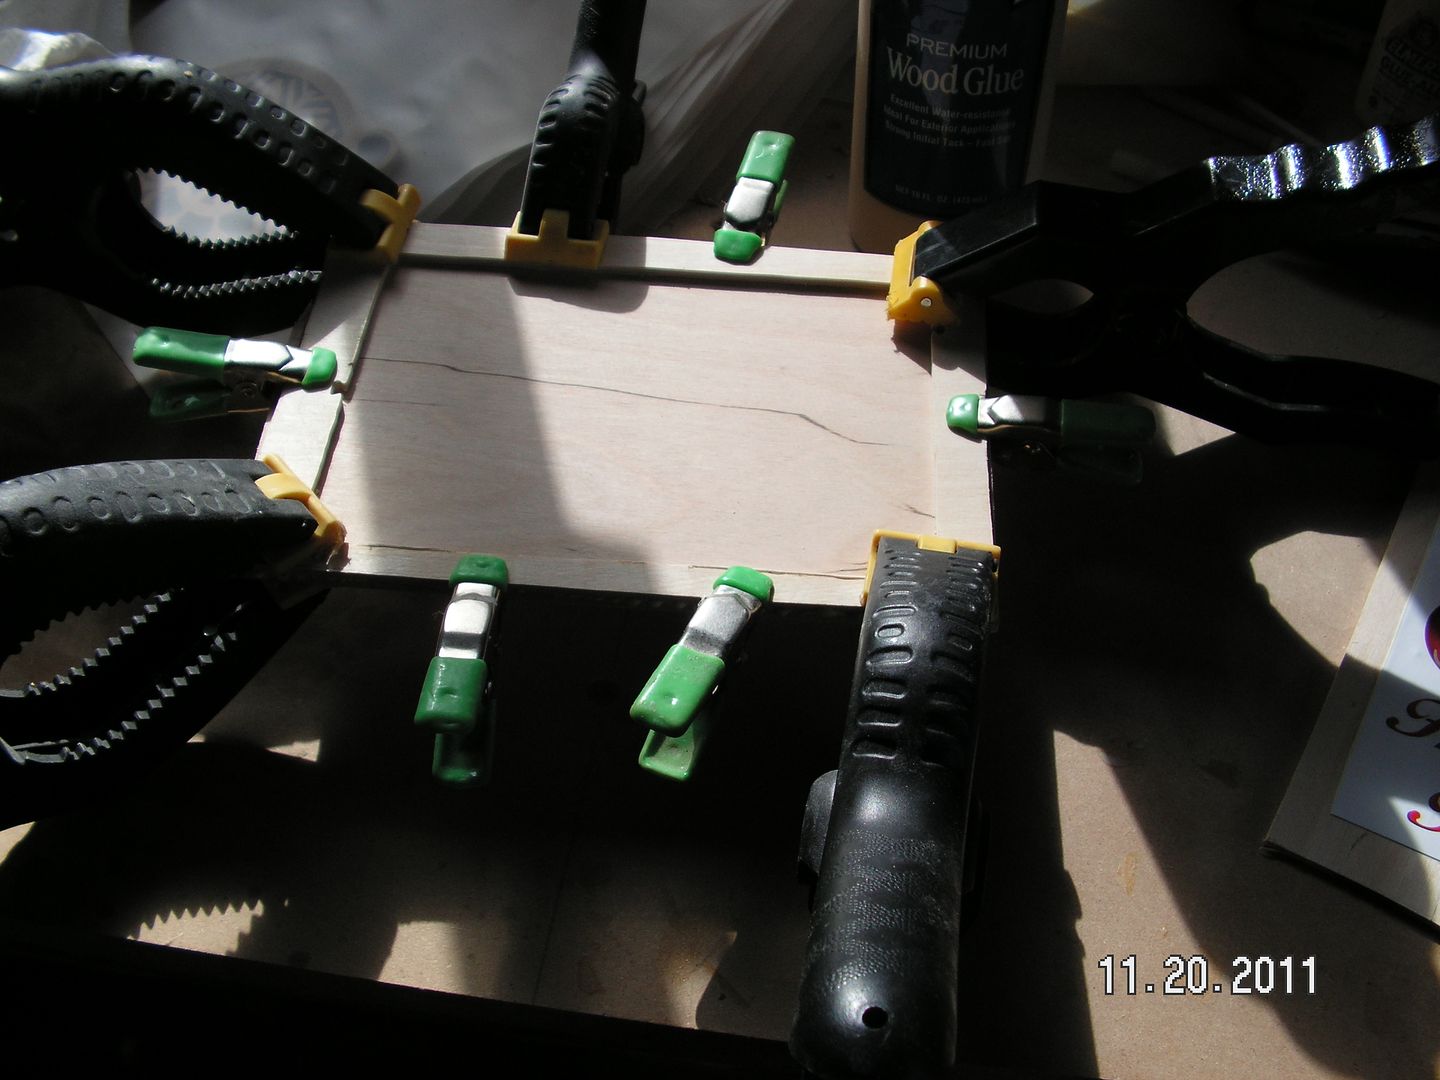 Next I give the frame a couple coats of spray on lacquer front back and sides.
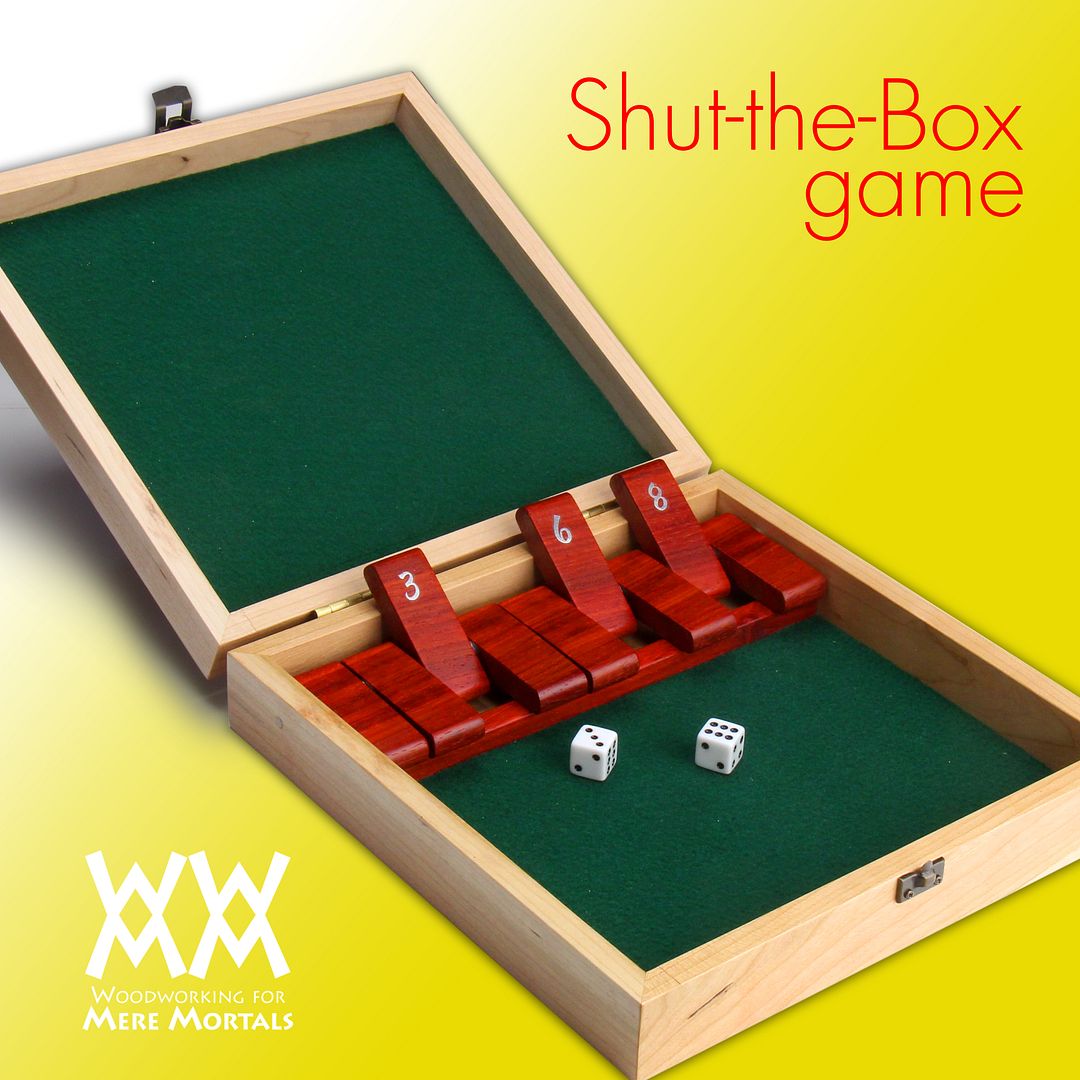
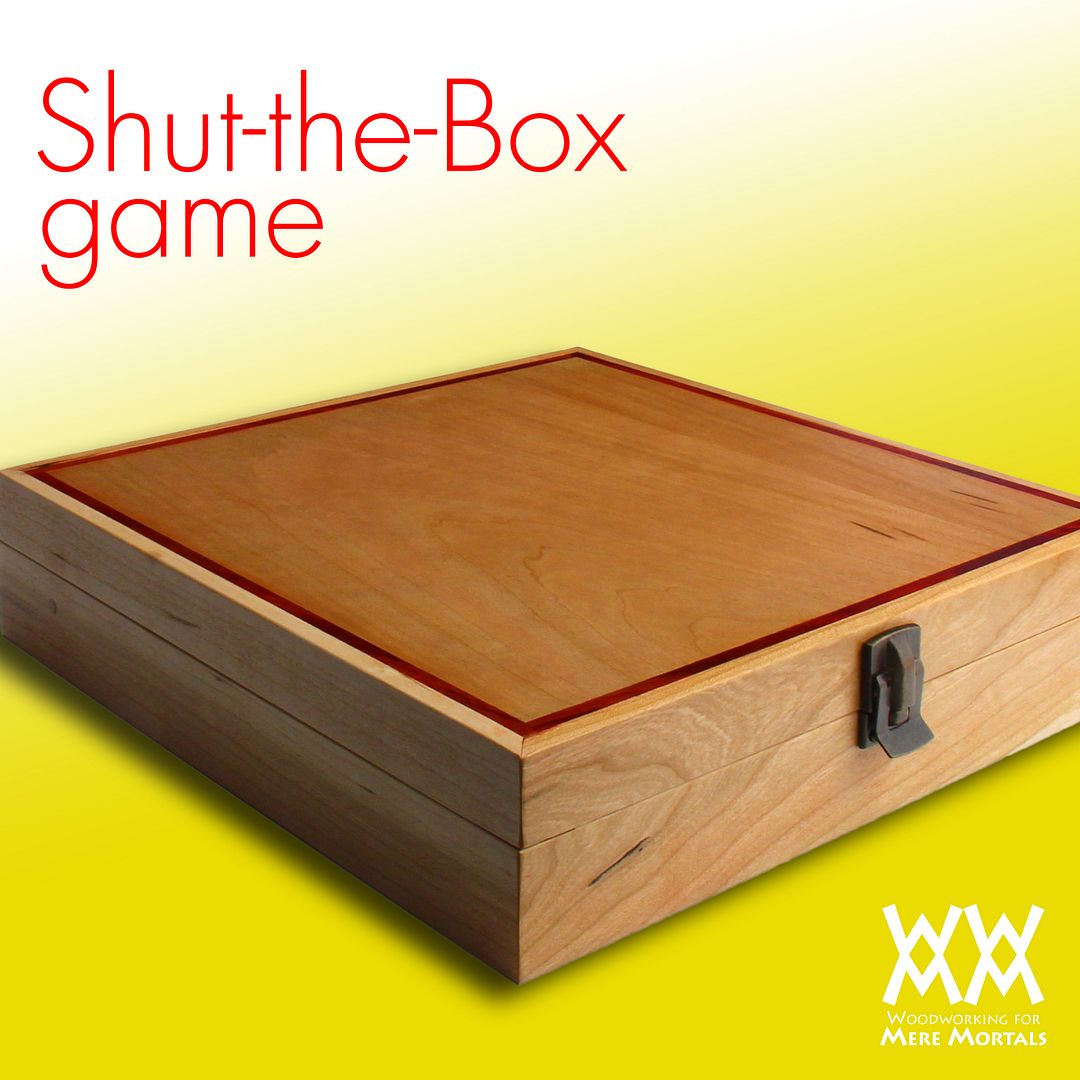 I really enjoy making wood games. They make great gifts and are a great way to try out some new woodworking techniques to customize them. This time last year I made a Quarto game, which holds endless design possibilities. Like some chess boards, they become works of art as well as pastimes.
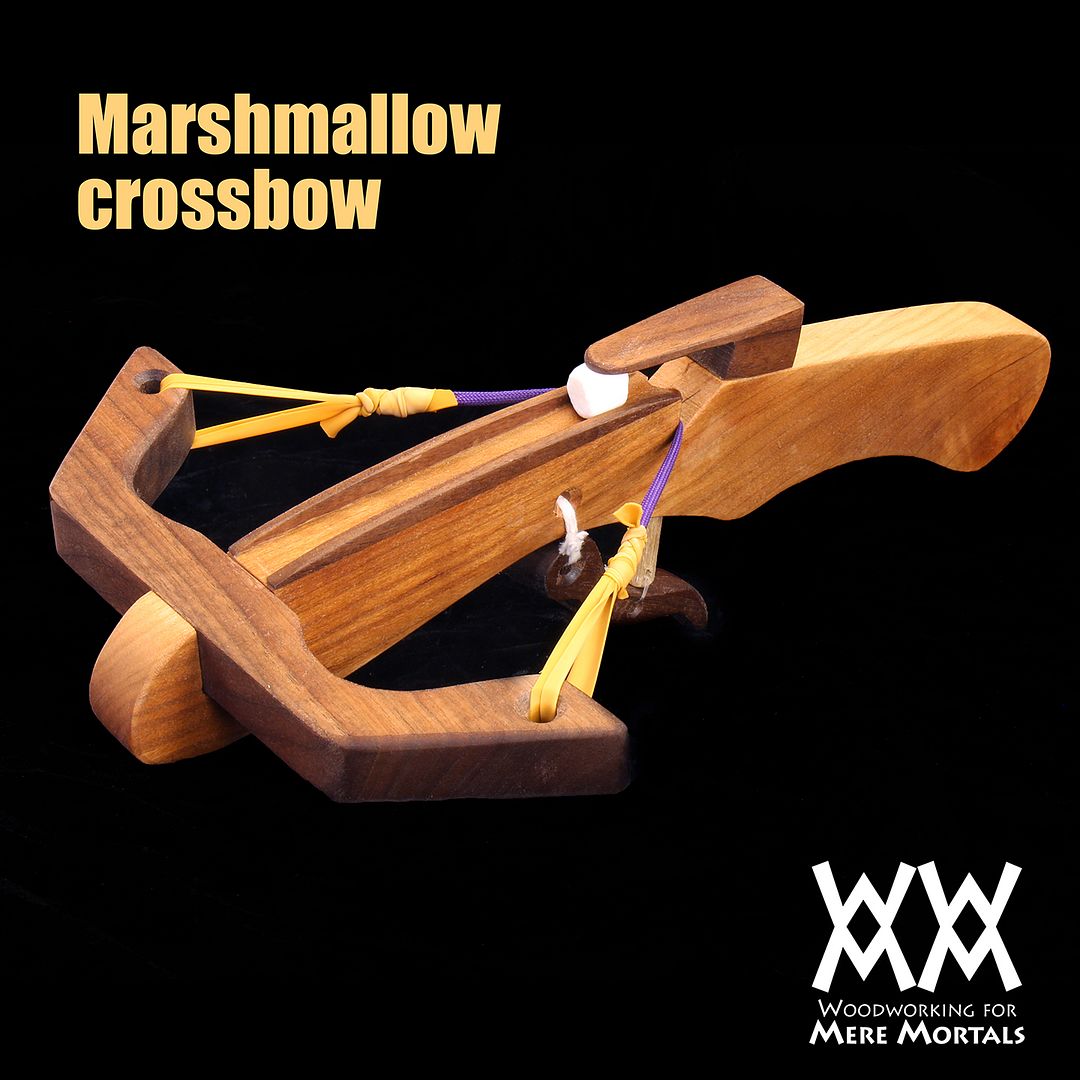 Long time contributor to WWMM Carmen Salamone designed this crossbow quite some time ago and Ive been wanting to make it ever since. Once I finally built mine, I wonder why it took me so long!

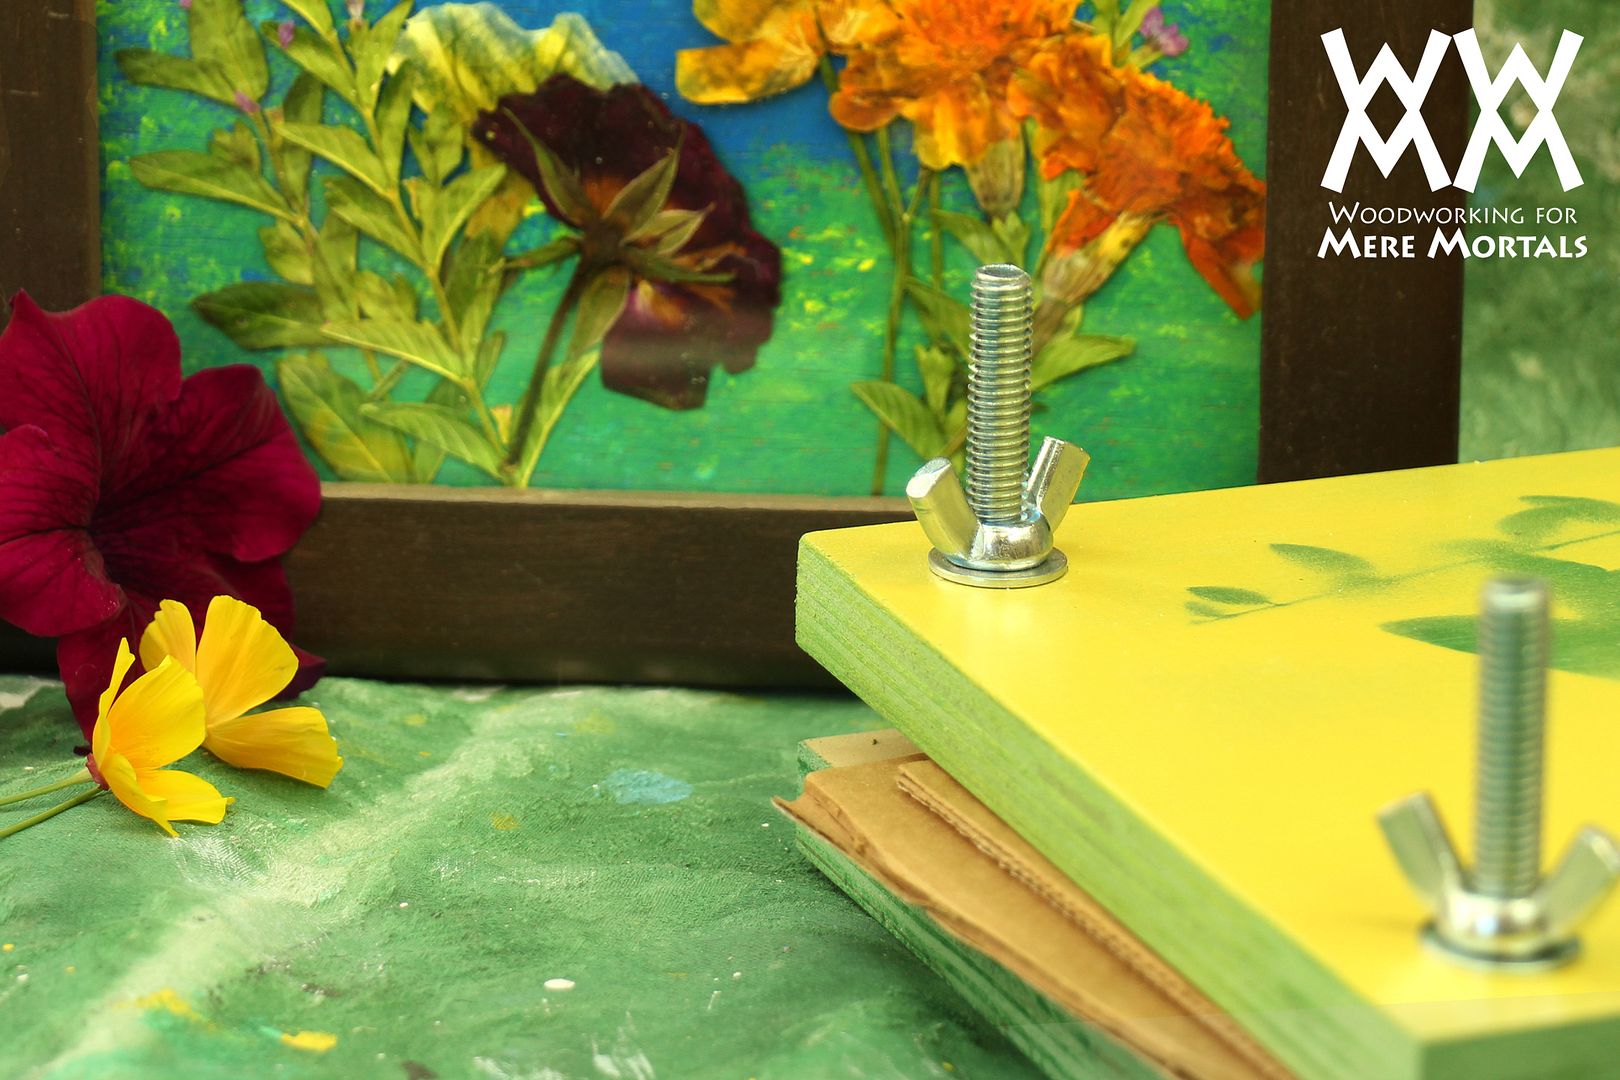 To make the design on the front of the top plate, I cut some foliage and spray-painted over it like a stencil. It worked fairly well, but I think it might work better using just leaves rather than blossoms too.