
 WoodIf you have trouble finding 1/8" plywood, it is often sold at lumberyards as a "door skin", and I presume is used to dress up a drab door. I have also found small sheets of thin plywood at some craft stores. You will only need a piece that is about 7" x 16". And if you have no luck finding 1/8" ply, I suspect 1/4" ply would sound pretty good. In larger cajónes, the thin plywood flexes to allow for a deeper sound. I used 1/2" plywood for the rest of the drum. Its sturdy, yet lightweight.
ConstructionI jointed my pieces together with rabbets on the edges of the front and back, into which the sides fit. I cut dadoes (grooves) on the inside of the front and back to hold the divider, which gives the drum its two tones.
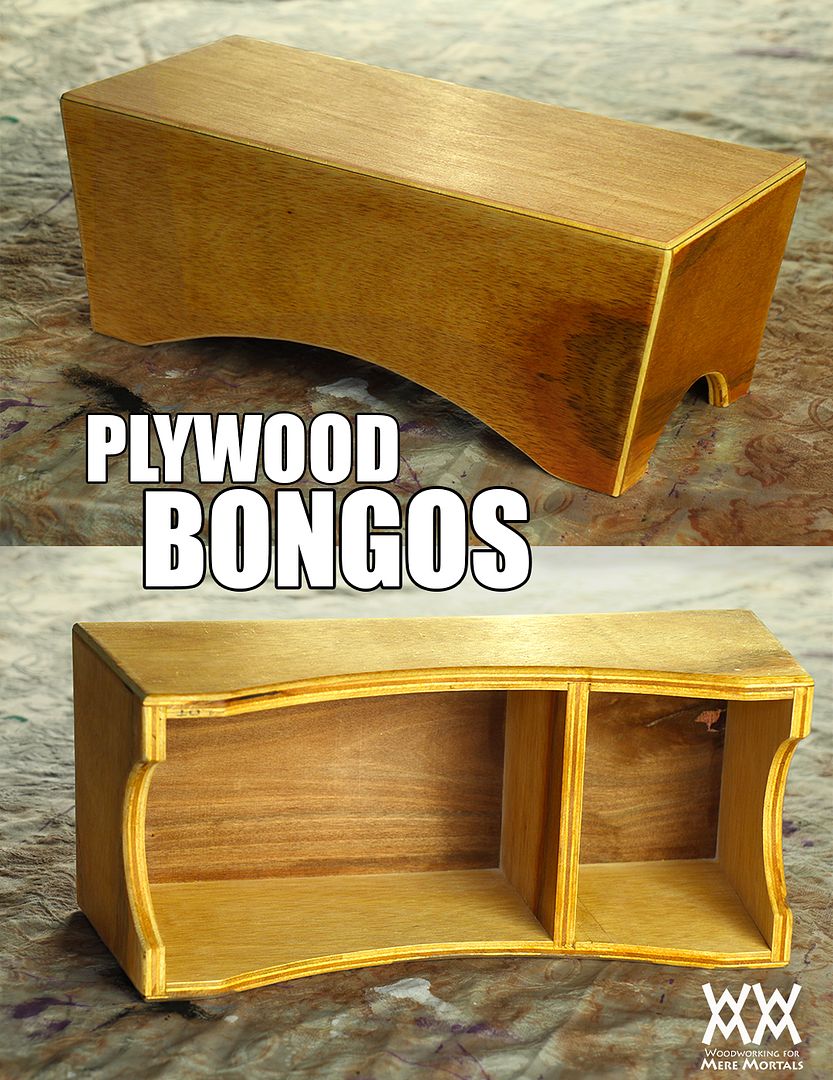
On standard cajónes, the tapa is screwed in place. This allows the player to adjust the tightness of the screws to create different tones. Due to the smaller size of a bongo cajón, I felt screws were unnecessary so I simply glued the tapa into place.
Playing I angled the two short sides in at an 8 degree angle. This makes the drum more comfortable to hold between your knees if you play it that way. There seems to be no "right" way of playing a plywood bongo. I also added curved cutouts on the bottoms of the sides so the sound would resonate out if the drum is played on a firm surface.
Free Plans
- WWMM Bongo Cajon (pdf)
- Sketchup version Super simple versionIf you dont have a lot of tools or space, you can easily make your own plywood bongo drum! Cajónes were originally built by resourceful individuals using crates or old drawers. I like that the tradition of using an inexpensive material like plywood remains. It is somewhat ironic that music stores sell such expensive ones! So if you are a musician, make your own: its way cooler.
- 3 boards that are 16" x 6"
- 3 boards that are 5.5" x 6" To assemble it, just butt the pieces together and glue them. You can even use regular white glue. You will need to clamp the boards together to dry. If you dont have clamps, you can nail or screw the pieces together. Still use the glue...the fasteners will act as clamps. Let the glue dry for a couple hours and youve got a bongo cajón!
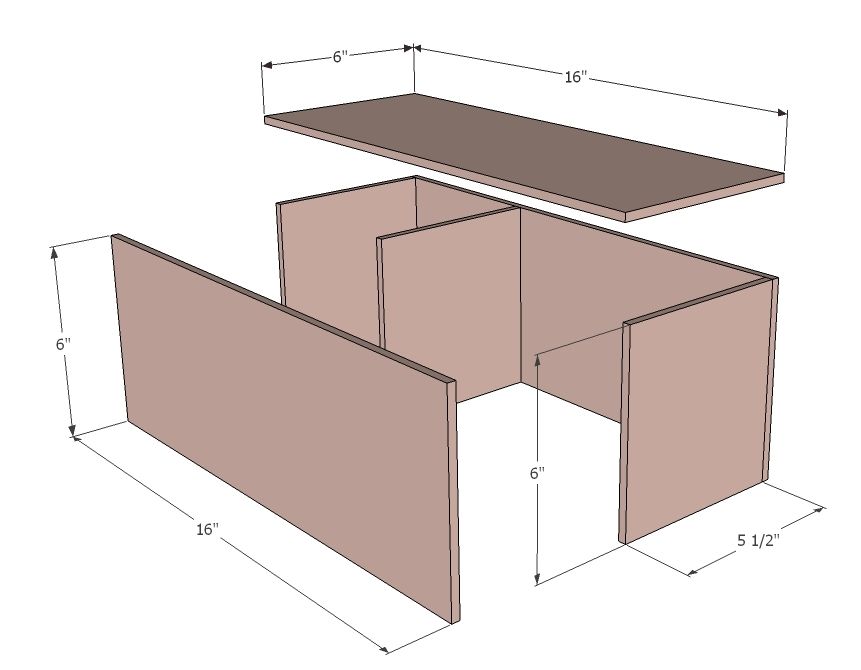
You will need:
It will sound good if you play it on your lap so the the sound can resonate out the bottom opening. You can also experiment by cutting some sound holes in the sides and see how that sounds.


