Arthur Lamon posted a new pallet project on his web site today well worth taking a look at. This bench reminds me of a sawhorse in the way its constructed, but has a lot of charm and looks easy-to-build and practical. Check out all the details over at Arthurs web site.
***** Mere MinutesHope you are enjoying your weekend! Heres a follow-up to my past two projects.
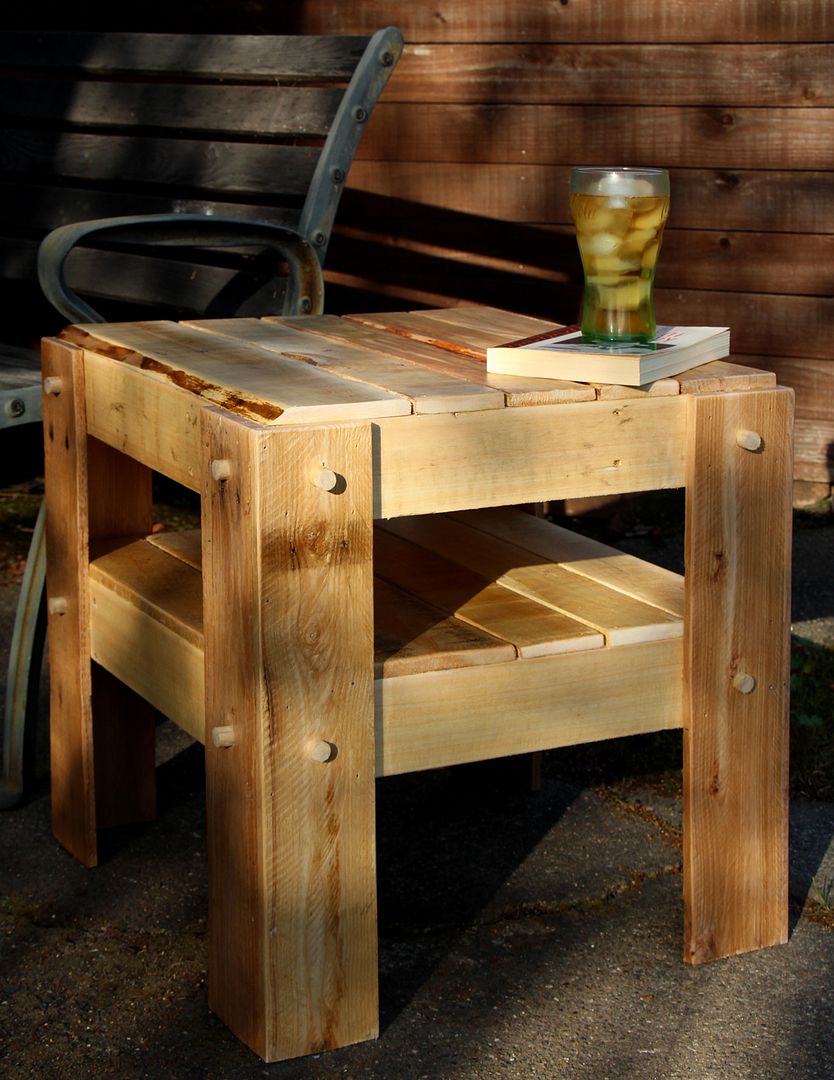
This week Ive designed a shabby-chic side table for your deck or patio. Anyone can build this project with just a few basic tools and no large workshop space is necessary. I made this entire project using free wood obtained from old pallets.
You can make this entirely using hand tools, but it will be much easier if you have a jigsaw and a power sander. Both are inexpensive, easy to use, and will save you a lot of time and muscle aches.
If you would like to try your hand at busting apart a pallet (its quite easy to do) you will need a crowbar and a hammer with a claw for prying out nails.
I used 1/2" dowels for the exposed pins. These are decorative and not necessary for the strength of the table. If you would like to include them, you will need a drill and a 1/2" bit for boring holes.
I used wood glue, 1", and 3/4" nails to assemble the project. The glue gives the table its strength: the nails are just needed to hold the pieces in place while the glue dries.
A couple of clamps would be handy.
I finished my table using Spar Urethane. Its a great outdoor finish that will protect the wood from the elements.
I used 80 grit (rough) sandpaper, mostly to clean off dirt, and stopped there.
*****
If you would like to give this project a try here are some plans:
WWMM Rustic side table plans (PDF)
SketchUp file
Building it is very easy. If you are new to woodworking, maybe a new home owner who wants to get ready for outdoor entertaining this summer, this is a great project to start with. There is no need to get too fussy about any of it: its supposed to look rustic!*****
A few of the fantastic many projects and photos viewers have posted this past week on my Facebook page. ***** I am not sure the origin of this photo, but its an idea that cause me to scoff at its absurdity and marvel at its ingenuity!
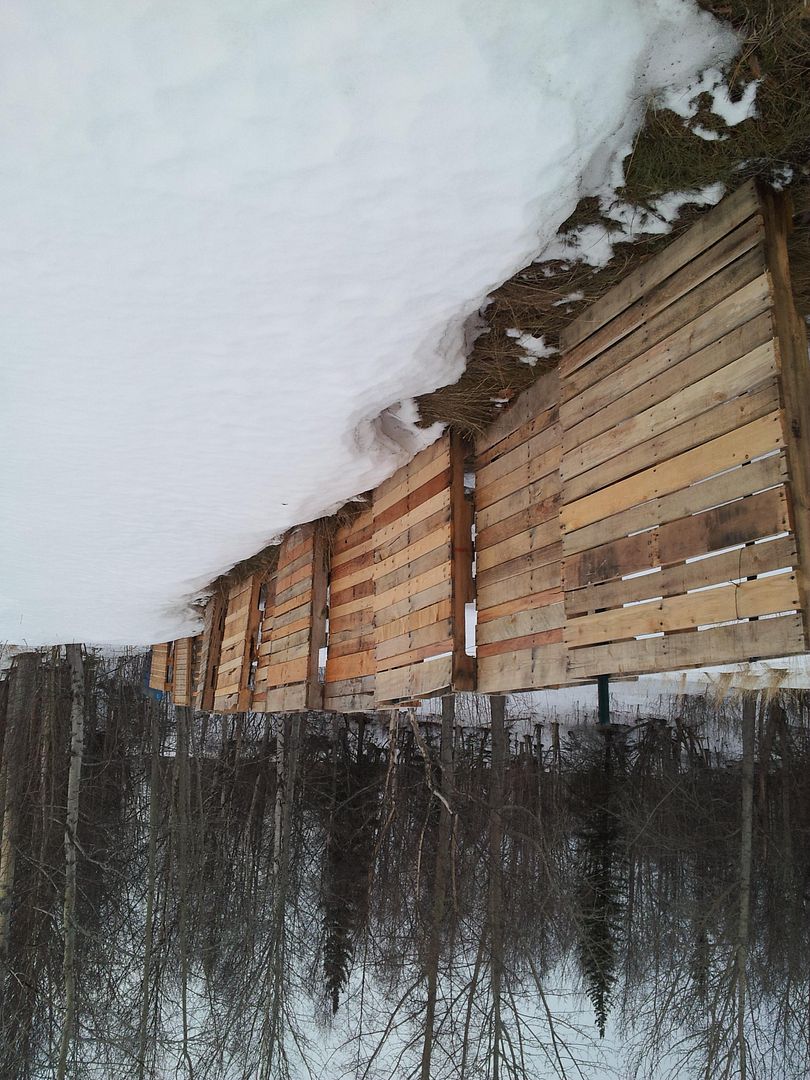
Im always impressed by the myriad of ways people are using pallets and pallet wood to build things. Check out this pallet fence from Scott Allender.
Havent seen a new whirligig in a while. Heres a really fun design by Ivan Parrish:
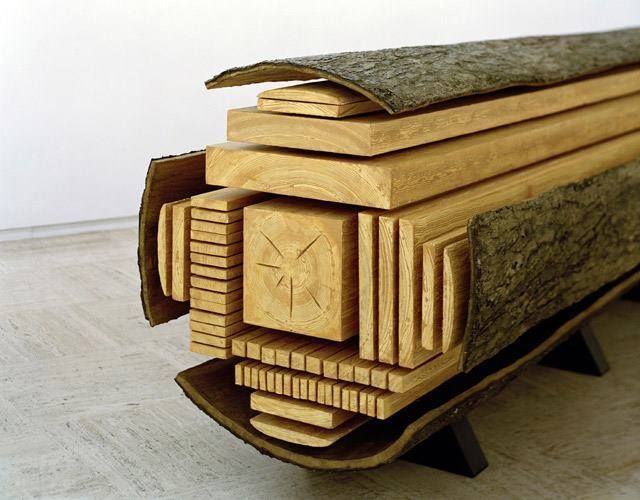
Cool picture from Tahquamenon Woods showing how logs are sliced up for lumber:
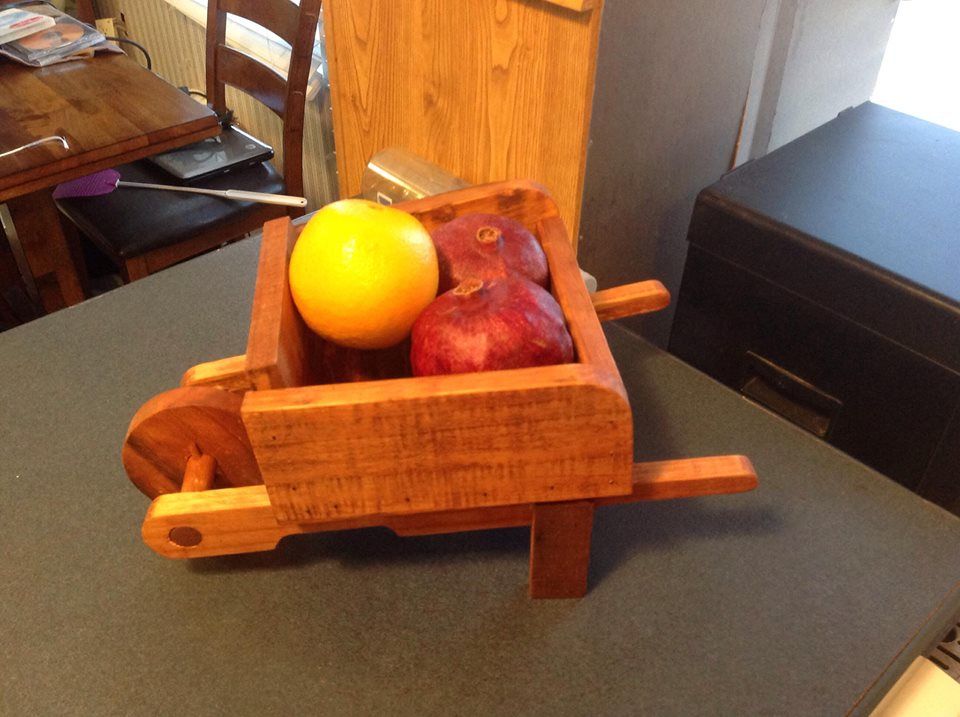
Lots of people have made my wooden wheelbarrow planter, but John Turner scaled it down to create this micro-version to cheer someone up at the hospital.
Wolly Ireland has made several rustic batch cabinets. This one looks great finished with linseed oil.
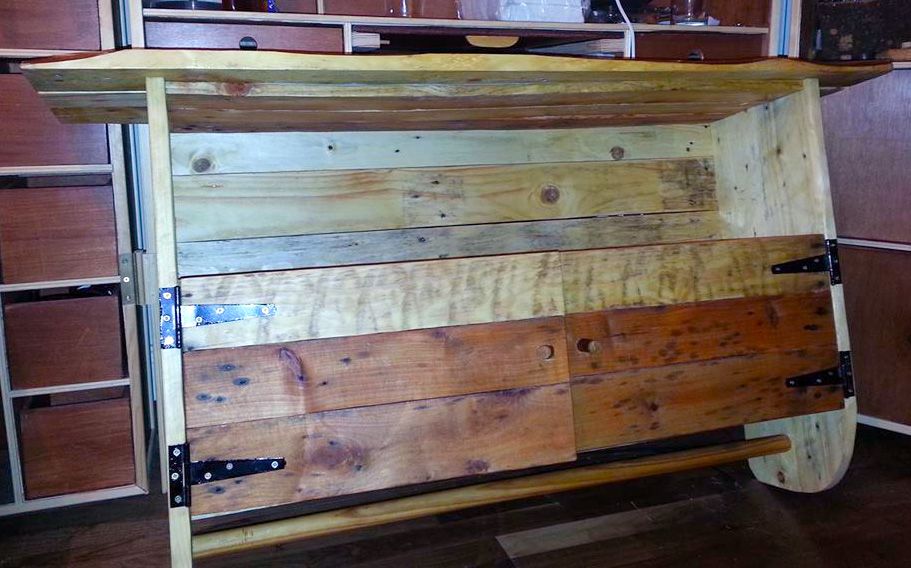
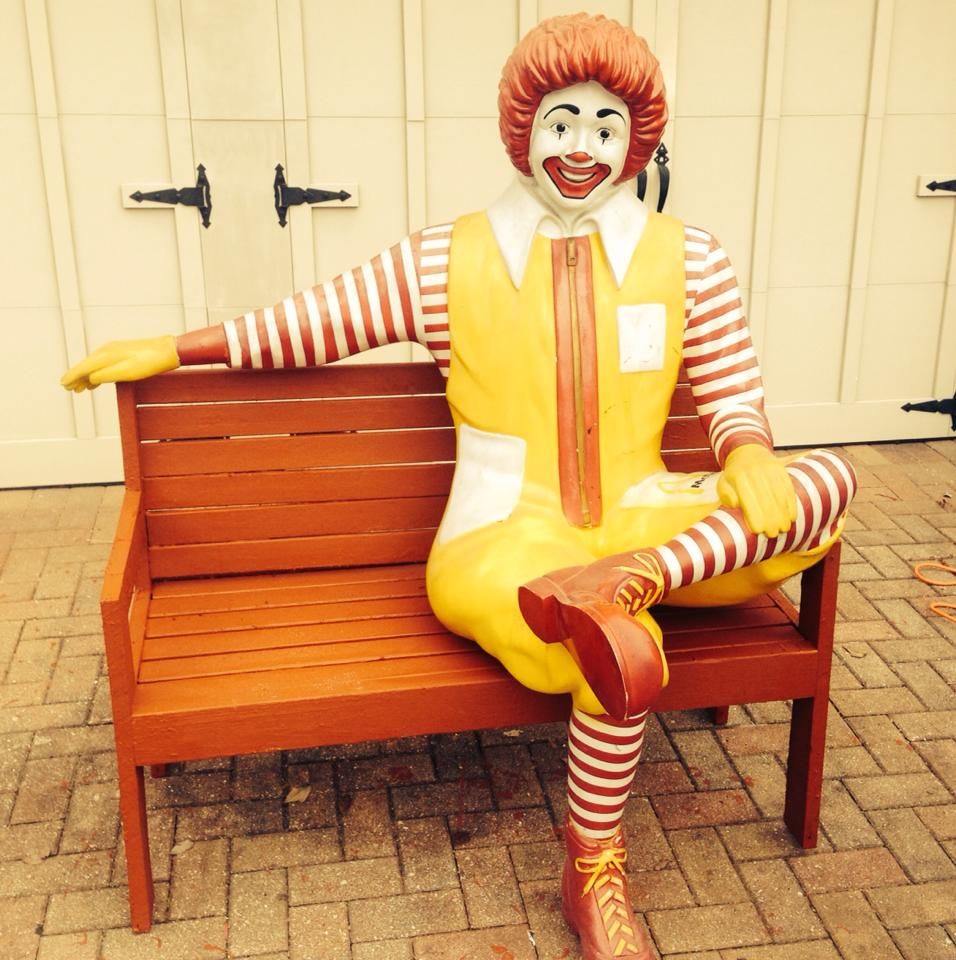
Depending on the winter weather where you live, it might be a little early to start working on outdoor projects. But once it begins to thaw, this bench is a good project to get you into your shop and yard. Brian Miller has a celebrity sitting is his bench!
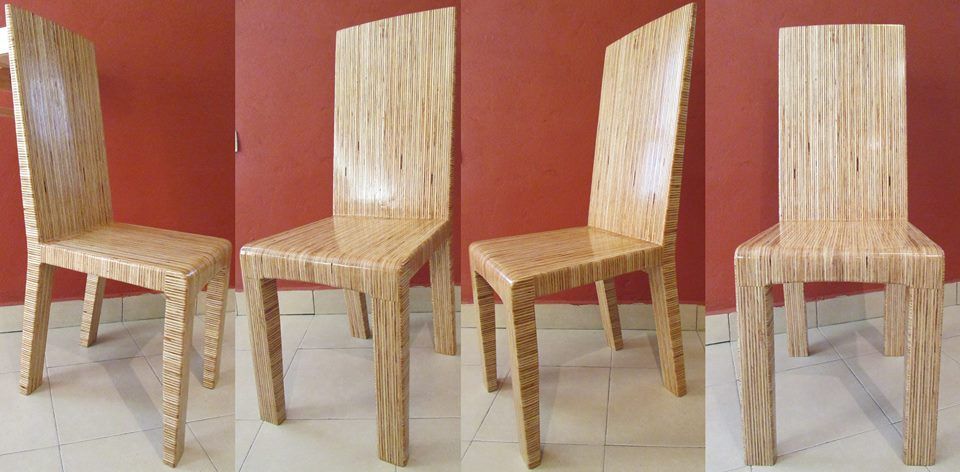
Finally, here is a fantastic plywood chair from Sergio José Aparicio Arévalo. Exposed edges are really cool.
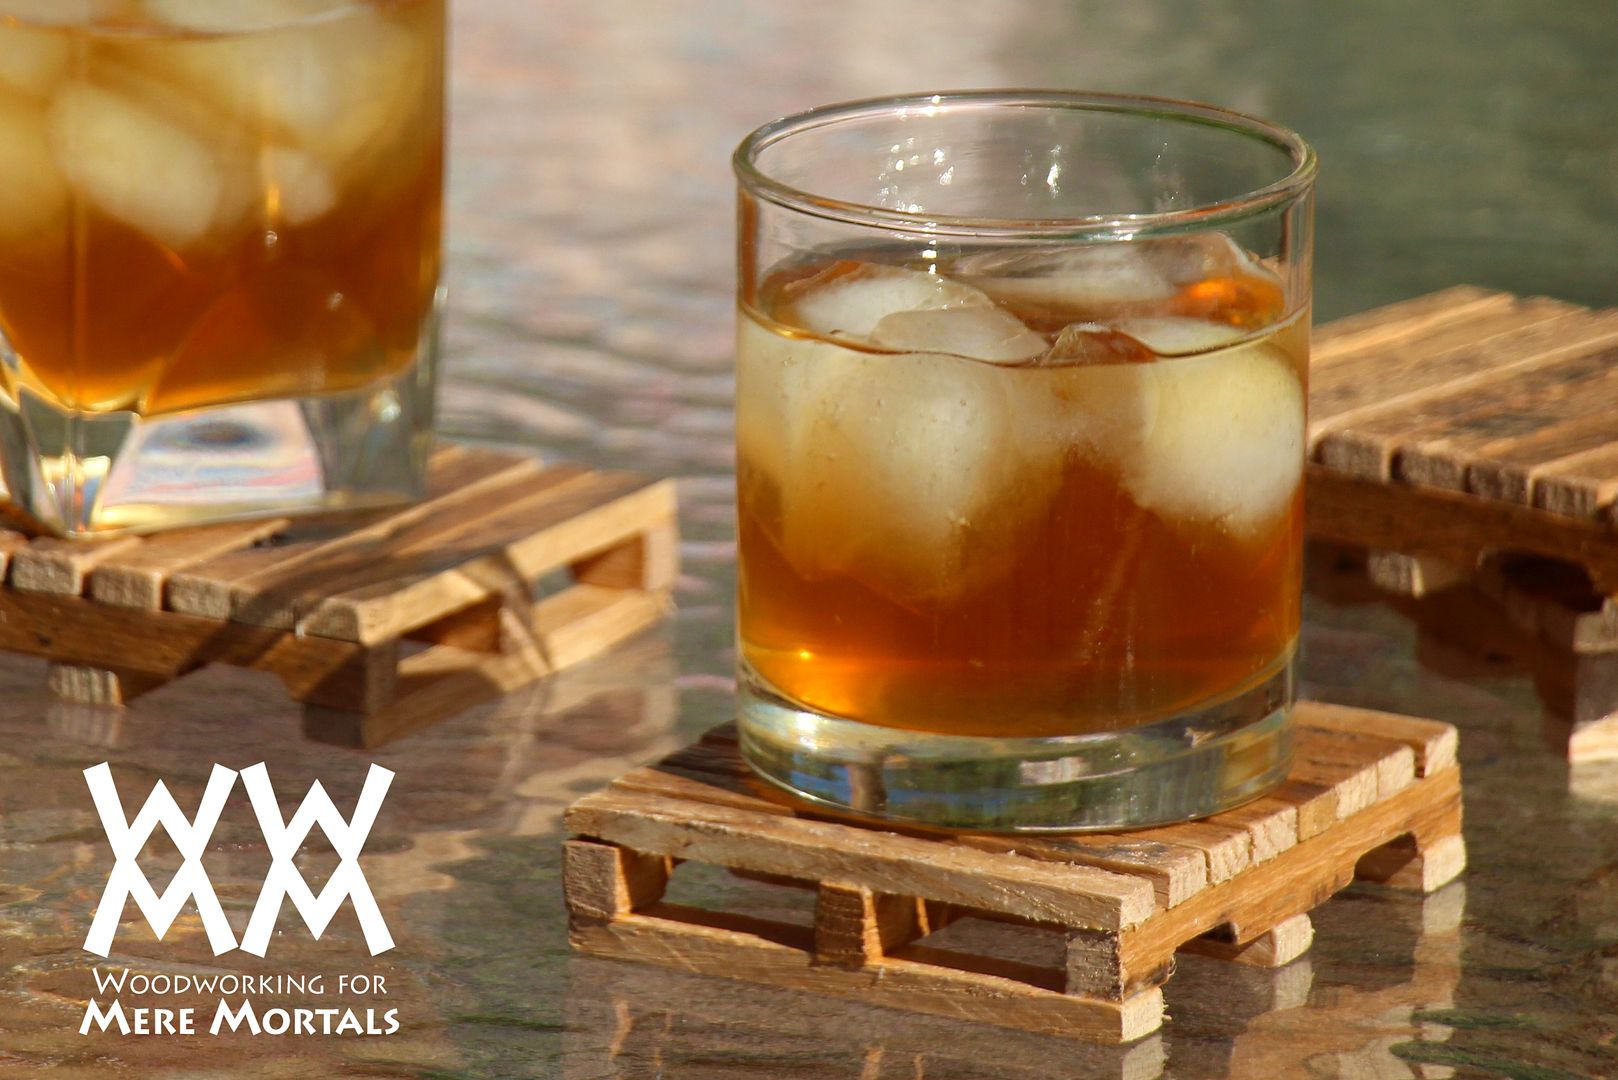
Little palletsWhat better project to make with free pallet wood than little pallets! This drink coasters are super easy to make using any scrap wood you happen to have. The only trick is to use thin wood so that the scale is fairly accurate. The slats on most pallets are about a quarter inch thick. I suggest planing them down to 1/16"; I shaved mine down to about 1/8" and they look a bit too thick. In the measured plans, I indicate 1/16". If you dont have a planer, you might look around in a craft store. Many carry small, thin pieces of wood. The other issue is the width of the slats. In the plans, I have them ripped to 3/8" wide, which will yield nine for the top. I cut mine a little wider, allowing for only eight slats. I experimented with narrower strips in order to fit eleven on top, like an actual pallet, but it was too difficult and the slats just looked odd. Probably due to their thickness. If you are ambitious, you might use a couple different widths as is often the case on real pallets. I used my router to make curved notches in the bottom two runners. If you dont have a router, or just dont want to bother, they would look fine without that detail. You could assemble these using hot glue. In my experience though, hot glue is somewhat difficult and messy to use. These could also be glued together with regular white school glue. Plans:
 *****
*****


 The other issue is the width of the slats. In the plans, I have them ripped to 3/8" wide, which will yield nine for the top. I cut mine a little wider, allowing for only eight slats. I experimented with narrower strips in order to fit eleven on top, like an actual pallet, but it was too difficult and the slats just looked odd. Probably due to their thickness. If you are ambitious, you might use a couple different widths as is often the case on real pallets.


